

How big bike for 4 year old
For most 4-year-olds, start by comparing a 12-inch, 14-inch or 16-inch bike, then choose by measured height and an in-person fit—not age alone.
Which wheel size should you check first?
Measure your child’s height without shoes and compare it with the XBikes starting points below. The ranges overlap because children of the same age can have different proportions, reach, strength and riding confidence.
| Wheel size | XBikes age starting point | Rider height starting point |
|---|---|---|
| 12 Inch | Ages 3–4 | 34–40 in / 86–102 cm |
| 14 Inch | Ages 3–6 | 37–45 in / 94–114 cm |
| 16 Inch | Ages 4–7 | 40–48 in / 102–122 cm |
A 4-year-old measuring under 40 inches may begin with the 12-inch and 14-inch ranges. At 40 inches, all three ranges meet, so height alone will not settle the decision. Above 45 inches, the 16-inch range is the relevant starting point among these three sizes. These figures narrow the options; they do not replace trying the bike.
Measure height and inseam before shopping
Record standing height first. Then measure inseam: with shoes off, have the child stand straight with feet slightly apart while you measure from the floor to the crotch. Keep both measurements available when checking the bicycle maker’s fit information.
Do not convert the inseam into a wheel size using an invented formula. Frame geometry and seat adjustment differ between bicycles, even when their wheel labels match. Instead, use height to select likely wheel sizes, then use inseam during the actual stand-over and seated fit checks.
Check the child on the actual bicycle
Have your child try each plausible size. Do not buy an oversized bike merely to leave room for growth. A suitable candidate should let the rider stand over the bicycle without being pressed against the frame and should feel manageable when held upright.
Next, watch the child sit, start, steer and stop in a controlled area with close adult supervision. Check that the child can comfortably reach the handlebars without stretching or locking the arms. They should be able to turn the bars without losing balance or shifting awkwardly on the seat.
Confirm that the child can reach and operate the bicycle’s braking controls. Because the supplied catalog facts do not identify brake types, inspect the exact bike rather than assuming how it stops. If reach, control or confidence is poor, compare a smaller candidate even when age and height charts suggest the larger one.
How the two XBikes options help
The supplied choices are useful because both offer 12 Inch, 14 Inch and 16 Inch SKU labels, allowing parents to compare the three wheel-size starting points most likely to overlap at age four. The XJD Boys 12/14/16" Training Wheel Bike – Blue is categorized as a Training Wheel Bike and lists all three sizes. The Black XJD Kids Bike for Boys – 12, 14 & 16 Inch Sizes is also categorized as a Training Wheel Bike and lists the same three sizes.
 XJD Boys 12/14/16" Training Wheel Bike – Blue
A Training Wheel Bike offered with 12 Inch, 14 Inch and 16 Inch SKU labels, making it relevant for comparing XBikes wheel-size starting points after measuring the child and checking individual fit.
 Black XJD Kids Bike for Boys – 12, 14 & 16 Inch Sizes
This Training Wheel Bike lists 12 Inch, 14 Inch and 16 Inch size options. Its relevance depends on the 4-year-old’s measured height, stand-over, reach, brake control and confidence.
Neither title provides evidence that one model fits differently or is more suitable than the other. Select the wheel-size SKU only after measuring the rider and confirming fit on the exact bicycle. Also verify the selected SKU carefully: a model offered in several sizes does not make those sizes interchangeable.
Decide between 12, 14 and 16 inches
- Compare 12 Inch first when the child is 34–40 in / 86–102 cm, especially if reach or confidence makes a larger candidate difficult to control.
- Compare 14 Inch first when the child is 37–45 in / 94–114 cm and can comfortably stand over, reach and control the exact bicycle.
- Compare 16 Inch first when the child is 40–48 in / 102–122 cm, but reject it if the child stretches, struggles with the controls or lacks confidence.
If measurements fall in an overlap, try the smaller and larger candidates rather than guessing. Choose the one the child can control now. Wheel diameter is only a starting label; the actual frame, adjustment range and control placement determine whether a particular bike works.
Complete the safety and setup checks
Use a bicycle helmet that fits properly, sits level and has its straps adjusted according to the helmet manufacturer’s instructions. Recheck the fit rather than relying only on the helmet’s printed size.
For assembly, adjustments, maintenance, load limits, compatibility and torque values, follow the manual for the exact product. If the instructions are missing, unclear or beyond your experience, use a qualified bicycle mechanic. Do not improvise specifications from another size or model.
Your next step is simple: measure height and inseam, shortlist the matching 12-, 14- or 16-inch options, and let your 4-year-old try them. Buy only the size that permits comfortable stand-over, easy reach, reliable brake operation and confident control today.
Bikes for your next adventure
-
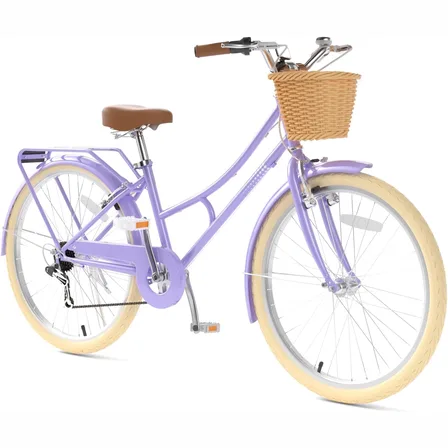
26-Inch XJD Beach Cruiser Bike for Girls – Purple, V-Brake
This XJD 26-inch purple beach cruiser is sized for big kids and teens — suggeste…$218.49
$229.99 -

Light Pink XJD Girls' Bicycle with Basket & Training Wheels
The Light Pink XJD Girls' Bicycle with Basket & Training Wheels is a retro-style…$109.99
$129.99 -
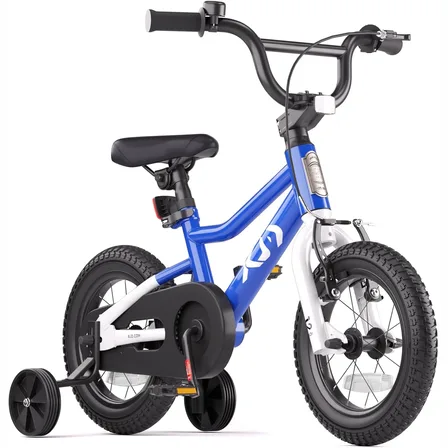
XJD Boys & Girls BMX Bike with Training Wheels, 12/14/16" – Blue
The XJD Boys & Girls BMX Bike in Blue is a first pedal bike for kids roughly age…$99.99
$119.99