

A boy riding a bicycle
A boy riding a bicycle needs a correctly sized bike he can stand over, steer, start, stop and brake confidently. Measure him first, then confirm the fit in person instead of choosing by age or buying extra room for growth.
Measure the rider before comparing bikes
Record the boy’s standing height and inseam while he is wearing the shoes he will normally ride in. Height gives you a wheel-size starting point; inseam helps determine whether he can stand over the bicycle comfortably. Because frame shapes and adjustment ranges can differ, neither measurement replaces trying the exact bike.
During the fit check, look beyond whether his feet can reach the ground. He should be able to hold the handlebar without an awkward stretch, turn it while remaining balanced, and operate the brakes with controlled pressure. Current confidence matters too: a hesitant beginner may need a more manageable setup than a practiced rider of the same height.
Use wheel size as a starting point
| Wheel size | XBikes age guide | Rider-height guide |
|---|---|---|
| 12 Inch | Ages 3–4 | 34–40 in / 86–102 cm |
| 14 Inch | Ages 3–6 | 37–45 in / 94–114 cm |
| 16 Inch | Ages 4–7 | 40–48 in / 102–122 cm |
| 18 Inch | Ages 5–9 | 43–52 in / 109–132 cm |
| 20 Inch | Ages 7–12 | 48–60 in / 122–152 cm |
| 24 Inch | Ages 10–14 | 54–64 in / 137–163 cm |
| 26 Inch | Youth and adults | Over 60 in / 153 cm |
Overlapping ranges are intentional starting points, not an instruction to select the larger option. Prioritize measured height, inseam clearance, reach, brake control and confidence over age. A boy near a boundary should try the relevant sizes rather than automatically moving up.
Check the fit on the actual bicycle
- Stand-over: Have him straddle the bike and confirm that he can stand comfortably rather than being forced onto tiptoes or against the frame.
- Reach and steering: Ask him to hold the grips and turn the handlebar both ways. His posture should remain controlled, without an excessive stretch.
- Brake reach: Confirm that his hands can reach and operate the brake controls while he keeps a secure grip.
- Basic control: In a suitable supervised area, check whether he can mount, start, steer, slow and stop without the bicycle overwhelming him.
Do not accept poor control because he will “grow into” the bike. The HealthyChildren guidance from the American Academy of Pediatrics supports trying the bicycle, checking stand-over and controls, and avoiding an oversized purchase made only for future growth.
When the supplied XBikes options are relevant
The three catalog choices are relevant when the measured rider is considering a 12 Inch, 14 Inch or 16 Inch training-wheel bike. They help answer the title by narrowing the comparison to the same three wheel-size labels while offering blue, black and white catalog options.
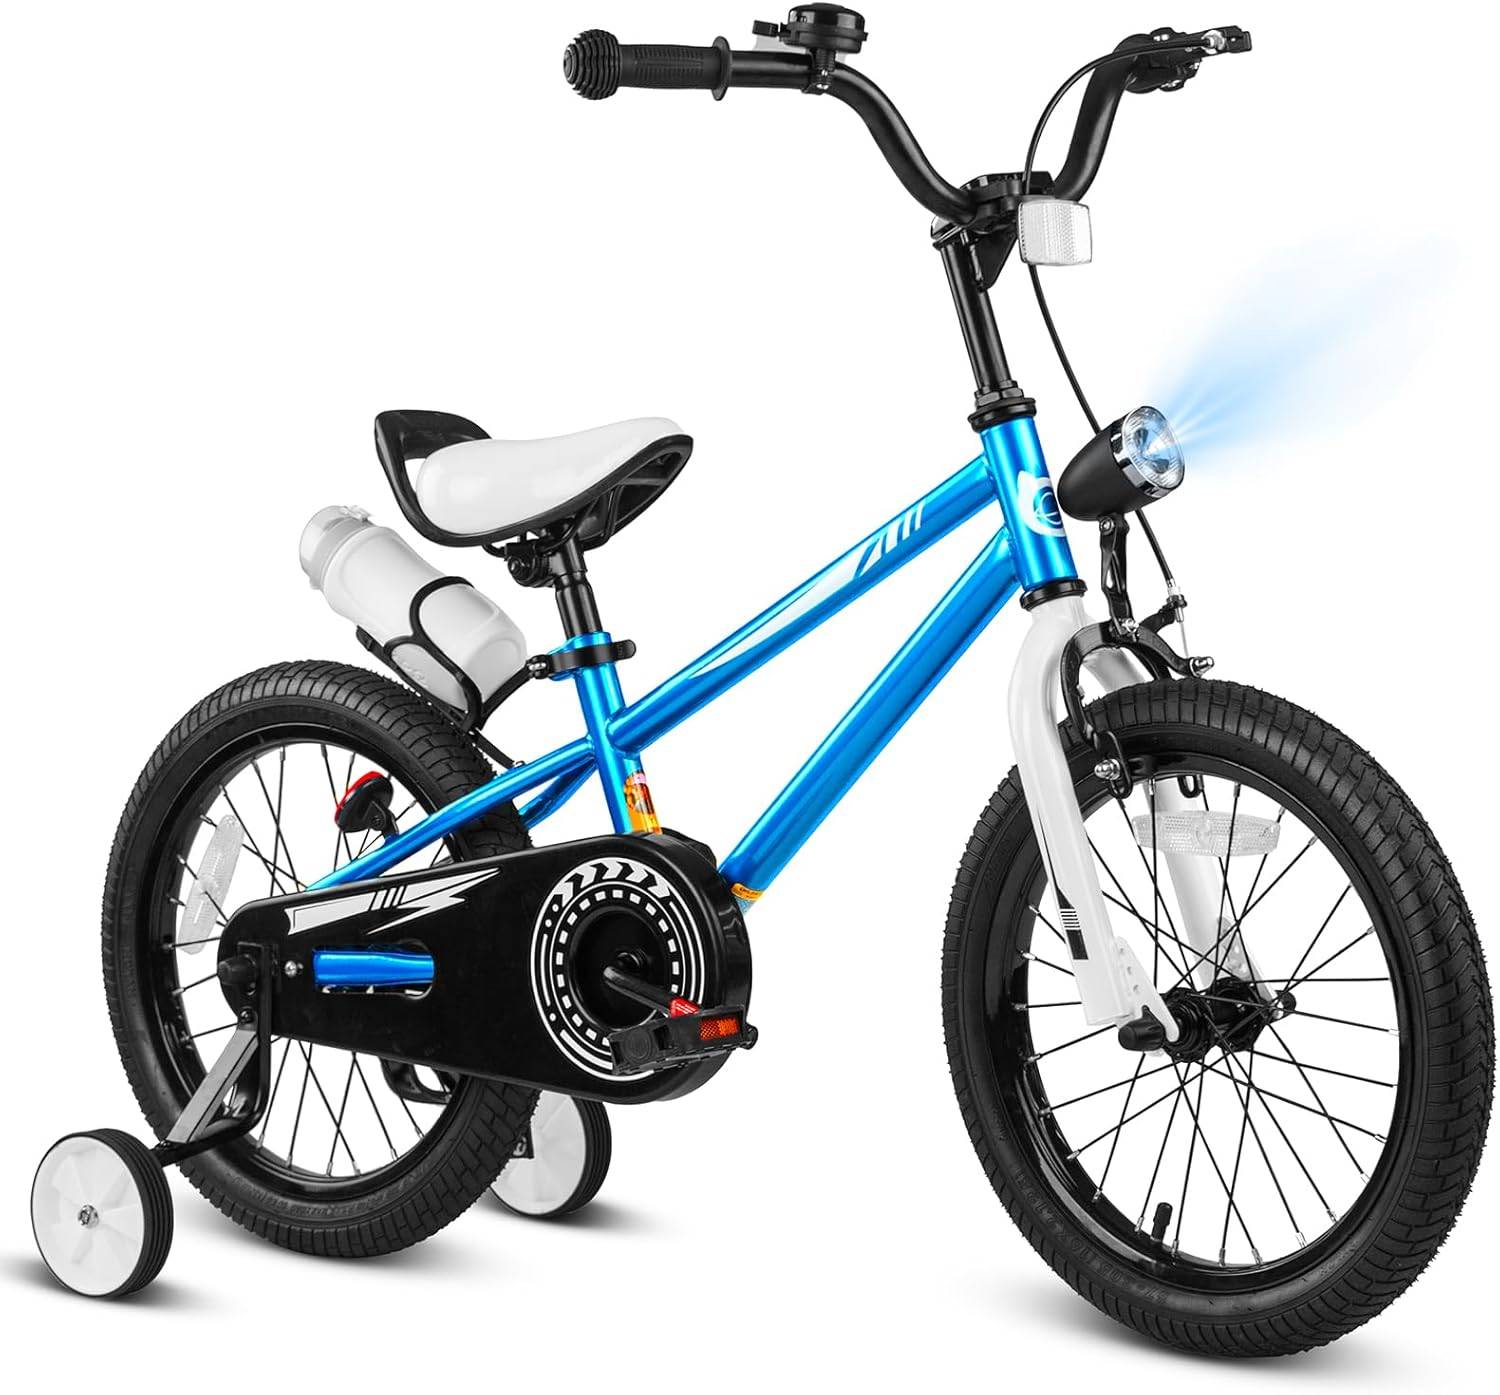 XJD Boys 12/14/16" Training Wheel Bike – Blue
A blue training-wheel bike listed in 12 Inch, 14 Inch and 16 Inch sizes; relevant when the rider’s measurements and individual fit check point to one of those wheel sizes.
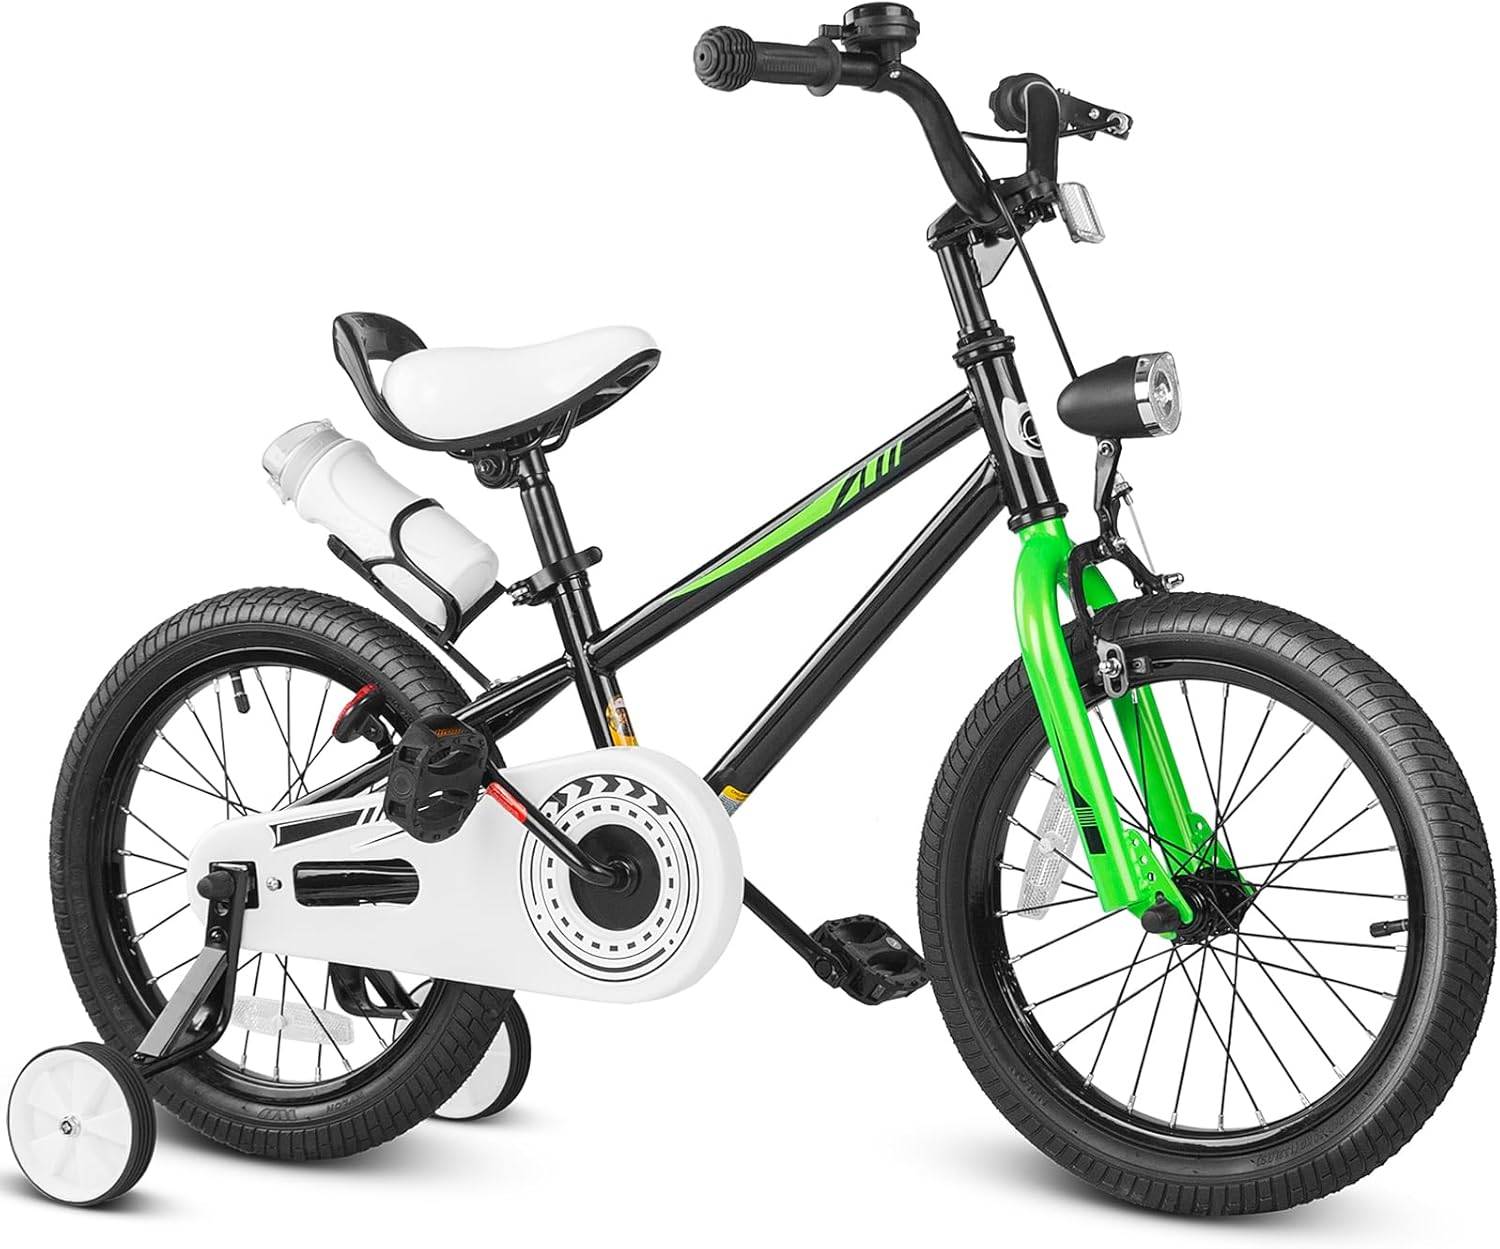 Black XJD Kids Bike for Boys – 12, 14 & 16 Inch Sizes
A black kids’ training-wheel bike with 12 Inch, 14 Inch and 16 Inch SKU labels; compare the appropriate size only after measuring height and inseam and checking control.
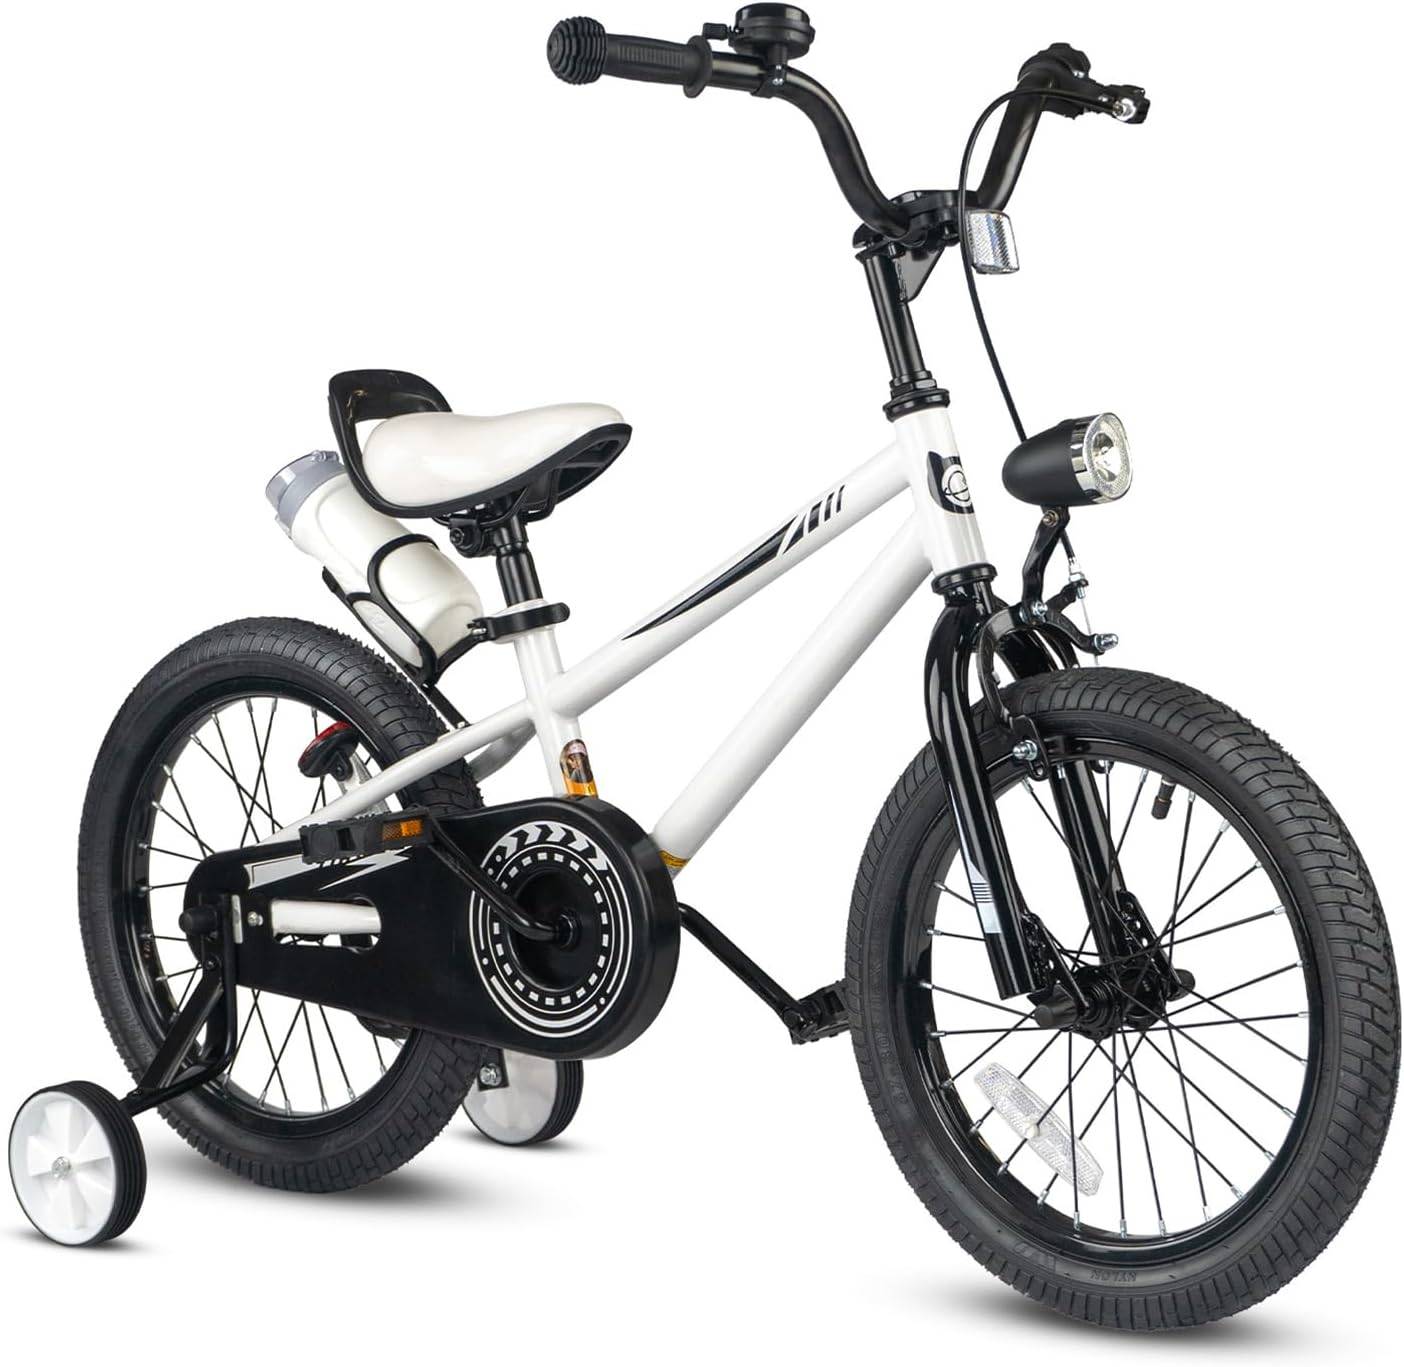 XJD Kids' Training Wheel Bike for Boys & Girls, 12/14/16 Inch – White
A white training-wheel bike for boys and girls, available under 12 Inch, 14 Inch and 16 Inch labels; relevant only when one of those sizes passes the rider’s fit check.
XJD Boys 12/14/16" Training Wheel Bike – Blue is the blue option, with 12 Inch, 14 Inch and 16 Inch SKU labels. Black XJD Kids Bike for Boys – 12, 14 & 16 Inch Sizes provides the same listed size choices in black. XJD Kids' Training Wheel Bike for Boys & Girls, 12/14/16 Inch – White provides those three listed sizes in white.
On the supplied facts, wheel-size label and catalog color are the meaningful differences available for comparison. No conclusion should be drawn here about price, weight, materials, brakes or stock. Select the possible size from the measured-height guide, then verify the individual fit and controls on that exact model.
When these products are not the right shortlist
These products are not relevant if the rider’s fit check points outside 12, 14 or 16 Inch wheels, or if a training-wheel bike does not match his present ability and intended setup. For example, a measured height above the listed 16 Inch starting range may point toward another wheel-size comparison, but the next size still requires its own stand-over, reach and brake-control check.
They are also not interchangeable merely because their available size labels match. Follow the exact product manual for assembly, adjustment, maintenance, compatibility and load limits. If the manual is unavailable, unclear or the setup cannot be verified, use a qualified bicycle mechanic.
Prepare the boy to ride
Use a bicycle helmet that fits properly, sits level and has its straps adjusted according to the helmet manufacturer’s instructions, consistent with U.S. Consumer Product Safety Commission guidance. Choose a controlled practice area away from traffic and supervise according to the child’s ability.
The next decision is concrete: measure the boy’s height and inseam, shortlist the matching wheel sizes, and have him try each candidate. Choose only the bicycle on which he can stand over, reach, steer and brake confidently today.
Bikes for your next adventure
-
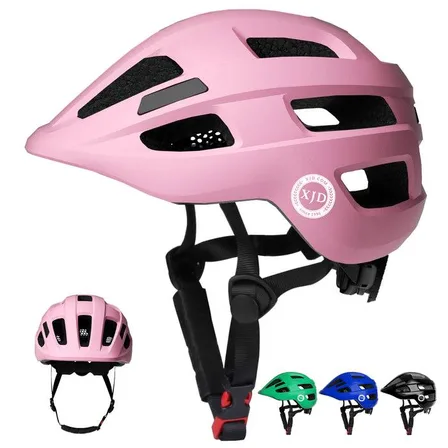
Kids Bike Helmet by XJD for Boys & Girls – Black, Blue, Green, Pink, Purple
The XJD Kids Bike Helmet covers a wide 2-to-8-year age range thanks to two head-…$59.99
-
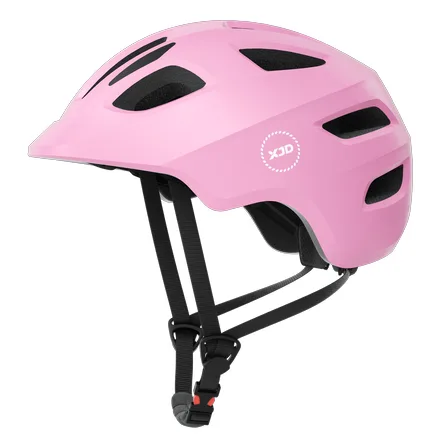
Kids Bike Helmet by XJD for Girls – Pink
The XJD Kids Bike Helmet in Pink is a lightweight multi-sport helmet for girls r…$59.99
$99 -
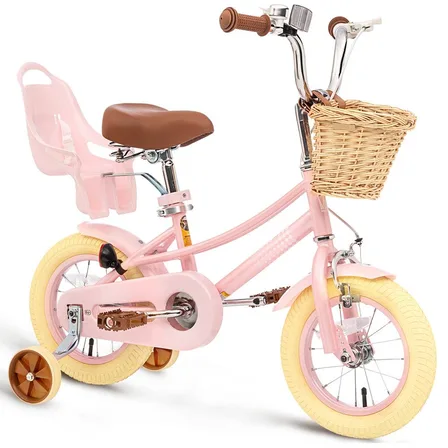
XJD Kids Bike for Girls – Pink, 12/14/16/20 Inch with Training Wheels
The XJD Kids Bike for Girls in Pink is a training-wheel bike built to carry your…$139
$159