

How to buy a bike for a boy
To buy a bike for a boy, measure his height and inseam, shortlist a wheel size, then have him try the bike for stand-over clearance, reach, brake control and confidence.
Measure before choosing a size
Ask the rider to stand straight in socks, with his back against a wall, and record his height. Measure his inseam from the floor to the top of the inside leg. Use height to find a starting wheel size, then use the inseam during the physical fit check.
Age is only a rough reference. Two boys of the same age can need different bikes because their height, proportions and riding confidence differ. Do not buy an oversized bicycle merely to leave room for growth. A bike that fits now should be easier for the child to control.
Use wheel size as a shortlist
| Wheel size | Starting age | Rider height |
|---|---|---|
| 12 Inch | 3–4 | 34–40 in / 86–102 cm |
| 14 Inch | 3–6 | 37–45 in / 94–114 cm |
| 16 Inch | 4–7 | 40–48 in / 102–122 cm |
| 18 Inch | 5–9 | 43–52 in / 109–132 cm |
| 20 Inch | 7–12 | 48–60 in / 122–152 cm |
| 24 Inch | 10–14 | 54–64 in / 137–163 cm |
| 26 Inch | Youth and adults | Over 60 in / 153 cm |
The overlapping ranges are intentional starting points, not automatic answers. If his measured height falls into two rows, try both sizes rather than choosing the larger one by default. Current confidence, body proportions and actual control should settle the decision.
Check the bike with the rider on it
Have the boy try the exact bicycle whenever possible. First, ask him to straddle the frame with both feet on the ground. He should have usable clearance rather than being pressed against the bicycle. Next, seat him and check that he can reach the handlebar without an uncomfortable stretch or a cramped posture.
Ask him to hold the grips, steer in both directions and operate each brake control provided on the bike. He must be able to reach and use the controls without losing his grip or shifting into an unstable position. Also watch whether he can start, stop, place a foot down and keep the bicycle upright with confidence.
If he looks tense, cannot manage the brakes, or struggles to control the bike, do not treat the next birthday or a height-chart match as proof of fit. Try another size or model.
Decide whether training wheels are relevant
The three supplied XBikes options are all categorized as Training Wheel Bikes and each has 12 Inch, 14 Inch and 16 Inch SKU labels. They help answer this buying decision when the rider fits one of those sizes and a training-wheel bike matches his present learning stage; color and title wording distinguish the choices, but do not establish fit.
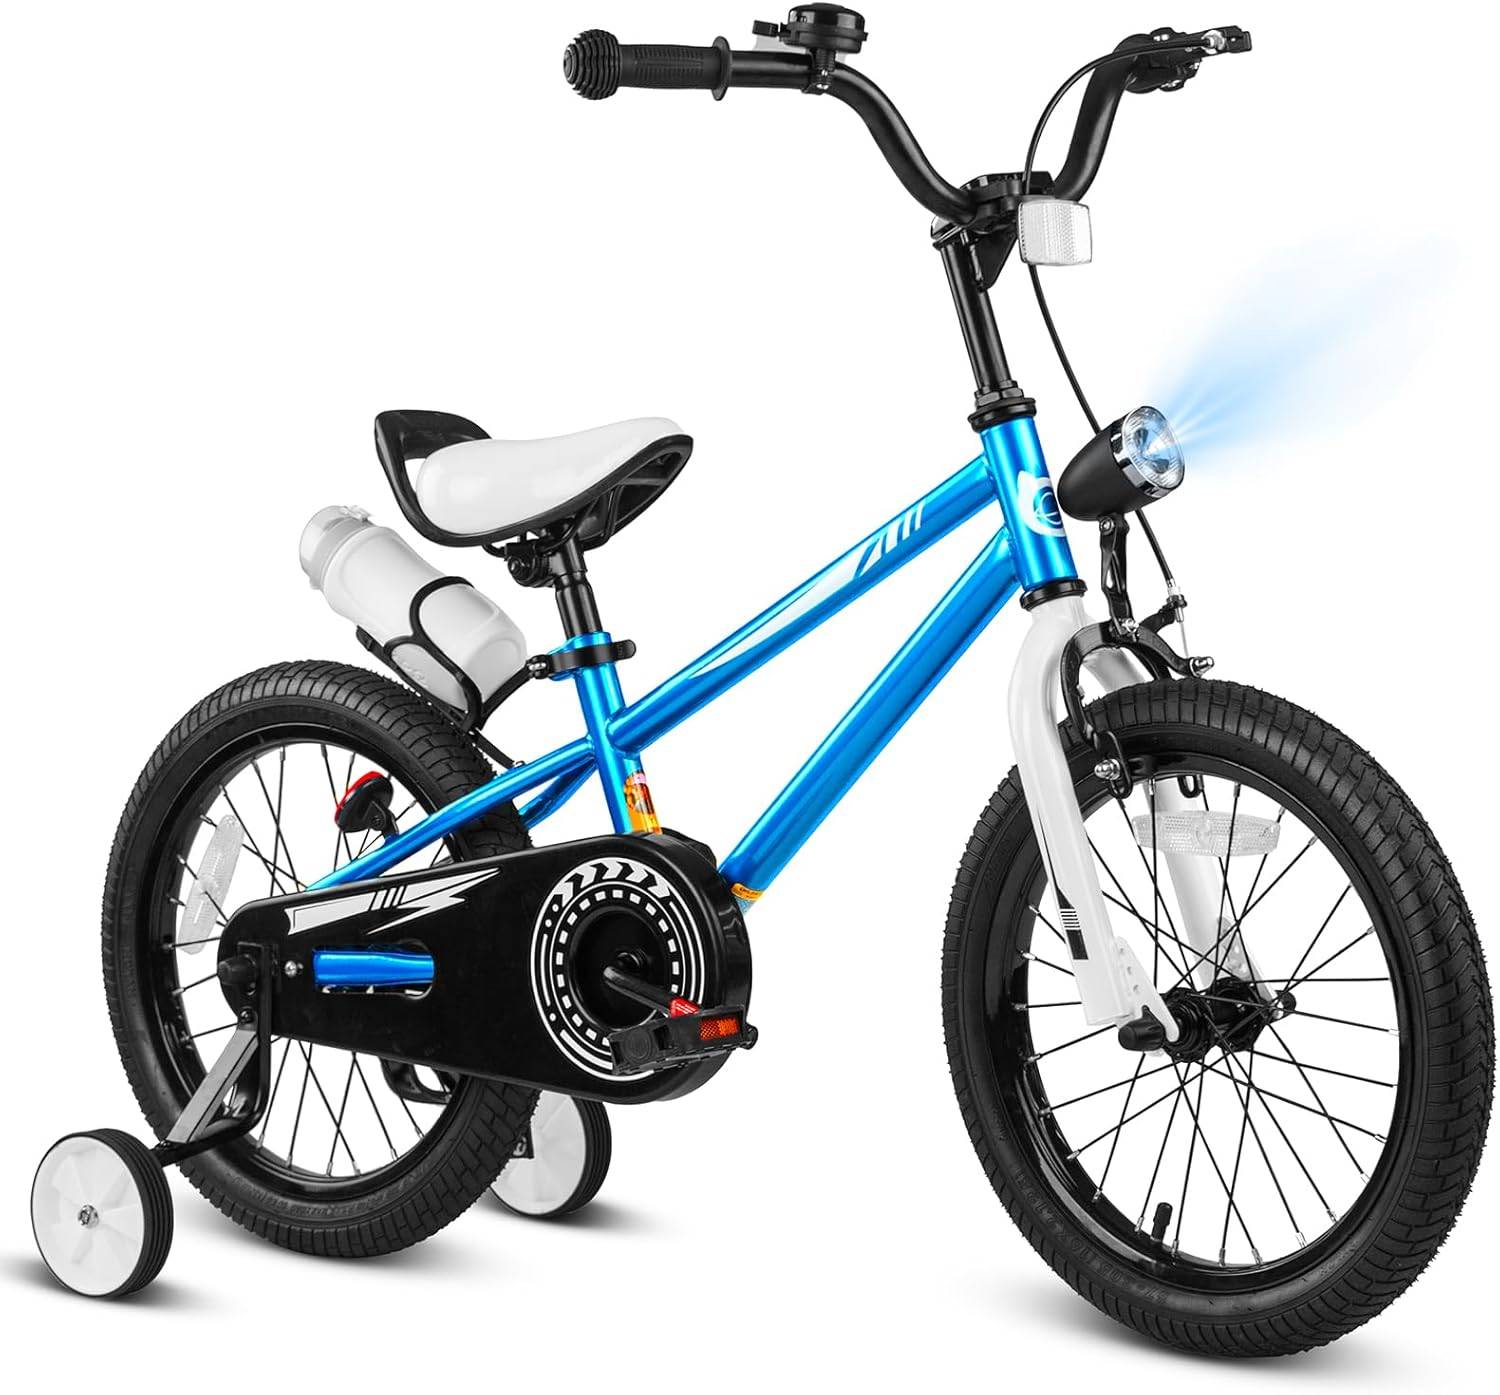 XJD Boys 12/14/16" Training Wheel Bike – Blue
A blue Training Wheel Bike with 12 Inch, 14 Inch and 16 Inch labels. It is relevant when the rider fits one of those starting sizes and training wheels suit his current learning stage.
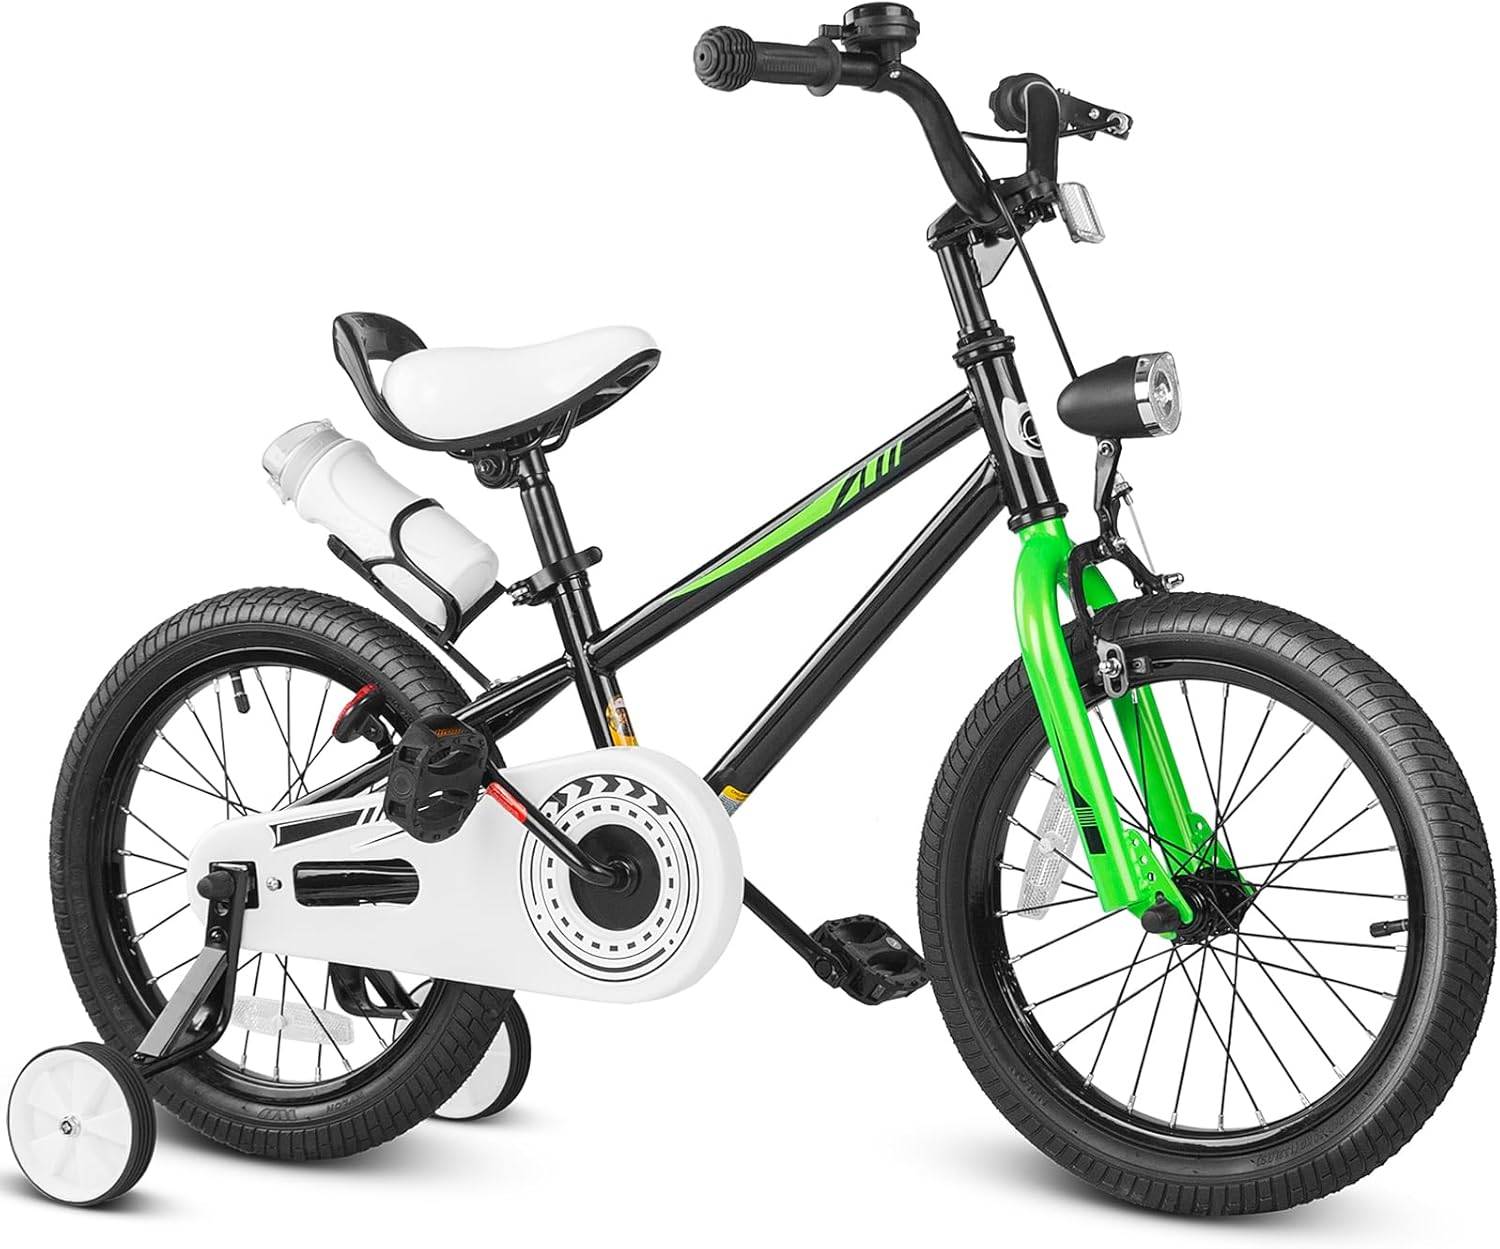 Black XJD Kids Bike for Boys – 12, 14 & 16 Inch Sizes
A black Training Wheel Bike available in 12 Inch, 14 Inch and 16 Inch labels. Consider it only after confirming the boy’s measured height, individual fit, control and need for training wheels.
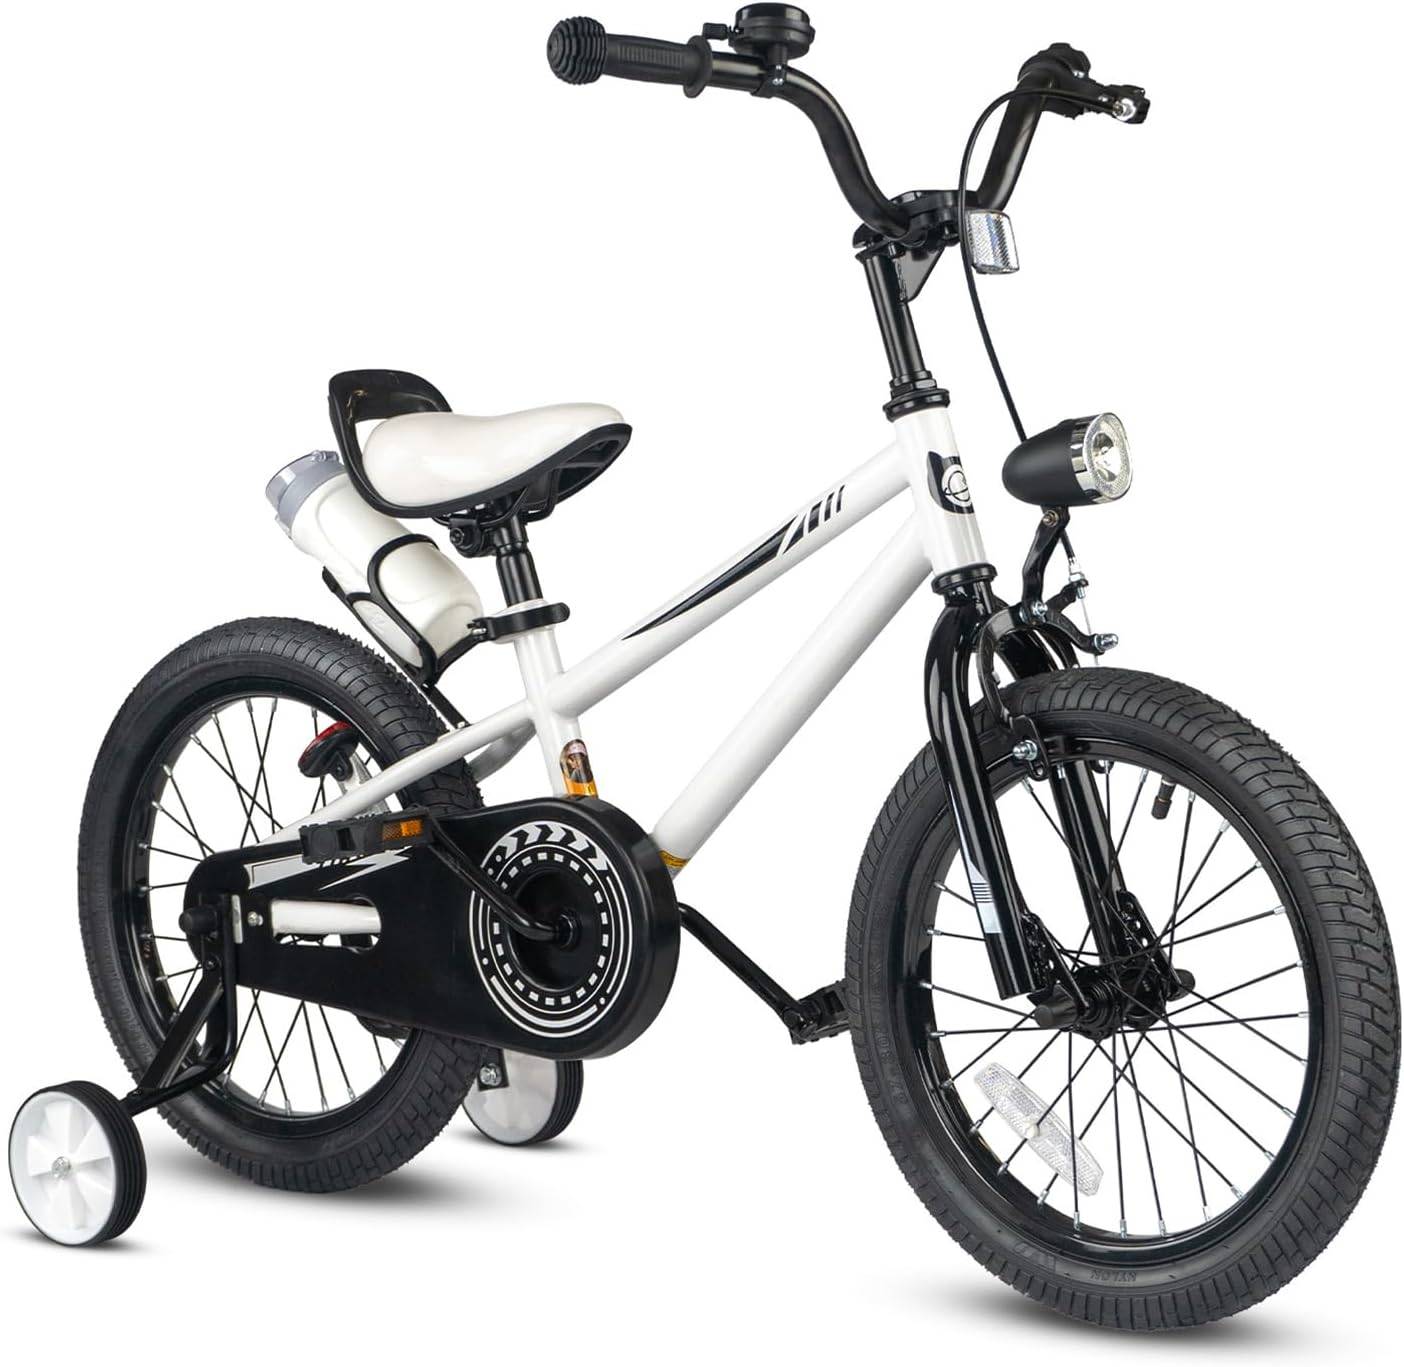 XJD Kids' Training Wheel Bike for Boys & Girls, 12/14/16 Inch – White
A white Training Wheel Bike for boys and girls with 12 Inch, 14 Inch and 16 Inch labels. The catalog wording does not determine fit; measurements, a physical fit check and present confidence do.
XJD Boys 12/14/16" Training Wheel Bike – Blue is the blue option, offered with 12 Inch, 14 Inch and 16 Inch labels. Black XJD Kids Bike for Boys – 12, 14 & 16 Inch Sizes provides the same listed size choices in black. XJD Kids' Training Wheel Bike for Boys & Girls, 12/14/16 Inch – White is the white option and also has those three labels.
Compare these products only after identifying the likely wheel size and checking the individual fit. They are not relevant if the rider needs an 18 Inch, 20 Inch, 24 Inch or 26 Inch starting point, or if a training-wheel configuration does not suit his current ability and learning plan. Wording such as “Boys” or “Kids” in a title is a catalog label, not evidence that the bicycle fits a particular child.
Confirm setup and helmet fit
Before riding, follow the exact product manual for assembly, adjustment, maintenance, load limits, compatibility and any torque requirements. If the instructions are missing, unclear or beyond your experience, use a qualified bicycle mechanic rather than guessing.
A bicycle helmet must fit the child properly, sit level on his head and have its straps used according to the helmet manufacturer’s instructions. Recheck the bike controls and helmet fit as the rider grows.
Make the purchase decision
- Measure the boy’s height and inseam.
- Use the XBikes chart to shortlist one or two wheel sizes.
- Have him try the exact bike and assess stand-over clearance, reach, brake operation and basic control.
- Choose a training-wheel model only if that configuration matches his present confidence and learning needs.
- Reject a larger bike if he cannot control it comfortably today.
Buy the bike for the boy he is now: the size and configuration he can straddle, reach, brake, steer and stop with confidence—not one selected mainly for future growth.
Bikes for your next adventure
-
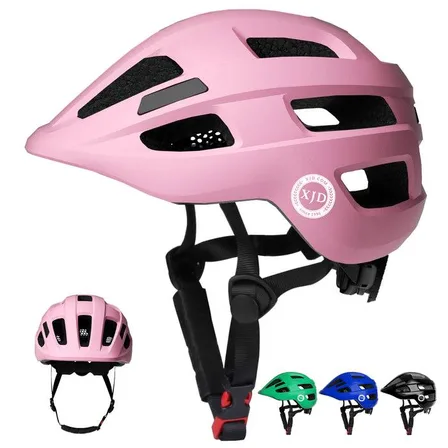
Kids Bike Helmet by XJD for Boys & Girls – Black, Blue, Green, Pink, Purple
The XJD Kids Bike Helmet covers a wide 2-to-8-year age range thanks to two head-…$59.99
-
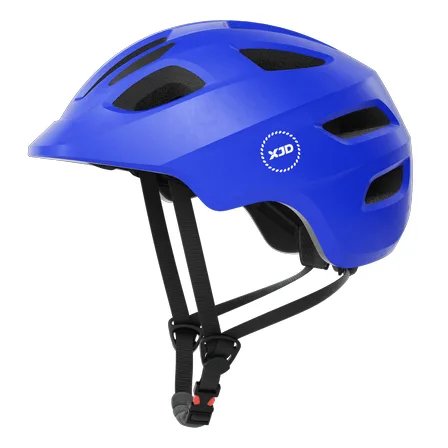
Blue XJD Kids Bike Helmet for Boys & Girls
The Blue XJD Kids Bike Helmet is a lightweight, adjustable multi-sport helmet fo…$59.99
$99 -
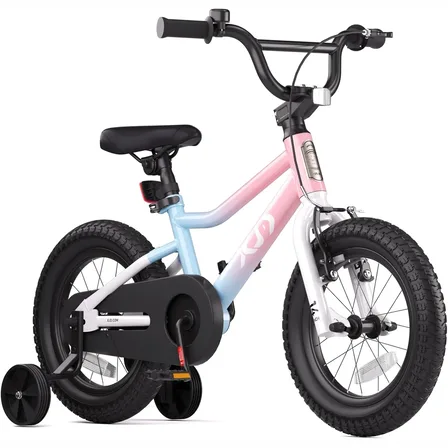
XJD Girls BMX Bike 12/14/16 Inch with Training Wheels – Pink Blue
The XJD Girls BMX Bike in Pink/Blue is built as a first pedal bike for kids roug…$99.99
$119.99