

How to size boys bikes
Measure the boy’s height and inseam, then compare his height with the XBikes wheel-size starting points. Confirm stand-over clearance, reach and brake control on the actual bike before choosing a size.
Measure the rider before comparing bike sizes
Use current measurements, not clothing size or age alone. Have the child stand straight without shoes against a wall and measure from the floor to the top of his head. Record the result in inches or centimetres.
For inseam, have him stand with his feet slightly apart. Place a firm, thin book between his legs, gently raised to represent the saddle contact point, and measure from the floor to the top edge of the book. This measurement helps with the stand-over check, but do not convert it into a wheel size without checking the particular bicycle.
Also observe his current confidence. A first-time rider who is hesitant may need a more manageable fit than a confident rider of the same height. Being a “boys” bike does not change the sizing method: body measurements and control determine fit.
Compare measured height with these starting points
| Wheel-size label | XBikes starting point |
|---|---|
| 12 Inch | Ages 3–4; 34–40 in / 86–102 cm |
| 14 Inch | Ages 3–6; 37–45 in / 94–114 cm |
| 16 Inch | Ages 4–7; 40–48 in / 102–122 cm |
| 18 Inch | Ages 5–9; 43–52 in / 109–132 cm |
| 20 Inch | Ages 7–12; 48–60 in / 122–152 cm |
| 24 Inch | Ages 10–14; 54–64 in / 137–163 cm |
| 26 Inch | Youth and adults over 60 in / 153 cm |
Overlapping ranges are intentional starting points, not automatic answers. Prioritize measured height over age. If his height appears in two rows, try both sizes and choose according to stand-over clearance, reach, brake access and confidence. Do not move up merely because his birthday falls in the older range.
Perform the fit check on the actual bicycle
- Check stand-over: with the child standing over the bicycle, he should be able to plant his feet securely and avoid contact with the frame. Frame shapes differ, so inseam alone cannot guarantee clearance.
- Check the riding position: seated in a normal riding posture, he should reach the handlebar without stretching, locking his arms or losing comfortable steering control.
- Check brake reach and control: he must be able to reach and operate the bicycle’s fitted brakes while keeping control of the handlebar. A size is unsuitable if braking requires an awkward hand position.
- Watch a short supervised ride: look for controlled starts, steering, stopping and dismounting. Struggling with these tasks is a reason to reassess the fit rather than assume he will grow into it.
The American Academy of Pediatrics advises having a child try the bicycle, checking stand-over and control, and not buying an oversized bike solely for growth. Adjustments, assembly, maintenance, load limits, compatibility and torque should follow the exact product manual or be handled by a qualified bicycle mechanic.
When the supplied XBikes options are relevant
The three catalog options help when the fit process points to a 12 Inch, 14 Inch or 16 Inch label and training wheels are wanted. They let you compare the same three available size labels across training-wheel and BMX catalog categories; they are not relevant when the fit check indicates 18 Inch or larger.
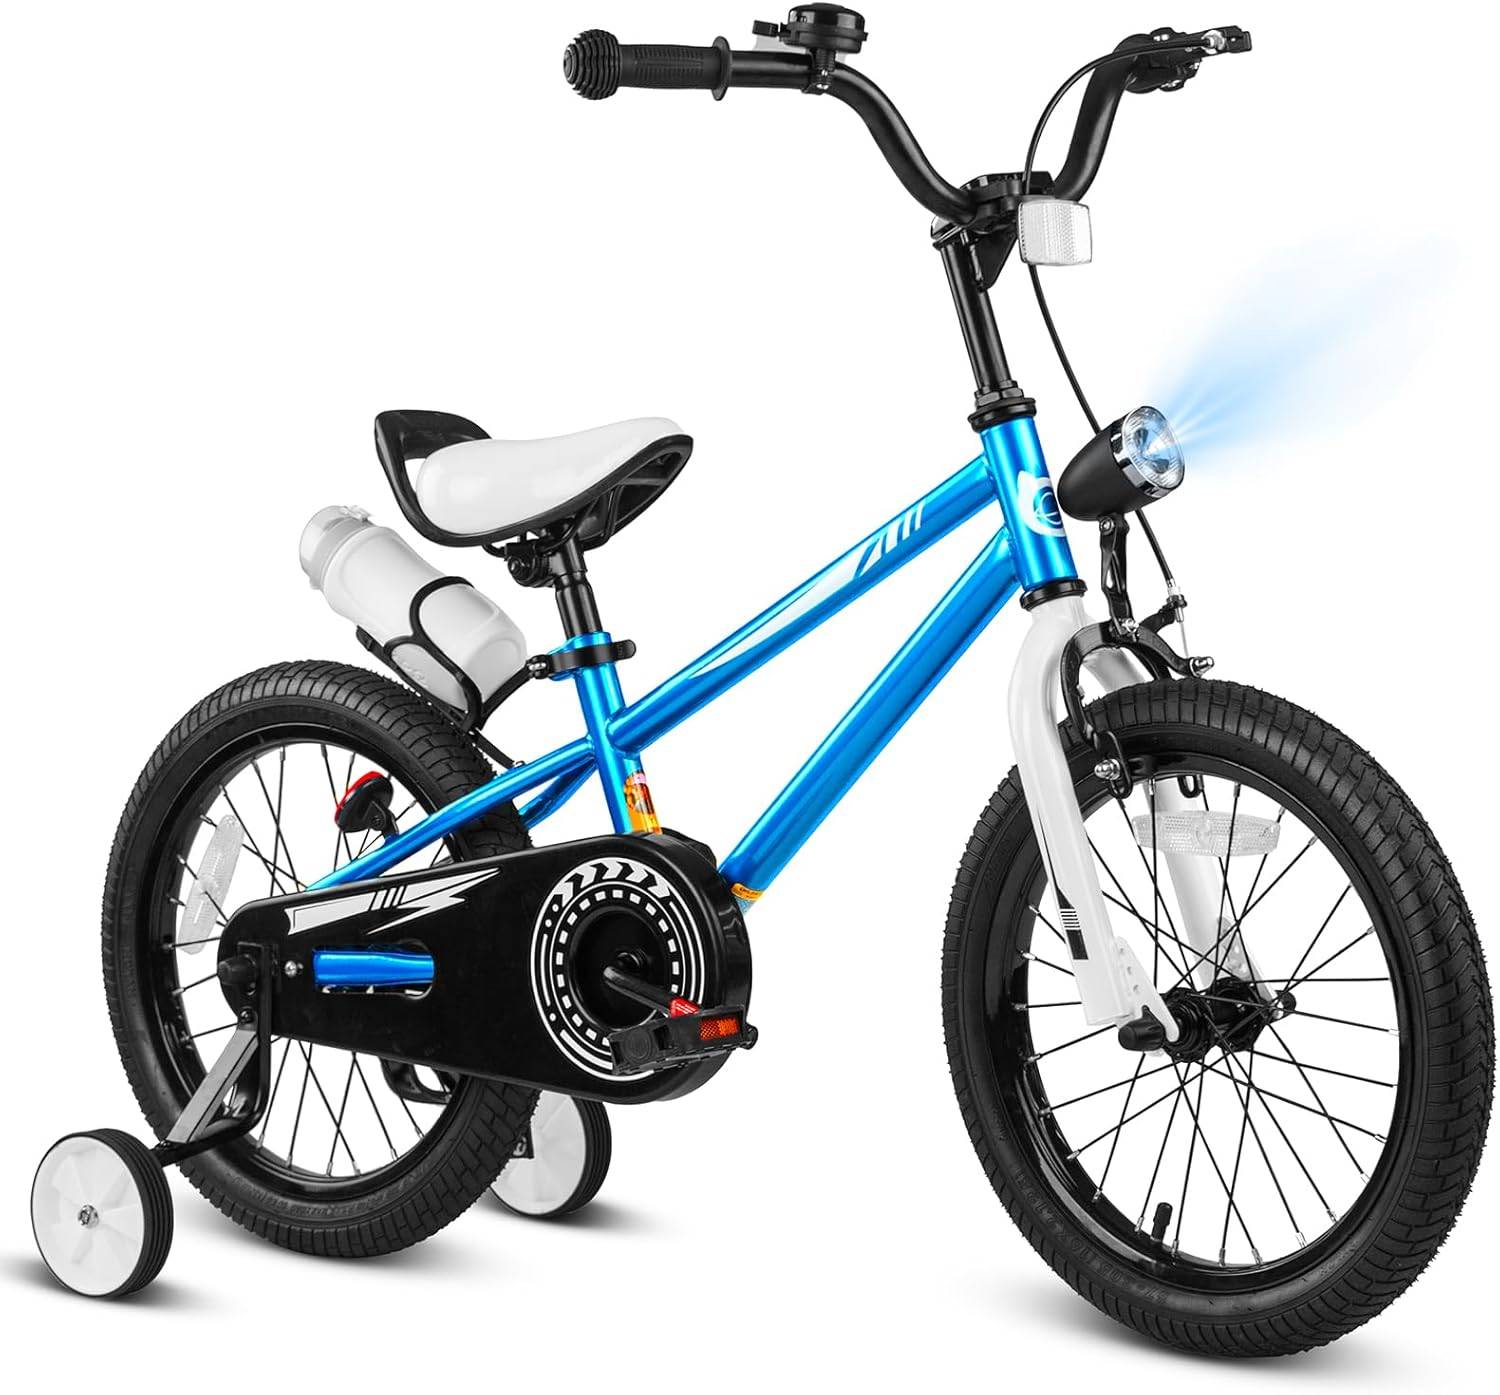 XJD Boys 12/14/16" Training Wheel Bike – Blue
A Training Wheel Bike offered in 12 Inch, 14 Inch and 16 Inch labels; relevant only when measurement and an individual fit check point to one of those sizes.
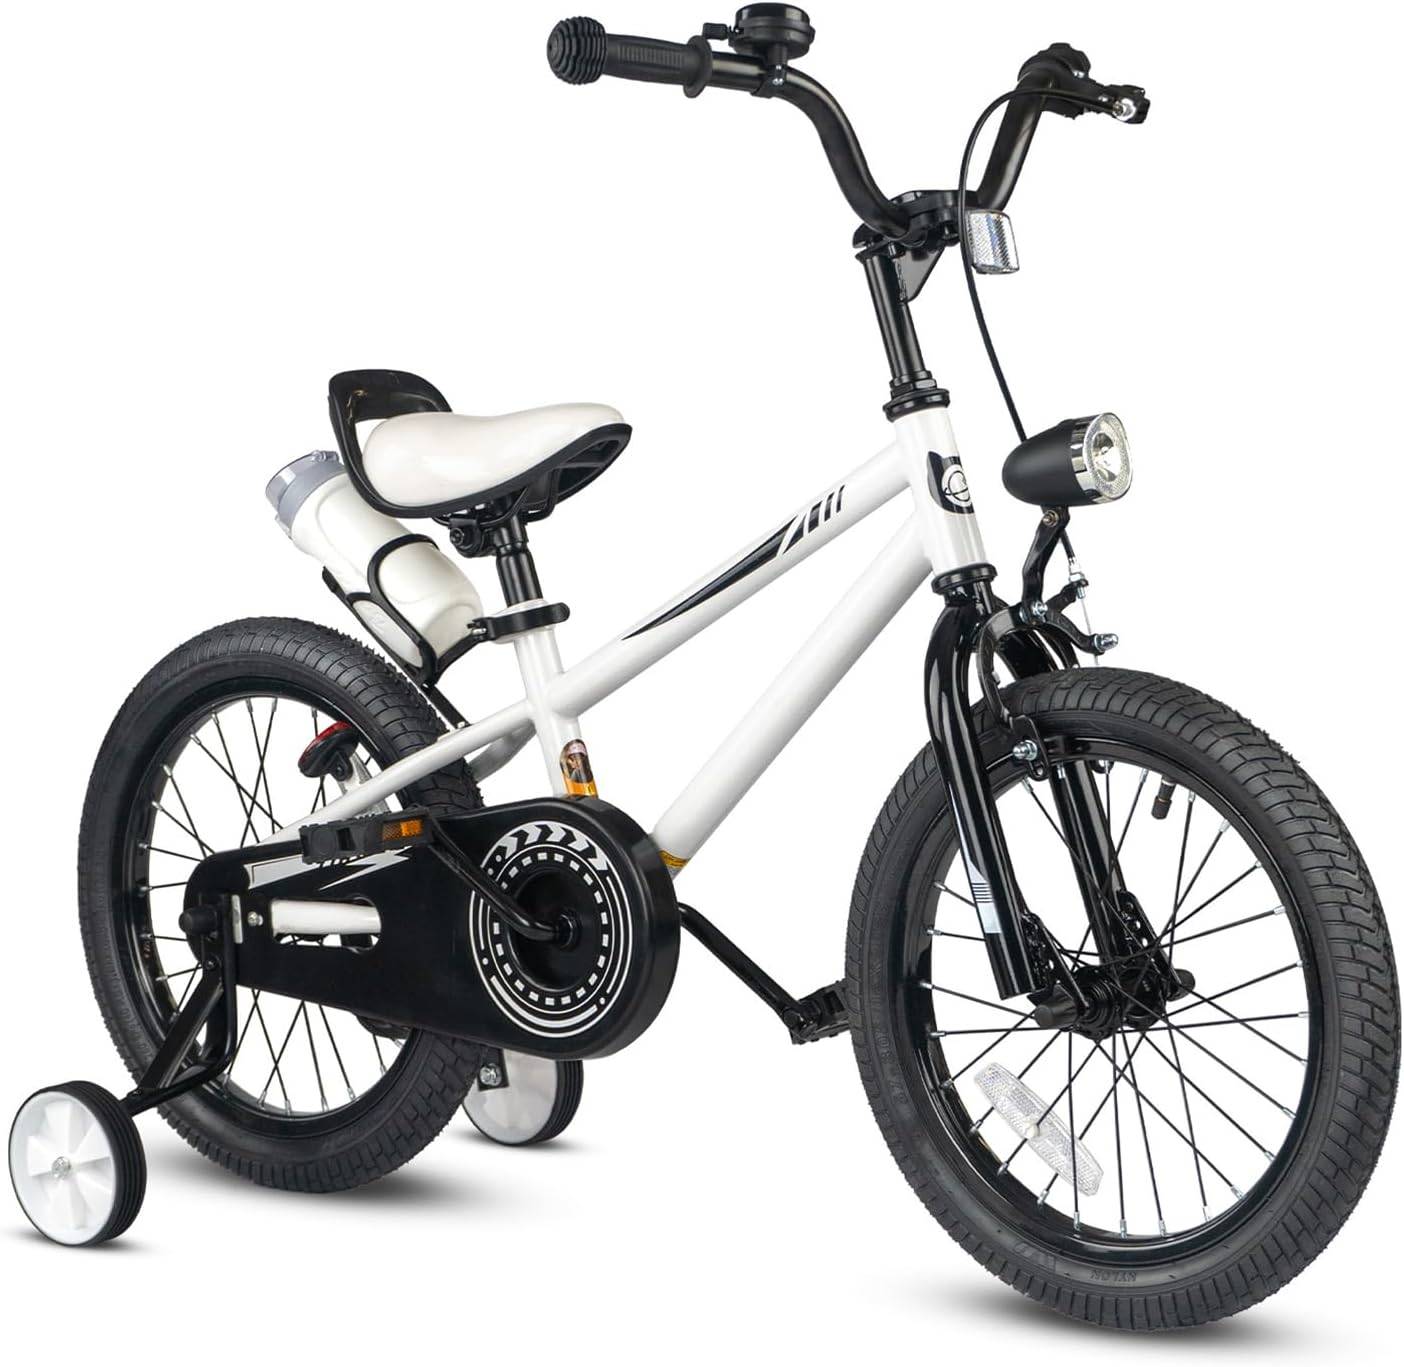 XJD Kids' Training Wheel Bike for Boys & Girls, 12/14/16 Inch – White
A boys-and-girls Training Wheel Bike with 12 Inch, 14 Inch and 16 Inch labels. The catalog wording does not determine fit; verify the chosen size on the rider.
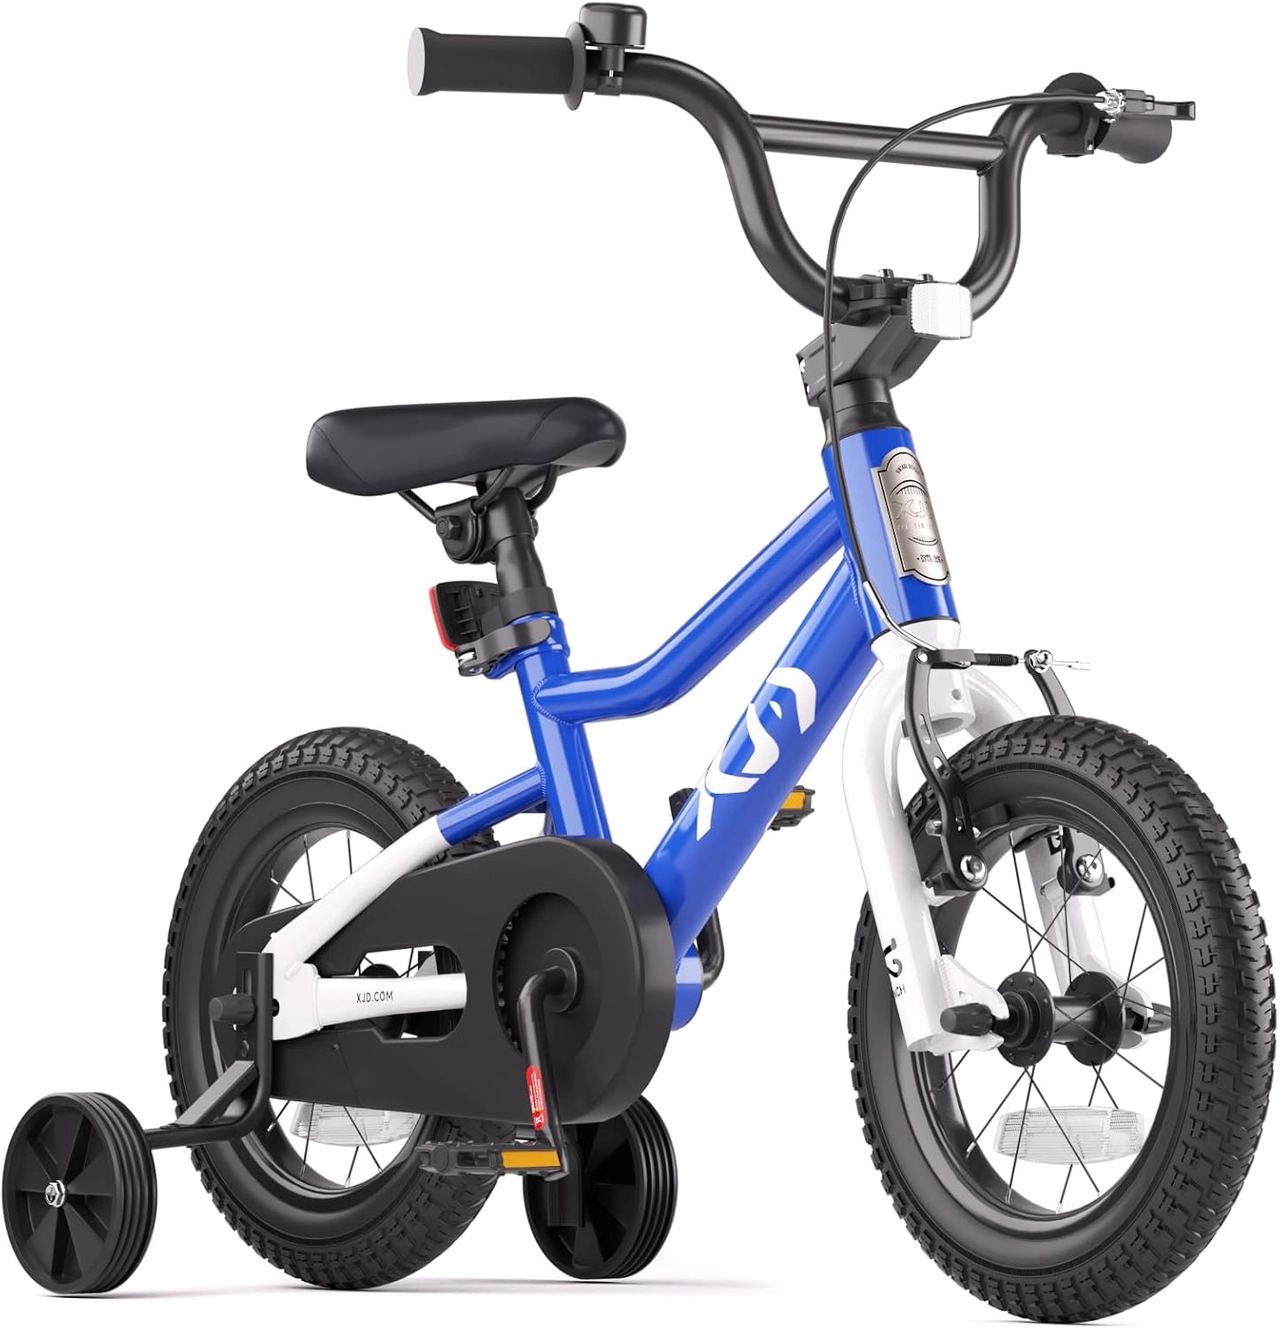 XJD Boys & Girls BMX Bike with Training Wheels, 12/14/16" – Blue
A Kids' BMX Bike with training wheels in its title and 12 Inch, 14 Inch and 16 Inch options. Consider it only after measurements identify those labels as candidates.
XJD Boys 12/14/16" Training Wheel Bike – Blue is categorized as a Training Wheel Bike and is offered with 12 Inch, 14 Inch and 16 Inch SKU labels.
XJD Kids' Training Wheel Bike for Boys & Girls, 12/14/16 Inch – White is also categorized as a Training Wheel Bike with the same three available size labels. Its boys-and-girls wording is a catalog description, not sizing evidence.
XJD Boys & Girls BMX Bike with Training Wheels, 12/14/16" – Blue is categorized as a Kids' BMX Bike and has training wheels in its title, with 12 Inch, 14 Inch and 16 Inch options. The BMX category does not replace the individual fit checks.
These listings do not supply the frame dimensions needed to choose between overlapping height ranges remotely. Confirm the selected SKU label, then have the child try that exact bicycle. None of these products should be chosen if he cannot stand over it, reach comfortably, operate its brakes or control it confidently.
Complete the sizing decision
Write down height, inseam and the one or two candidate wheel-size labels. Try the candidate bikes, reject any oversized or awkward option, and select the size on which the child can stand, steer and brake with control now.
Before riding, add a properly fitted bicycle helmet. The U.S. Consumer Product Safety Commission advises that it sit level and that its straps be used according to the helmet manufacturer’s instructions. The final answer to how to size a boys bike is therefore measurement first, XBikes height range second, and an actual control check before purchase.
Bikes for your next adventure
-
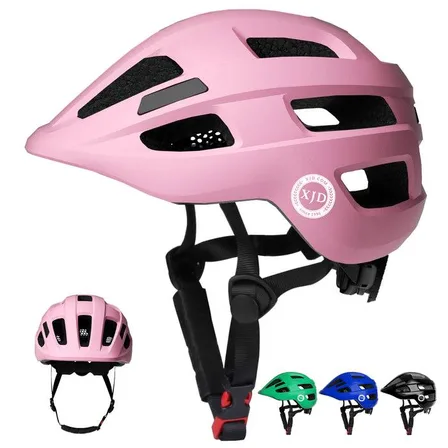
Kids Bike Helmet by XJD for Boys & Girls – Black, Blue, Green, Pink, Purple
The XJD Kids Bike Helmet covers a wide 2-to-8-year age range thanks to two head-…$59.99
-
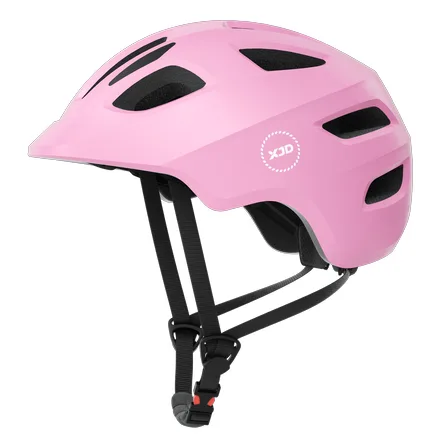
Kids Bike Helmet by XJD for Girls – Pink
The XJD Kids Bike Helmet in Pink is a lightweight multi-sport helmet for girls r…$59.99
$99 -
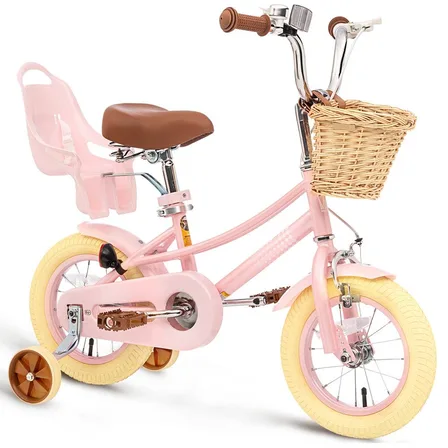
XJD Kids Bike for Girls – Pink, 12/14/16/20 Inch with Training Wheels
The XJD Kids Bike for Girls in Pink is a training-wheel bike built to carry your…$139
$159