

How is the fastes way to build a child bike
The fastest way to build a child’s bike is to choose the correct wheel size first, confirm the child can control the actual bike, and then have it assembled exactly as its manual directs. If any step, adjustment or inspection is unclear, use a qualified bicycle mechanic instead of guessing.
Measure before you build
Measure the child’s standing height and inseam while they wear the shoes they will normally use for riding. Height provides a wheel-size starting point; inseam helps you evaluate stand-over clearance on the actual frame. Age alone is not enough.
| Wheel size | Age starting point | Rider height |
|---|---|---|
| 12 Inch | 3–4 | 34–40 in / 86–102 cm |
| 14 Inch | 3–6 | 37–45 in / 94–114 cm |
| 16 Inch | 4–7 | 40–48 in / 102–122 cm |
| 18 Inch | 5–9 | 43–52 in / 109–132 cm |
| 20 Inch | 7–12 | 48–60 in / 122–152 cm |
| 24 Inch | 10–14 | 54–64 in / 137–163 cm |
| 26 Inch | Youth and adults | Over 60 in / 153 cm |
Use these ranges only to narrow the search. Prioritize measured height, inseam, reach, brake control and current confidence. Do not move up a size merely to leave room for growth.
Compare the actual bikes, not just wheel labels
Once the starting size is known, have the child try the bike. They should be able to stand over it appropriately, reach the controls without struggling, steer confidently and operate the brake with control. Compare candidates with the child present whenever possible; two bikes carrying the same wheel label can still feel different.
A larger bike is not automatically faster to prepare or more economical in the long run. If the child cannot control it now, it is not the right shortcut. Narrowing the choice through a real fit check prevents wasted assembly work and avoids treating a future fit as a current fit.
Use the quickest reliable assembly route
Before beginning, identify the exact model and SKU label, locate its product manual and check that the supplied parts match the manual. Then follow that manual’s sequence, compatibility guidance, adjustments and inspection requirements. Product-specific torque values, maintenance procedures and load limits are not provided here, so they must come from the exact manual.
- Confirm the selected wheel size and individual fit before committing to assembly.
- Match the box, model and SKU label to the correct manual.
- Inventory the supplied components against that manual.
- Complete only the work you can perform exactly as directed.
- Have a qualified bicycle mechanic finish or inspect anything uncertain.
That order is usually faster than assembling first and discovering afterward that the bike does not fit or that an adjustment requires unfamiliar tools or procedures.
Where the supplied catalog options fit
The supplied choices help only when a 24-inch or 26-inch starting point is relevant. The XJD 24-Inch Green Beach Cruiser Bike with U-Brake has catalog labels for Green / 24 Inch, Pink / 24 Inch and Pink / 26 Inch. The Pink XJD Beach Cruiser Bike, 24"/26", U-Brake has 24 Inch and 26 Inch labels. Both are Beach Cruiser Bikes and both identify a U-brake in their exact titles.
These particular catalog options make it possible to compare the relevant 24-inch and 26-inch labels after measuring the rider. They do not supply evidence about assembly steps, dimensions beyond wheel size, or whether either bike fits a particular child.
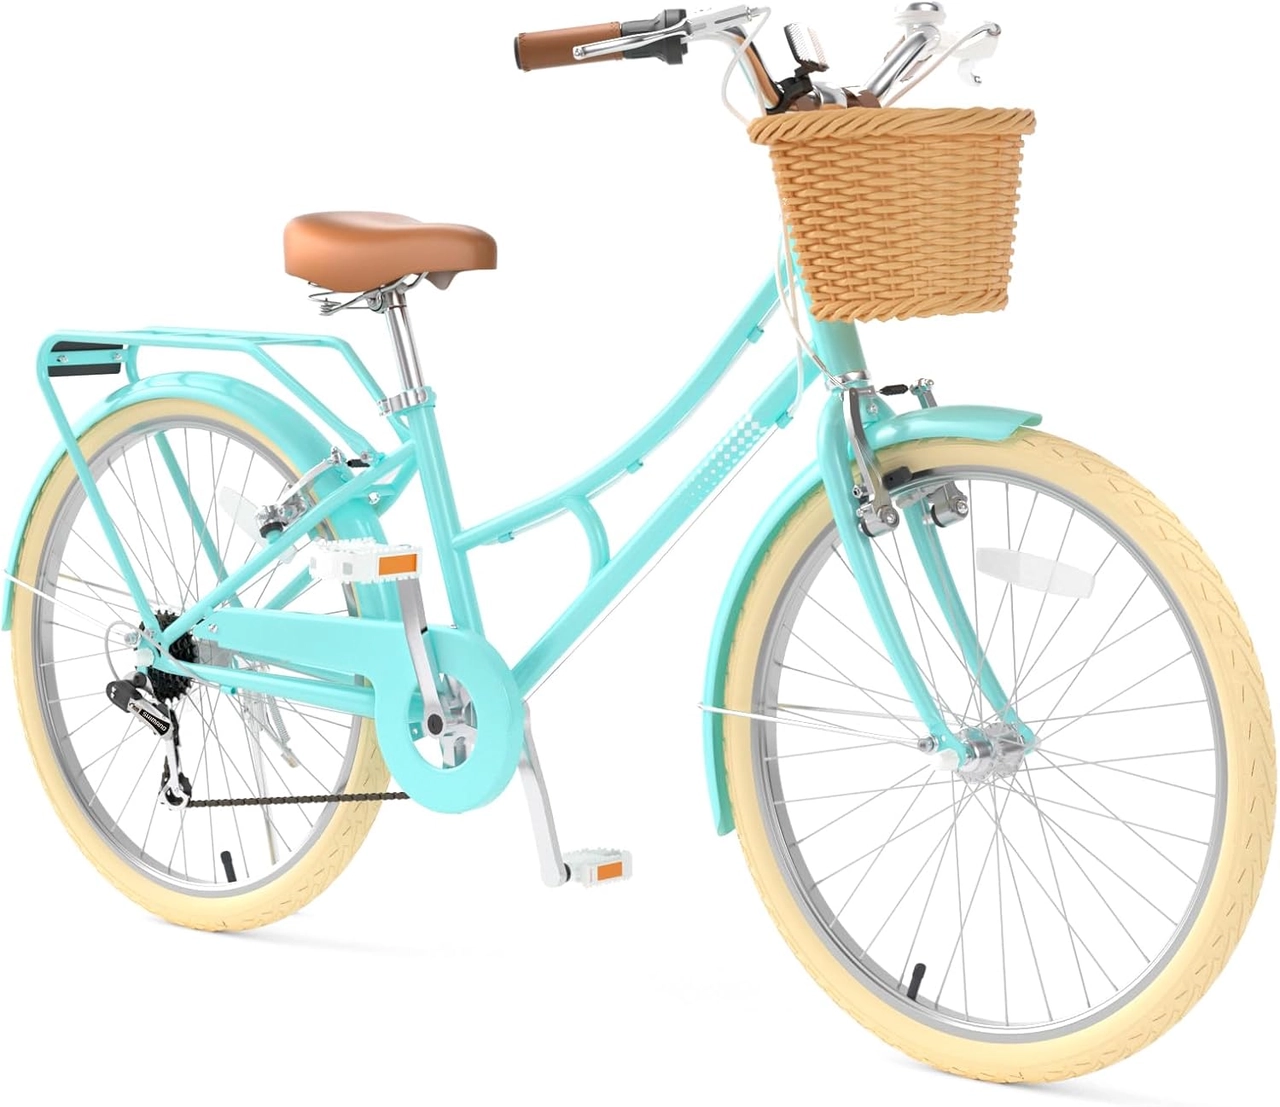 XJD 24-Inch Green Beach Cruiser Bike with U-Brake
A Beach Cruiser Bike with Green / 24 Inch, Pink / 24 Inch and Pink / 26 Inch SKU labels. Relevant only after measurements and an individual fit check indicate 24 or 26 inches.
 Pink XJD Beach Cruiser Bike, 24"/26", U-Brake
A pink Beach Cruiser Bike offered with 24 Inch and 26 Inch SKU labels and a U-brake in its title. Compare those labels only after confirming the rider’s measurements, reach and control.
A 24-inch label is a starting point for ages 10–14 and heights of 54–64 inches / 137–163 cm. A 26-inch label starts with youth and adults over 60 inches / 153 cm. The overlap at the boundary does not make the sizes equivalent: the child still needs to try the actual bike and demonstrate suitable stand-over, reach, brake control and confidence. If measurements indicate 12, 14, 16, 18 or 20 inches, these catalog products are larger comparison points, not substitutes for the indicated size.
Finish with a control and helmet check
Before the first ride, follow the manual’s complete pre-ride inspection. Confirm through an individual fit check that the child can mount, stop, steer and reach the brake comfortably. If the brake setup, fasteners, alignment or any other assembly detail is uncertain, stop and ask a qualified bicycle mechanic to inspect the bike.
Use a bicycle helmet that fits properly, sits level and has its straps positioned according to the helmet manufacturer’s instructions. A poorly fitting helmet should not be treated as ready simply because it can be fastened.
The fastest decision
Measure height and inseam now, select the wheel-size starting point, and arrange an actual fit check before assembly. If a 24-inch or 26-inch beach cruiser is appropriate, compare the two supplied XJD options by their available size and color labels, then build only from the exact manual—or hand the job to a qualified mechanic.
Bikes for your next adventure
-

Kids Bike Helmet by XJD for Boys & Girls – Black, Blue, Green, Pink, Purple
The XJD Kids Bike Helmet covers a wide 2-to-8-year age range thanks to two head-…$59.99
-

Kids Bike Helmet by XJD for Girls – Pink
The XJD Kids Bike Helmet in Pink is a lightweight multi-sport helmet for girls r…$59.99
$99 -

XJD Kids Bike for Girls – Pink, 12/14/16/20 Inch with Training Wheels
The XJD Kids Bike for Girls in Pink is a training-wheel bike built to carry your…$139
$159