

How much nair for 26 inch bike
For a 26-inch bike, there is no single correct amount of air: use the pressure range printed on the tire or specified in the exact bike manual.
What “nair” means here
If “nair” means tire air pressure, the 26-inch measurement describes the wheel-size class; it does not determine pressure. Two 26-inch tires can require different pressures because their tires, rims and intended setups may differ. Do not copy a pressure from another bicycle merely because its wheels are also labeled 26 inch.
Find the permitted pressure information molded or printed on the tire sidewall. Also check the bicycle or tire manual, especially if its instructions are more specific. Stay within the stated limits and use a working pressure gauge rather than judging by squeezing the tire. If the markings are missing, unreadable or inconsistent with the manual, do not guess—ask a qualified bicycle mechanic.
What to inspect before adding air
- Confirm the wheel and tire: Check that you are reading the markings on the tire currently installed, not specifications for a previous tire.
- Read the full pressure marking: Note both the number or range and its unit. Do not treat different units as interchangeable.
- Inspect condition: Look for cracking, cuts, bulges, exposed material, rim damage or a valve that appears loose or damaged.
- Use the correct pump connection: The pump head must match the valve. Follow the pump and product instructions rather than forcing a poor fit.
- Measure when finished: Stop within the tire’s stated range, refit the valve cap if supplied, and check that the wheel rotates normally.
If the tire will not hold pressure, bulges while inflating, repeatedly goes flat or does not seat evenly, stop using the bicycle until the problem has been assessed. Follow the exact product manual for maintenance and assembly procedures, or use a qualified bicycle mechanic.
Does a 26-inch bike fit the rider?
Air pressure and rider fit are separate decisions. The XBikes starting point places a 26-inch bicycle with youth and adult riders over 60 inches (153 cm). This is only a screening guide, not proof that a particular frame fits.
Measure the rider’s current standing height and inseam. Then have the rider try the actual bicycle. Check that there is suitable stand-over clearance, the rider can reach the handlebar without stretching, and both brakes can be reached and operated with control. Confidence matters too: a rider who cannot start, stop, steer or dismount comfortably should not move up merely because their height crosses the starting point.
Do not buy an oversized bicycle just to allow room for growth. If the rider is near the boundary, compare an individually fitted 24-inch bike as well: the XBikes starting range for 24 inch is ages 10–14 and heights 54–64 inches (137–163 cm). Height, inseam, reach, brake control and current confidence take priority over age.
How the catalog options clarify the choice
The supplied catalog includes two useful comparison points because both offer at least one 26-inch SKU, while their other listed sizes make a 24-versus-26-inch fit comparison possible. The product title alone does not establish fit; select by the exact SKU label and verify the individual rider on the assembled bicycle.
 26-Inch XJD Beach Cruiser Bike for Girls – Purple, V-Brake
Offers supplied 26-inch SKUs in Mint Green, Pink and Purple, plus 20- and 24-inch comparison sizes. Confirm the exact SKU and verify rider stand-over, reach and brake control individually.
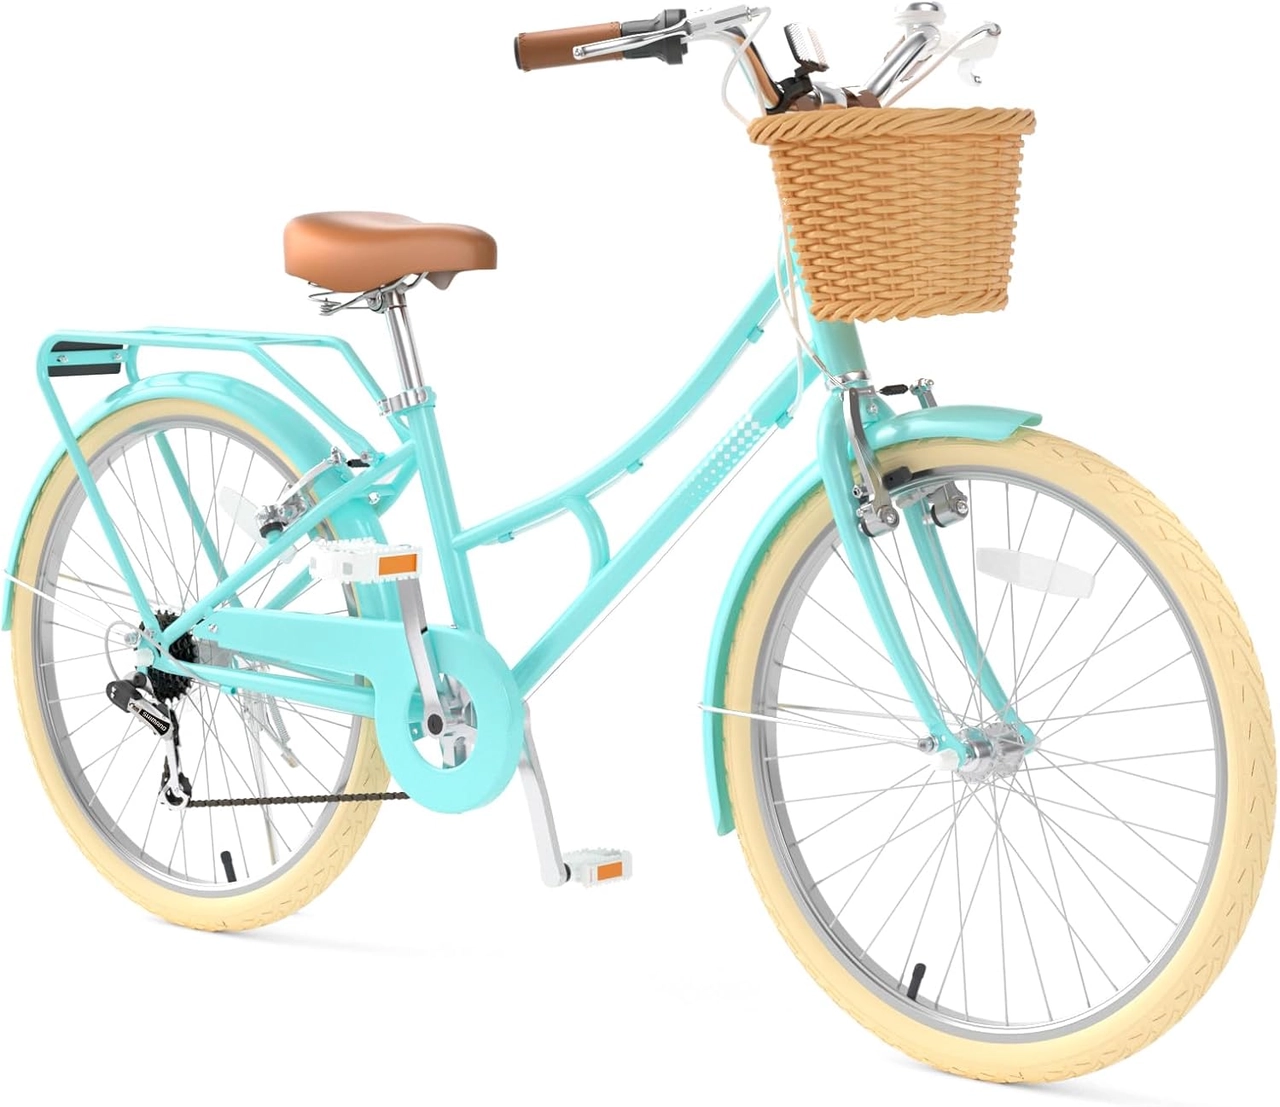 XJD 24-Inch Green Beach Cruiser Bike with U-Brake
Its supplied labels include Pink / 26 Inch despite the 24-inch catalog title; Green and Pink 24-inch SKUs provide comparison points. Wheel size does not determine tire pressure.
26-Inch XJD Beach Cruiser Bike for Girls – Purple, V-Brake
This beach cruiser lists Mint Green and Pink choices in 20, 24 and 26 Inch, plus Purple / 26 Inch. It is directly relevant when comparing the requested 26-inch size with smaller listed wheel sizes. Its title supplies the V-Brake description, but that does not replace checking whether the rider can comfortably reach and operate the brakes.
XJD 24-Inch Green Beach Cruiser Bike with U-Brake
Despite “24-Inch” in its catalog title, its supplied SKU labels include Green / 24 Inch, Pink / 24 Inch and Pink / 26 Inch. Therefore, the Pink / 26 Inch option is relevant to the requested size, while the two 24-inch options are comparison points—not equivalents. Confirm the selected SKU before ordering or assessing fit.
Do the final safety check
After setting pressure according to the installed tire and manual, recheck it with a gauge and inspect both tires before the ride. Have the rider perform controlled starts, turns and stops in a suitable low-risk area. A bicycle helmet must fit properly, sit level and have its straps adjusted according to the helmet manufacturer’s instructions.
Your next decision is specific: read the installed tire’s pressure marking, measure the rider’s height and inseam, then compare an actual 26-inch fit against 24 inch if control or clearance is uncertain. Choose 26 inch only when the rider exceeds the height starting point and can stand over, reach, brake and ride confidently.
Bikes for your next adventure
-

Kids Bike Helmet by XJD for Boys & Girls – Black, Blue, Green, Pink, Purple
The XJD Kids Bike Helmet covers a wide 2-to-8-year age range thanks to two head-…$59.99
-

Kids Bike Helmet by XJD for Girls – Pink
The XJD Kids Bike Helmet in Pink is a lightweight multi-sport helmet for girls r…$59.99
$99 -

XJD Kids Bike for Girls – Pink, 12/14/16/20 Inch with Training Wheels
The XJD Kids Bike for Girls in Pink is a training-wheel bike built to carry your…$139
$159