

How to fix kids bicycle breaks lever
To fix a child’s bicycle brake lever, first stop riding, identify whether the lever is loose, too far from the hand, or pulling to the grip, then follow the bicycle’s exact manual or use a qualified bicycle mechanic.
Check what the lever is doing
With the bicycle stationary, ask the child to place both hands in the normal riding position. Watch one lever at a time while the child operates it. The child should be able to reach and pull the lever without releasing the handlebar, twisting the wrist sharply, or stretching the fingers beyond confident control.
- Lever is hard to reach: the reach may need adjustment, the lever may be unsuitable for the child’s hand, or the bicycle may be too large.
- Lever reaches the grip: the braking system may need adjustment, inspection, or repair.
- Lever feels loose, sticks, or does not return: do not ride until the system has been checked.
- Lever position has moved: its clamp or another component may require correct repositioning and tightening.
Check both levers even if only one seems faulty. Do not assume that moving a lever closer solves weak braking; reach and braking performance are separate issues.
Measure reach before changing anything
Measure the child’s standing height and inseam, then observe hand reach on the actual bicycle. For the lever itself, compare the distance from the handlebar grip to the lever with the child’s natural finger reach. A useful practical test is whether the child can keep a secure grip while placing the intended braking fingers on the lever.
Also check stand-over clearance, steering control, and current confidence. Age is only a starting point. An oversized bicycle bought for growth can make the brake lever difficult to reach even when the lever is working correctly.
Compare the bicycle with XBikes size starting points
| Wheel size | Starting age | Rider height |
|---|---|---|
| 12 Inch | 3–4 | 34–40 in / 86–102 cm |
| 14 Inch | 3–6 | 37–45 in / 94–114 cm |
| 16 Inch | 4–7 | 40–48 in / 102–122 cm |
| 18 Inch | 5–9 | 43–52 in / 109–132 cm |
| 20 Inch | 7–12 | 48–60 in / 122–152 cm |
| 24 Inch | 10–14 | 54–64 in / 137–163 cm |
| 26 Inch | Youth and adults | Over 60 in / 153 cm |
These ranges are starting points, not proof of fit. Prioritize measured height, inseam, reach, brake control, and confidence. Have the child try the bicycle rather than selecting a larger size solely for future growth.
Choose the next safe action
- Stop using the bicycle if either lever is loose, damaged, sticking, or pulling to the grip, or if braking is weak or unpredictable.
- Find the manual for the exact bicycle and braking system. Follow its specified inspection, adjustment, compatibility, and tightening instructions.
- If the instructions are missing, the cause is uncertain, or parts appear worn or damaged, use a qualified bicycle mechanic.
- After any authorized adjustment or repair, have an adult check operation while the bicycle is stationary. The child must be able to reach each lever while maintaining steering control.
- Use a controlled, traffic-free area for the first riding check. Stop immediately if braking or lever control remains inconsistent.
Do not guess at torque, cable adjustment, part compatibility, or internal repair steps. Those details depend on the exact components and are not established by wheel size or appearance.
When the supplied bicycles are relevant
The catalog choices do not provide brake-type or lever-adjustment facts, so they are not replacement-part instructions. They are useful comparison points when poor lever reach suggests that overall bicycle size may be contributing. XJD Kids Bike for Girls – Pink, 12/14/16/20 Inch with Training Wheels offers 12, 14, 16, and 20 Inch labels. XJD Pink Girls' Bike – Kids 12/14/16 Inch Training Wheel Bicycle offers 12, 14, and 16 Inch labels. Both are categorized as Training Wheel Bikes.
 XJD Kids Bike for Girls – Pink, 12/14/16/20 Inch with Training Wheels
A Training Wheel Bike offered in 12, 14, 16, and 20 Inch labels, useful for comparing available wheel-size starting points when overall fit may affect lever reach.
 XJD Pink Girls' Bike – Kids 12/14/16 Inch Training Wheel Bicycle
A Training Wheel Bike offered in 12, 14, and 16 Inch labels, relevant as a size comparison when checking whether the child can comfortably reach and control the brake lever.
Compare only a listed wheel-size label that matches the child’s measured fit needs; one size is not equivalent to another. The products are relevant when comparing those available sizes, but they do not establish brake compatibility, lever reach, or whether a repair part will fit. Any age wording in a product title is a catalog label rather than fit evidence.
Make the final go-or-stop decision
Before the next ride, confirm that the child can stand over and control the bicycle, hold the grips, reach both brake levers naturally, and operate them without losing steering control. A properly fitting bicycle helmet should sit level and use its straps according to the manufacturer’s instructions. If the lever still cannot be reached comfortably or braking remains uncertain, keep the bicycle out of use and take the exact bicycle and rider to a qualified mechanic for a fit and brake-control check.
Bikes for your next adventure
-
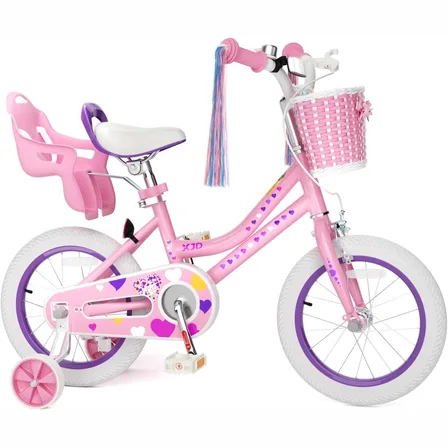
Pink Girls' 12/14/16" Bike by XJD – Basket & Doll Seat
The XJD Pink Girls' Bike with Basket & Doll Seat is made for riders 71–122 cm ta…$75.99
$99.99 -
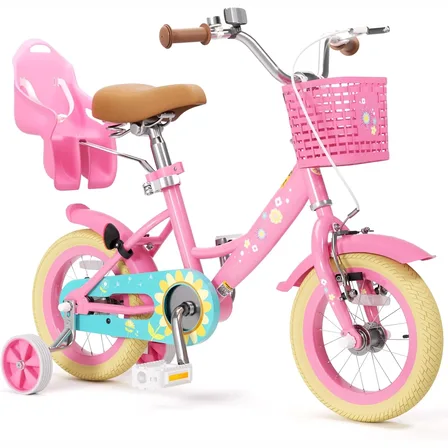
Flower Pink XJD Girls Bike with Doll Seat & Basket
The XJD Flower Pink girls' bike is made for riders 71–122 cm tall (roughly ages …$69.99
-
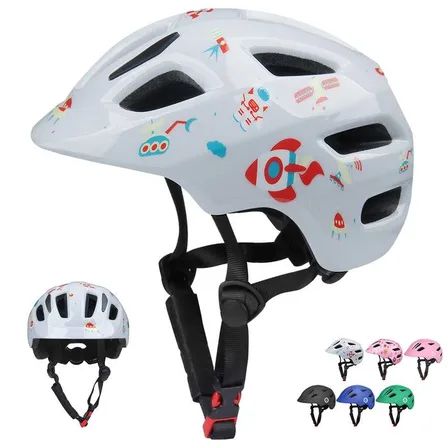
White Astronaut Bike Helmet for Kids by XJD – Toddler to Youth Sizes
4 reviews
The XJD White Astronaut kids' bike helmet is made for toddlers through younger e…$59.99