

How to measure youth bikes
Measure the child’s standing height and cycling inseam, then check stand-over clearance, reach, brake access and control on the actual bike.
Take the two body measurements that narrow the choice
Have the child wear the shoes they will normally ride in. Measure standing height against a wall, from the floor to the top of the head. Use that result—not age alone—to find an initial wheel-size range.
Next, measure cycling inseam. Ask the child to stand straight with feet slightly apart. Place a firm, thin book between the legs and raise it gently to simulate the pressure of a saddle. Measure from the floor to the top edge of the book. This measurement helps you judge whether the child can stand over a particular bike comfortably, but it does not translate into a universal wheel size because frame shapes differ.
Compare measured height with XBikes starting points
This table is a shortlist, not a final fit decision. Overlapping ranges are normal. When two sizes include the child’s height, compare both on the actual rider and favor confident control over extra growing room.
| Wheel size | Age starting point | Rider height starting point |
|---|---|---|
| 12 Inch | Ages 3–4 | 34–40 in / 86–102 cm |
| 14 Inch | Ages 3–6 | 37–45 in / 94–114 cm |
| 16 Inch | Ages 4–7 | 40–48 in / 102–122 cm |
| 18 Inch | Ages 5–9 | 43–52 in / 109–132 cm |
| 20 Inch | Ages 7–12 | 48–60 in / 122–152 cm |
| 24 Inch | Ages 10–14 | 54–64 in / 137–163 cm |
| 26 Inch | Youth and adults | Over 60 in / 153 cm |
Height should lead the comparison. Age is only a starting point, especially near a boundary or within an overlap. Do not move up solely because the child will grow; an oversized bicycle can make mounting, stopping and steering harder.
Check the actual bike, not just the wheel label
With an adult stabilizing the bicycle, have the child straddle the frame with both feet flat on the ground. There should be usable space between the child and the top tube rather than contact. Compare the measured inseam with the real stand-over arrangement of that exact frame.
Then have the child sit in a normal riding position. Look for an easy, relaxed reach to the handlebar: the child should not be stretched forward, locked at the elbows or forced to shift off the saddle to steer. Ask them to turn the handlebar both ways while remaining balanced.
Finally, check brake control on the specific bike. The child must be able to reach and operate the controls as designed without losing their grip or changing to an unstable hand position. Brake layout and adjustment can vary, so follow the exact product manual or ask a qualified bicycle mechanic rather than improvising a procedure.
Use a short control test to decide between sizes
A correctly shortlisted bike still needs a supervised try. In a clear, level area, confirm that the child can complete these actions calmly:
- Mount and dismount without being lifted onto or off the bike.
- Start, steer and make a controlled turn without fighting the bicycle.
- Stop when asked while maintaining balance and control.
- Place feet down promptly and regain a stable position.
- Reach and use the braking controls consistently.
Current confidence matters. A hesitant beginner may need the more manageable fit within an overlapping height range, while a capable rider still should not be placed on an oversized frame. If either candidate compromises stand-over, reach or braking, neither is the right fit.
How the supplied catalog options help
The XJD Girls' Bike with Training Wheels, 12/14/16/20 Inch – Purple provides four listed wheel-size options—12 Inch, 14 Inch, 16 Inch and 20 Inch—for comparison with the child’s measured height. It is relevant when one of those sizes enters the shortlist and training wheels suit the intended category. It does not provide an 18 Inch, 24 Inch or 26 Inch option in the supplied facts, so it is not a substitute when the individual fit check points to one of those sizes.

The wheel label alone does not establish fit, and the product title supplies no separate age evidence. Recheck the child on the chosen option for stand-over, reach, brake access and confident control. For assembly, adjustment, maintenance, compatibility, load limits or torque, follow the exact product manual or use a qualified bicycle mechanic.
Measure the helmet before the first ride
A bicycle helmet is part of the fit process, but helmet sizing is separate from bike sizing. Choose one that fits the child properly, sits level on the head and uses its straps according to the helmet manufacturer’s instructions. Recheck it each time the adjustment changes or the helmet is shared.
Make the final size decision
Write down standing height and cycling inseam, shortlist sizes from the table, and have the child try the exact bicycle. Choose only when they can stand over it, reach naturally, operate the brakes and control the bike now. If those checks fail, reject that size—even if its age range or extra growing room seems convenient.
Bikes for your next adventure
-
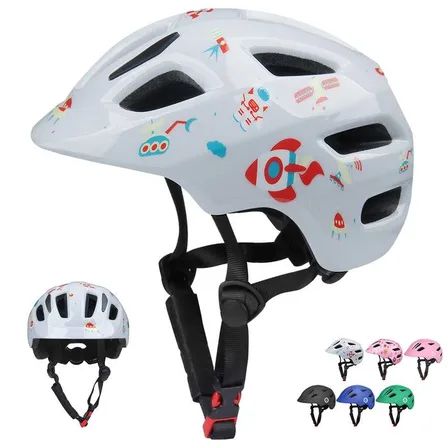
White Astronaut Bike Helmet for Kids by XJD – Toddler to Youth Sizes
4 reviews
The XJD White Astronaut kids' bike helmet is made for toddlers through younger e…$59.99
-
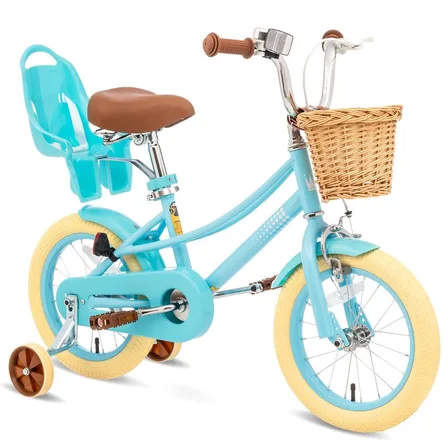
Girls' Training Wheel Bike by XJD, 12–20 Inch Wheels – Blue
This XJD girls' training wheel bike in Blue covers one of the widest fit ranges …$139
$159 -
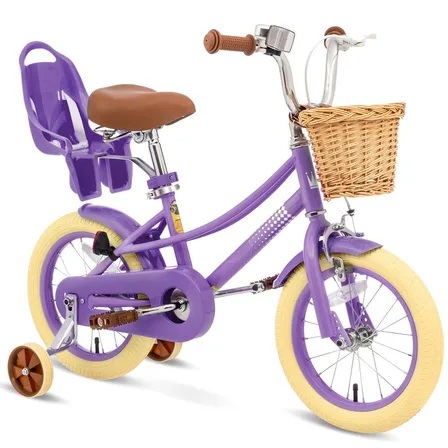
XJD Girls' Bike with Training Wheels, 12/14/16/20 Inch – Purple
The XJD girls' bike with training wheels in Purple is built to grow with your ri…$139
$159