

How to store kids bikes efficiently
Store kids’ bikes efficiently by measuring each bike’s full parked footprint, choosing floor or wall storage, and keeping controls easy to reach.
Measure before choosing a storage system
Measure the space first, then the bicycle. Record the available wall width, usable height, floor depth and clearance needed for doors, cars, shelves and walking paths. For each bike, measure its overall length, handlebar width and height at the highest point.
Also note anything that enlarges or complicates the parked shape, such as a basket or training wheels. Measure the bike as it will actually be stored rather than relying on wheel diameter alone. Allow enough room to place and remove it without striking another bike, twisting a handlebar or forcing an accessory against a wall.
Compare storage layouts by space and effort
| Layout | Useful when | Check before choosing |
|---|---|---|
| Floor parking | A child needs simple, independent access | The bike remains stable and does not block a route |
| Wall-mounted storage | Floor area is limited | The wall, mounting hardware and bicycle are compatible |
| Vertical storage | Wall width is scarce but height is available | Ceiling clearance and lifting effort are manageable |
| Alternating directions | Several bikes must share one row | Handlebars, pedals and accessories do not collide |
Floor storage usually asks less lifting from a child. Wall or vertical storage can recover floor space, but an adult may need to put the bike away. Follow the storage-system instructions and the exact bicycle manual for compatibility, load limits and installation requirements. If anything is unclear, use a qualified bicycle mechanic or appropriate installation professional.
Account for wheel size and accessories
Wheel size is useful for organizing a growing collection, but it does not reveal the complete storage footprint. Sort bikes by actual measured length and handlebar width. Place the most frequently used bike nearest the exit, and keep less-used or larger bikes where they will not trap smaller ones.
The Light Pink XJD Girls' Bicycle with Basket & Training Wheels is offered in 12 Inch, 14 Inch, 16 Inch and 20 Inch catalog options. Those choices help compare several common kids’ bike sizes, while its named basket and training wheels are reminders to measure the widest and most projecting parts before selecting a rack or parking slot.

This product is relevant when one of those four wheel-size options suits the rider after an individual fit check and the measured bicycle fits the proposed storage space. It is not evidence that every rack will accommodate the basket or training wheels, and it does not provide a comparison point for 18 Inch, 24 Inch or 26 Inch storage without measuring the actual bike.
Keep fit separate from storage convenience
Do not choose an oversized bicycle merely because it fills an empty storage position or seems to postpone replacement. Have the child try the bicycle and check stand-over clearance, reach, brake control and present confidence. Rider height matters more than age alone.
XBikes wheel-size starting points are:
- 12 Inch: ages 3–4; height 34–40 in / 86–102 cm.
- 14 Inch: ages 3–6; height 37–45 in / 94–114 cm.
- 16 Inch: ages 4–7; height 40–48 in / 102–122 cm.
- 18 Inch: ages 5–9; height 43–52 in / 109–132 cm.
- 20 Inch: ages 7–12; height 48–60 in / 122–152 cm.
- 24 Inch: ages 10–14; height 54–64 in / 137–163 cm.
- 26 Inch: youth and adults over 60 in / 153 cm.
These figures are starting points, not a substitute for trying the bike. Once fit is confirmed, update the storage measurements whenever the child moves to a different bicycle size.
Create a usable family storage zone
- Mark one defined position for each bicycle so returning it does not require rearranging the whole group.
- Keep pedals, handlebars, baskets and training wheels from overlapping where they could snag.
- Leave the regular route to the door clear, with no bicycle extending into it.
- Store helmets nearby without hanging them where straps can become trapped or distorted.
- Recheck the arrangement after any saddle adjustment, accessory change or replacement bicycle.
A bicycle helmet should fit properly, sit level and have its straps used according to the helmet manufacturer’s instructions. Storage should protect its shape and make it easy to take with the bike.
Make the decision with a quick dry run
Outline each measured bicycle footprint on the floor or wall with removable markers, including its handlebars and accessories. Walk the normal route, open nearby doors, and simulate removing and returning every bike. If a child cannot reach a floor-stored bike without moving another one, reorder the positions. If vertical or wall storage demands unsafe or impractical lifting, choose a lower-access layout.
Your next step is simple: measure the actual bikes and storage bay today, test the proposed positions, then select only a system whose instructions confirm compatibility and whose layout keeps every regularly used kids’ bike accessible.
Bikes for your next adventure
-
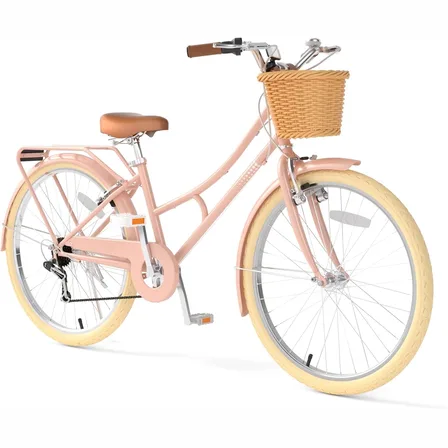
Pink XJD Beach Cruiser Bike, 24"/26", U-Brake
The XJD Pink Beach Cruiser Bike is a single-speed cruiser built for older kids a…$159.99
-
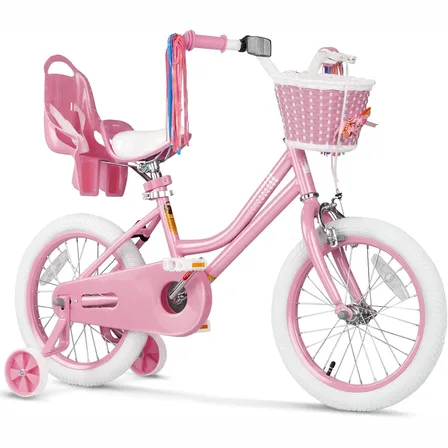
XJD Pink Girls' Bike – Kids 12/14/16 Inch Training Wheel Bicycle
The XJD Pink Girls' Bike is a training-wheel bicycle for girls ages 3 to 8 (ride…$149
$169 -
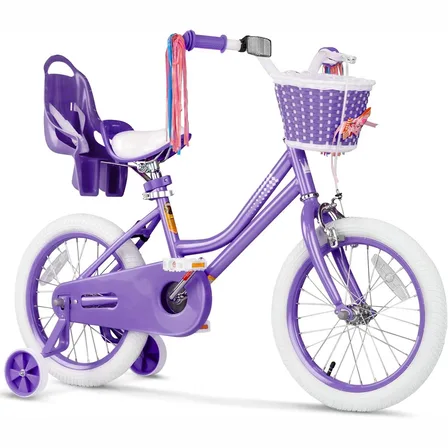
XJD Girls Bike for Kids Ages 3-8, 12/14/16 Inch with Training Wheels – Purple
The XJD Girls Bike in Purple is a training-wheel bicycle for kids ages 3 to 8, f…$149
$169