

How to teach a child to pedal a bicycle
Teach a child to pedal by fitting the bicycle first, lowering the learning challenge, and practising push, balance, pedal placement and braking in that order.
Measure before teaching
Measure the child’s standing height and inseam, then have them try the actual bicycle. Age is only a starting point. The rider must be able to stand over the bicycle, reach the handlebar without stretching, steer confidently and operate the brakes comfortably.
Do not choose an oversized bicycle for future growth. A bike that is difficult to mount, balance or stop can make pedalling harder to learn. If the child cannot control it while stationary and while walking it forward, change the fit or bicycle before continuing.
| Wheel size | Starting age | Rider height |
|---|---|---|
| 12 Inch | 3–4 | 34–40 in / 86–102 cm |
| 14 Inch | 3–6 | 37–45 in / 94–114 cm |
| 16 Inch | 4–7 | 40–48 in / 102–122 cm |
| 18 Inch | 5–9 | 43–52 in / 109–132 cm |
| 20 Inch | 7–12 | 48–60 in / 122–152 cm |
| 24 Inch | 10–14 | 54–64 in / 137–163 cm |
| 26 Inch | Youth and adults | Over 60 in / 153 cm |
Use these ranges only to shortlist a wheel size. Compare the child’s measured height, inseam, reach, brake control and confidence with the actual bicycle before deciding.
Prepare a simple practice area
Choose a flat, open space away from traffic, parked vehicles, slopes and obstacles. The child should wear a bicycle helmet that fits properly, sits level and has its straps adjusted according to the helmet manufacturer’s instructions. Secure loose clothing and shoelaces.
Check the bicycle before each session. Confirm that it is assembled correctly and that steering, pedals, wheels and brakes function as intended. For assembly, adjustment, maintenance, compatibility or torque instructions, follow the exact product manual or ask a qualified bicycle mechanic.
Build balance before adding pedals
Ask the child to sit on the bicycle and walk it forward using both feet. Once steering feels predictable, encourage short pushes followed by brief glides. The goal is relaxed balance with eyes looking ahead, not speed.
Support the child at the torso if necessary, but avoid holding the handlebar. Steering the bicycle for them prevents the child from learning how small steering movements maintain balance. Reduce your support as soon as they can glide without leaning heavily on you.
Teach the first pedal stroke
- Have the child stop with one foot on the ground and place the other foot on a raised pedal.
- Ask them to look ahead, press the raised pedal forward and down, then bring the grounded foot onto the other pedal.
- Encourage smooth, continuous turns rather than forceful stamping.
- Walk or jog beside them while supporting only when needed.
- Practise starting, riding a short straight line and stopping as separate skills before combining them.
If the child repeatedly looks down, wobbles immediately or cannot bring the second foot to the pedal, return to pushing and gliding. That is useful practice, not a setback. A slightly easier starting position or a better-fitting bicycle may solve more than repeated instructions.
Practise stopping before extending the ride
Before the child rides farther, make sure they understand how the bicycle’s brakes operate and can reach and use them without losing control. Practise controlled stops from a gentle roll in the same clear area. Follow the bicycle manual for the exact braking procedure and adjustment requirements.
Watch for signs that the bicycle is interfering with learning: strained reach, difficulty steering, inability to operate the brakes, awkward mounting or frequent tipping while stationary. Recheck fit rather than assuming the child needs more courage.
When the supplied bicycles are relevant
The supplied catalog options are relevant only for a learner whose measurements and individual fit check point to a 24-inch or 26-inch bicycle. They help parents compare the available wheel-size labels and catalog brake description; they are not substitutes for a smaller bicycle when the child’s fit requires one.
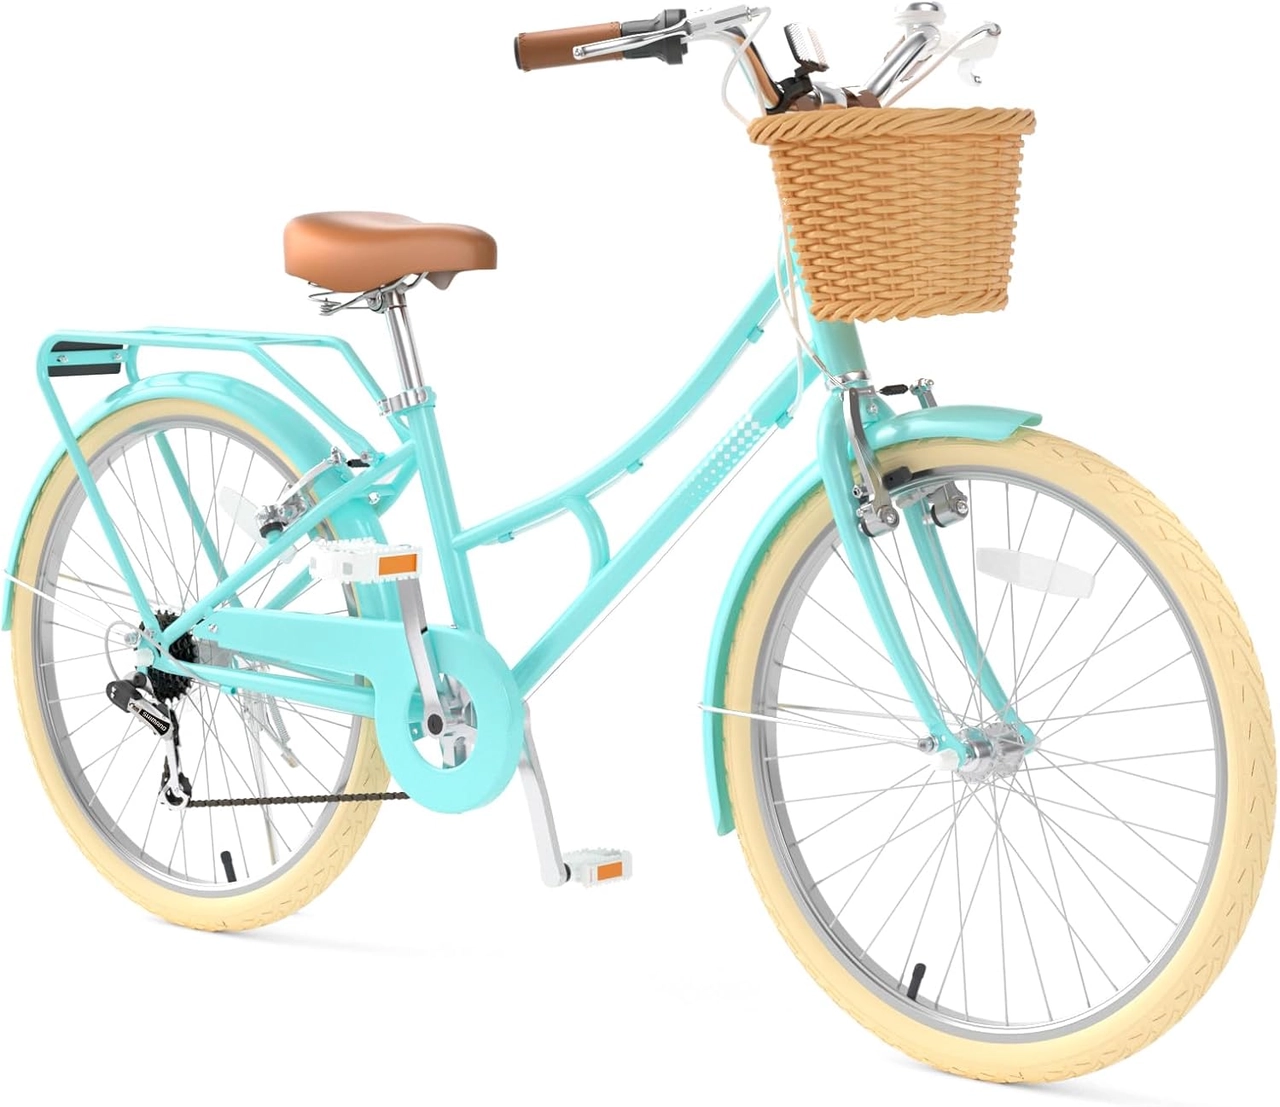 XJD 24-Inch Green Beach Cruiser Bike with U-Brake
A 24- or 26-inch beach cruiser comparison for appropriately sized learners. Available labels include Green / 24 Inch, Pink / 24 Inch and Pink / 26 Inch; individual fit and brake control still decide relevance.
 Pink XJD Beach Cruiser Bike, 24"/26", U-Brake
Offers 24 Inch and 26 Inch labels with a U-Brake catalog description. It is relevant only when the learner’s measurements, reach, stand-over position, brake control and confidence support one of those sizes.
The XJD 24-Inch Green Beach Cruiser Bike with U-Brake has Green / 24 Inch, Pink / 24 Inch and Pink / 26 Inch SKU labels. The Pink XJD Beach Cruiser Bike, 24"/26", U-Brake has 24 Inch and 26 Inch labels. Both therefore offer 24-inch and 26-inch comparison points, while the first also distinguishes color within its SKU labels.
Using the XBikes starting points, consider 24 inches for riders ages 10–14 and 54–64 in / 137–163 cm, and 26 inches for youth and adults over 60 in / 153 cm. Height overlap does not make the sizes interchangeable: compare stand-over clearance, inseam, reach, brake control and confidence on the exact bicycle. For a smaller learner, neither supplied product is relevant.
Make the next decision
If the child can glide, steer and stop comfortably on a correctly fitted bicycle, practise the raised-pedal start next. If any of those foundations are missing, measure again, correct the fit and return to gliding before asking for continuous pedalling.
Bikes for your next adventure
-

Kids Bike Helmet by XJD for Boys & Girls – Black, Blue, Green, Pink, Purple
The XJD Kids Bike Helmet covers a wide 2-to-8-year age range thanks to two head-…$59.99
-

Kids Bike Helmet by XJD for Girls – Pink
The XJD Kids Bike Helmet in Pink is a lightweight multi-sport helmet for girls r…$59.99
$99 -

XJD Kids Bike for Girls – Pink, 12/14/16/20 Inch with Training Wheels
The XJD Kids Bike for Girls in Pink is a training-wheel bike built to carry your…$139
$159