

How to teach a kid to drive a bike
Teach a kid to drive a bike by choosing a correctly fitted bicycle, practicing balance and braking first, then adding pedaling on a flat, traffic-free area.
Measure the rider before choosing the bike
Measure the child’s height and inseam while they wear the shoes they will use for riding. Height gives you a wheel-size starting point; inseam helps you check whether the child can stand over the bicycle comfortably. Age is only a rough guide.
| Wheel size | Starting age | Rider height |
|---|---|---|
| 12 Inch | 3–4 | 34–40 in / 86–102 cm |
| 14 Inch | 3–6 | 37–45 in / 94–114 cm |
| 16 Inch | 4–7 | 40–48 in / 102–122 cm |
| 18 Inch | 5–9 | 43–52 in / 109–132 cm |
| 20 Inch | 7–12 | 48–60 in / 122–152 cm |
| 24 Inch | 10–14 | 54–64 in / 137–163 cm |
| 26 Inch | Youth and adults | Over 60 in / 153 cm |
Overlap in the table is intentional: children of the same age can need different sizes. Never move up merely to leave growing room. Have the child try the bicycle and prioritize measured height, inseam, reach, brake control and present confidence.
Check control before the first lesson
With an adult stabilizing the bicycle, ask the child to sit naturally, hold the handlebar and operate the brakes. They should not have to stretch, twist their wrists awkwardly or release their grip to reach a brake control. Check that they can stand over the bike and get on and off without struggling.
If the child cannot control the bicycle at walking speed, the bike is not a suitable teaching platform yet—even when its wheel size matches the chart. Adjust only as directed by the exact product manual. For assembly, maintenance, torque, compatibility or load limits not stated there, use a qualified bicycle mechanic.
Teach one skill at a time
- Walking: Let the child walk beside the bicycle while steering. This introduces its width, weight and turning response.
- Starting and stopping: In a level, open area away from traffic, practice mounting, looking forward and stopping on command.
- Balance: Support the child lightly rather than steering for them. Short, controlled glides help them learn to correct small leans.
- Braking: Have the rider slow and stop repeatedly before adding speed. They must know which controls operate the brakes and be able to reach them reliably.
- Pedaling: Once balance and stopping are consistent, practice a ready pedal position, a firm first push and several straight pedal strokes.
- Turning: Add wide turns in both directions, then practice looking where the bike should go rather than at the front wheel.
Keep sessions short enough that technique does not collapse into frustration. End after a controlled success—such as a clean stop—not after the child becomes exhausted.
Decide whether training wheels help
Training wheels can give a hesitant beginner support while learning pedaling and steering, but they do not replace balance practice. Observe the child rather than following a fixed timetable. When they can start, steer and brake calmly, follow the bicycle’s exact manual for any training-wheel adjustment or removal; if the procedure is unclear, ask a qualified bicycle mechanic.
The supplied catalog options are useful because they provide several concrete wheel-size comparison points: one training-wheel model spans 12 through 20 inches, while the cruiser listings cover selected 20-, 24- and 26-inch labels for larger riders.
 Pink 12/14/16/20" XJD Girls Bike with Training Wheels & Basket
A Training Wheel Bike offered in 12, 14, 16 and 20 Inch labels, making it relevant for comparing several beginner-size starting points after measuring the rider and checking actual fit.
 26-Inch XJD Beach Cruiser Bike for Girls – Purple, V-Brake
A Beach Cruiser Bike with listed 20-, 24- and 26-inch color-and-size options. It is relevant for larger measured riders who already have enough confidence and control for an individually verified fit.
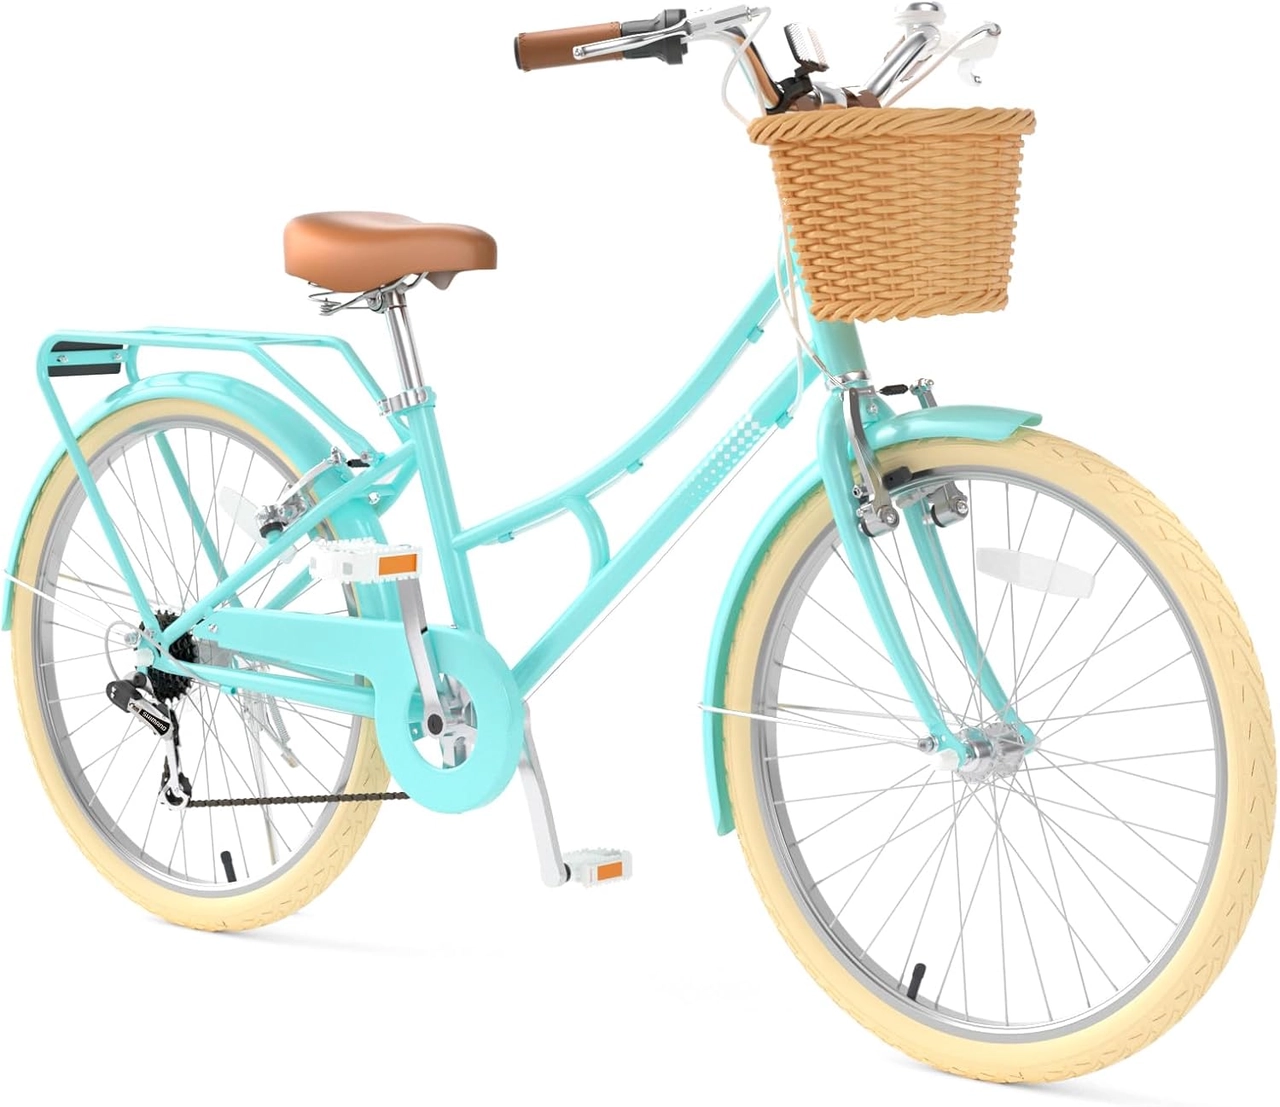 XJD 24-Inch Green Beach Cruiser Bike with U-Brake
A Beach Cruiser Bike with listed 24- and 26-inch options. Use it as a comparison for taller riders only after checking height, inseam, reach, stand-over comfort and brake control.
Compare the supplied bicycles by fit and lesson stage
The Pink 12/14/16/20" XJD Girls Bike with Training Wheels & Basket is the only supplied option categorized as a Training Wheel Bike. Its available labels are 12 Inch, 14 Inch, 16 Inch and 20 Inch. Compare the child’s measured height with the corresponding row, then confirm stand-over clearance, reach and brake control on the actual bicycle.
The 26-Inch XJD Beach Cruiser Bike for Girls – Purple, V-Brake has listed color-and-size options at 20, 24 and 26 inches. The XJD 24-Inch Green Beach Cruiser Bike with U-Brake has listed options at 24 and 26 inches. Both are categorized as Beach Cruiser Bikes, not Training Wheel Bikes, so consider them only when the child’s measurements and current riding control support those sizes and configurations.
If the measurement points to 18 inches, none of the supplied products has that exact wheel-size label. The 16- and 20-inch choices are nearest-size comparison points, not substitutes for an 18-inch bicycle; require a real fit check instead of assuming either is equivalent.
Helmet, supervision and the next decision
Use a bicycle helmet that fits properly, sits level and has straps positioned according to its manufacturer’s instructions. Choose a dry, level practice space separated from vehicles, pedestrians and obstacles, and keep an adult close enough to intervene without pulling the handlebar.
Your next move is specific: measure height and inseam, select the matching starting-size row, and have the child demonstrate stand-over comfort, easy reach and dependable braking. Begin the lesson only when all four checks pass; otherwise compare a different size or ask a bicycle mechanic to assess the fit.
Bikes for your next adventure
-

Kids Bike Helmet by XJD for Boys & Girls – Black, Blue, Green, Pink, Purple
The XJD Kids Bike Helmet covers a wide 2-to-8-year age range thanks to two head-…$59.99
-

Kids Bike Helmet by XJD for Girls – Pink
The XJD Kids Bike Helmet in Pink is a lightweight multi-sport helmet for girls r…$59.99
$99 -

XJD Kids Bike for Girls – Pink, 12/14/16/20 Inch with Training Wheels
The XJD Kids Bike for Girls in Pink is a training-wheel bike built to carry your…$139
$159