

How to teach a kid to rde a bike
Teach a kid to ride a bike by checking fit first, then practicing balance, gliding, braking, steering and pedaling in that order. Keep sessions short and let confidence—not age—set the pace.
Measure the rider before choosing the bike
Measure the child’s height without shoes. Also check inseam, reach and hand control on the actual bicycle. Age is only a starting point; a child must be able to manage the bike they will ride.
Have the child stand over the bicycle and try its riding position. Check that there is suitable clearance, that the child can reach the handlebar without stretching, and that they can operate the brakes confidently. Do not buy an oversized bicycle merely to allow room for growth. If the child cannot control it now, choose a smaller option.
| Wheel size | Starting age | Rider height |
|---|---|---|
| 12 Inch | 3–4 | 34–40 in / 86–102 cm |
| 14 Inch | 3–6 | 37–45 in / 94–114 cm |
| 16 Inch | 4–7 | 40–48 in / 102–122 cm |
| 18 Inch | 5–9 | 43–52 in / 109–132 cm |
| 20 Inch | 7–12 | 48–60 in / 122–152 cm |
| 24 Inch | 10–14 | 54–64 in / 137–163 cm |
| 26 Inch | Youth and adults | Over 60 in / 153 cm |
Use these ranges to narrow the choice, never to replace a fit check. Measured height, inseam, reach, brake control and present confidence take priority over age.
Prepare the bike, helmet and practice area
Choose a quiet, level, open area away from traffic, parked vehicles and obstacles. A properly fitted bicycle helmet should sit level and use its straps according to the helmet manufacturer’s instructions.
Before riding, confirm that the bicycle is assembled and operating as its exact manual specifies. Maintenance, adjustments, load limits and torque requirements vary; when the manual does not resolve a concern, use a qualified bicycle mechanic.
Teach balance before pedaling
Start with the child seated low enough to feel stable and able to stop as intended for that bicycle. The goal is not immediate pedaling. Ask them to move forward, lift their feet briefly and glide. Stand nearby, but avoid holding the handlebar because that prevents the child from learning their own balance and steering corrections.
- Practice moving off and stopping while remaining relaxed.
- Glide for gradually longer distances with eyes looking ahead.
- Make wide, gentle turns in both directions.
- Repeat until the child can glide and stop without being caught.
If removing pedals or changing components would be needed for this stage, follow the bicycle’s manual or ask a qualified mechanic. Do not improvise a procedure that the manufacturer does not support.
Add braking and pedaling separately
Before adding speed, have the child identify and operate the bicycle’s brakes while stationary. Then practice controlled stops from a slow glide. Their hands must reach and manage the controls comfortably; merely touching a lever is not the same as controlling it.
Once gliding, steering and stopping are consistent, introduce the starting pedal position. Let the child push off, place the other foot on its pedal and look ahead. Walk or jog beside them without pulling the bicycle. Use a clear cue such as “look, pedal, then stop.” End the session when concentration or confidence begins to fade.
Coach mistakes without taking over
Wobbling and missed starts are part of learning. Give one instruction at a time. If the child repeatedly veers, return to wide glides and looking ahead. If stopping is abrupt or uncertain, reduce speed and rehearse braking again. If fear rises, finish with an easy skill the child can already perform.
Move to gentle turns, starting without help and longer rides only after the child can start, steer and stop predictably. Continue supervising and choose practice conditions that match current control rather than the distance the child wants to cover.
Are the supplied 24- and 26-inch bikes relevant?
The catalog options are useful comparison points for a taller learner: the XJD 24-Inch Green Beach Cruiser Bike with U-Brake has Green / 24 Inch, Pink / 24 Inch and Pink / 26 Inch labels, while the Pink XJD Beach Cruiser Bike, 24"/26", U-Brake has 24 Inch and 26 Inch labels. They help compare available wheel-size and color labels, but fit still must be checked on the chosen bicycle.
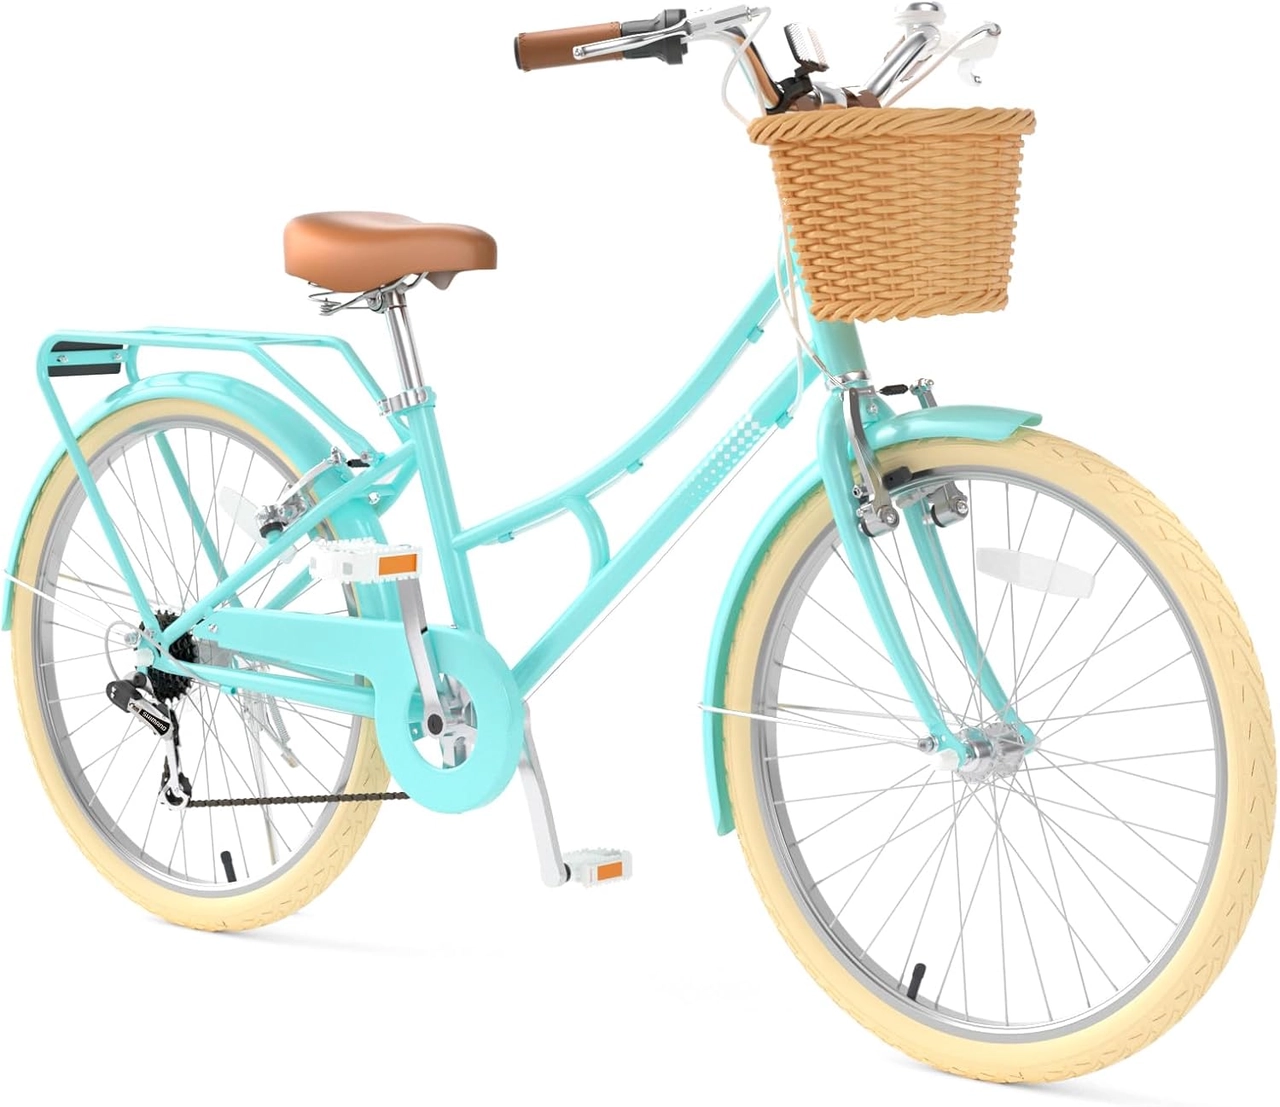 XJD 24-Inch Green Beach Cruiser Bike with U-Brake
A 24- or 26-inch comparison option with Green and Pink SKU labels. Consider it only when the rider’s measurements match the relevant XBikes starting range and an individual fit check confirms reach and brake control.
 Pink XJD Beach Cruiser Bike, 24"/26", U-Brake
This Pink XJD cruiser offers 24 Inch and 26 Inch SKU labels for comparing taller-rider sizes. Its U-Brake catalog wording does not replace checking whether the individual learner can comfortably reach and control the brakes.
A 24-inch option is only a starting point for riders measuring 54–64 inches / 137–163 cm; a 26-inch option starts with youth and adults over 60 inches / 153 cm. These products are not substitutes when the child needs a smaller wheel size. The U-Brake wording is a supplied catalog fact, not proof that a particular child can reach or control the brakes.
Measure the child now, shortlist the matching wheel-size range, and have them try the actual bike. Begin teaching only when stand-over clearance, reach, braking and confidence all support controlled gliding and stopping.
Bikes for your next adventure
-

Kids Bike Helmet by XJD for Boys & Girls – Black, Blue, Green, Pink, Purple
The XJD Kids Bike Helmet covers a wide 2-to-8-year age range thanks to two head-…$59.99
-

Kids Bike Helmet by XJD for Girls – Pink
The XJD Kids Bike Helmet in Pink is a lightweight multi-sport helmet for girls r…$59.99
$99 -

XJD Kids Bike for Girls – Pink, 12/14/16/20 Inch with Training Wheels
The XJD Kids Bike for Girls in Pink is a training-wheel bike built to carry your…$139
$159