

How to teach kid how to ride bike
Teach a kid to ride a bike by confirming the bike fits, practising balance and braking first, then adding pedalling while you support the child—not the bicycle.
Check fit before teaching
Measure the child’s standing height and inseam, then have them try the actual bicycle. Age is only a starting point. The rider should be able to stand over the bike comfortably, reach the handlebar without stretching, steer with control, and operate the brakes reliably. Never choose an oversized bicycle simply to leave room for growth.
| Wheel size | Starting age | Rider height |
|---|---|---|
| 12 Inch | 3–4 | 34–40 in / 86–102 cm |
| 14 Inch | 3–6 | 37–45 in / 94–114 cm |
| 16 Inch | 4–7 | 40–48 in / 102–122 cm |
| 18 Inch | 5–9 | 43–52 in / 109–132 cm |
| 20 Inch | 7–12 | 48–60 in / 122–152 cm |
| 24 Inch | 10–14 | 54–64 in / 137–163 cm |
| 26 Inch | Youth and adults | Over 60 in / 153 cm |
Use the table to identify a starting point, not to make the final decision. Compare the child’s measured height, inseam, reach, brake control, and present confidence with the fit of the specific bicycle.
Prepare a simple practice area
Choose a wide, flat space away from traffic, parked vehicles, steep slopes, and obstacles. The child should wear closed-toe shoes and comfortable clothing that cannot catch in moving parts.
A bicycle helmet must fit properly, sit level, and have its straps adjusted according to the helmet manufacturer’s instructions. Before practice, inspect the bicycle for obvious looseness, damage, or poor brake operation. For assembly, maintenance, compatibility, load limits, or torque settings, follow the exact product manual or ask a qualified bicycle mechanic.
Teach balance before pedalling
Begin with the child seated and looking ahead rather than down. They should practise holding the handlebar gently, moving forward, coasting, placing their feet down, and stopping under control. A suitable balance bike can support this stage. If converting a pedal bike for balance practice is appropriate, do so only when the bicycle’s manual permits it or a qualified mechanic handles the change.
Walk beside the child and support their torso lightly if needed. Avoid gripping and steering the bicycle for them: the rider needs to feel small changes in balance and learn to correct them. Release support gradually as their coasts become steadier.
Add starting, pedalling, and braking
- Have the child place one foot ready to push and the other where it can stabilize them.
- Ask them to look toward a clear point ahead, push off, and begin pedalling smoothly.
- Walk or jog beside them while supporting the child lightly at the torso.
- Prompt them to stop pedalling, apply the brakes progressively, and put a foot down only as the bicycle slows.
Practise controlled starts and stops before turns. Then introduce broad, gentle turns, with the child looking where they want to go. Use short, calm instructions such as look ahead, keep rolling, and brake gently. End a practice session when fatigue or frustration reduces control.
Know when to progress
Move on only when the child can repeat the current skill calmly. Independent riding should include starting without being pushed, holding a predictable line, making gentle turns, slowing deliberately, and stopping without panic. If the rider cannot reach or control the brakes, appears stretched at the handlebar, or cannot manage the bicycle’s size, pause and reassess fit rather than treating fear as the only problem.
A fall does not require an immediate restart. Check the child, helmet, and bicycle first. Replace or inspect safety equipment as directed by its manufacturer, and use a qualified bicycle mechanic when the bicycle may be damaged.
Where the supplied cruiser bikes fit
The supplied catalog options help answer this teaching question only for larger riders who are considering 24-inch or 26-inch wheels. They are comparison points, not automatic choices: the child must still pass the individual stand-over, reach, brake-control, and confidence checks.
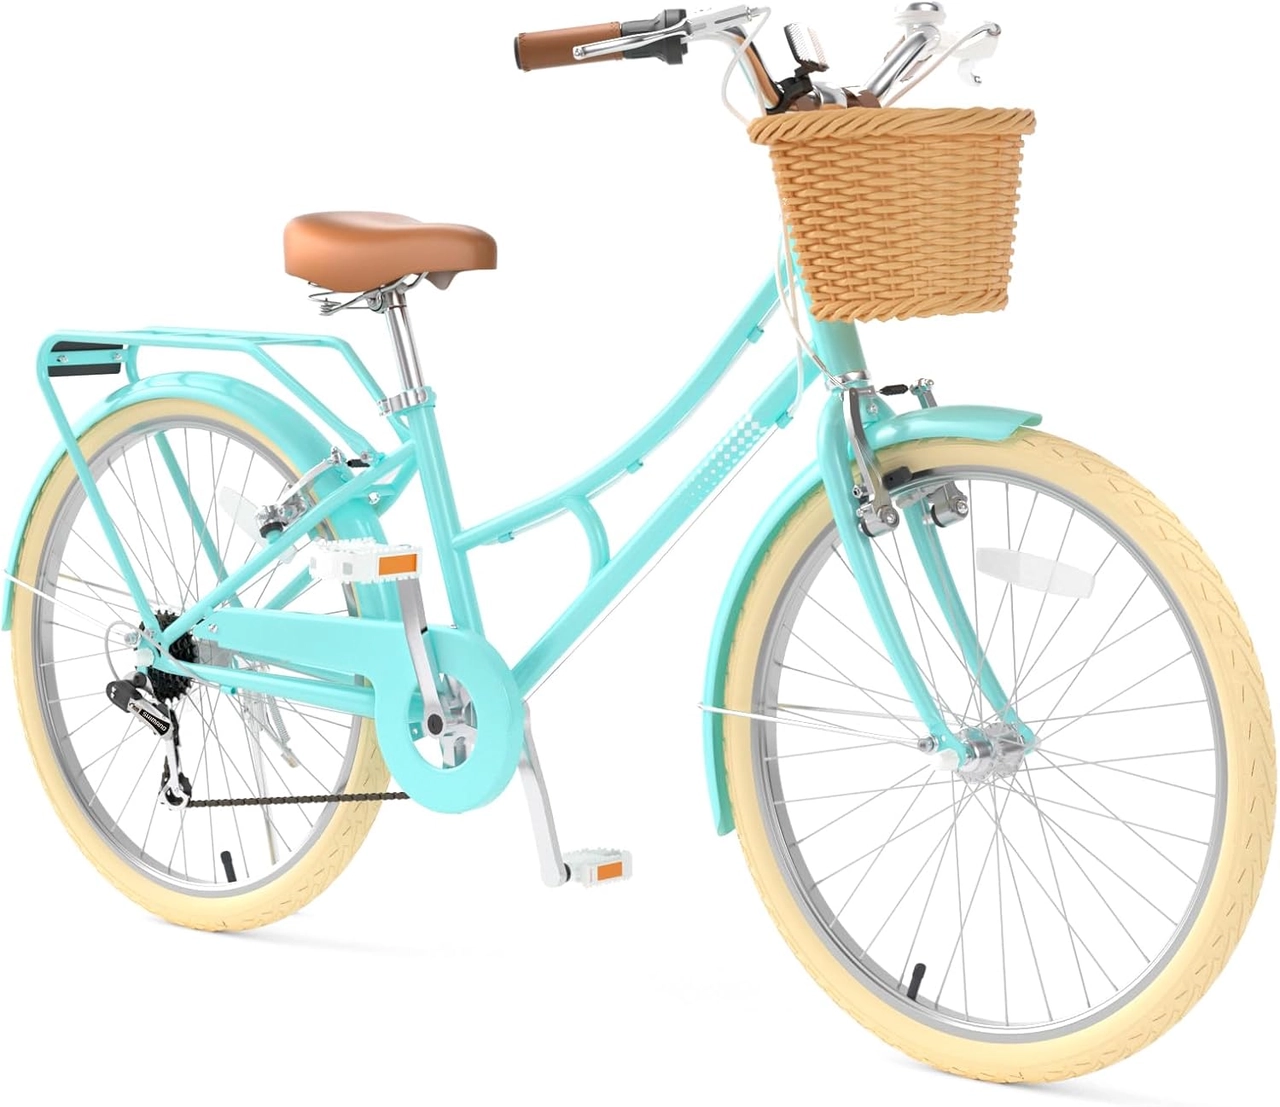 XJD 24-Inch Green Beach Cruiser Bike with U-Brake
A 24- or 26-inch beach cruiser comparison with Green and Pink SKU labels and a U-brake; relevance depends on the child’s measurements, reach, brake control, and confidence.
 Pink XJD Beach Cruiser Bike, 24"/26", U-Brake
A Pink beach cruiser offered in 24 Inch and 26 Inch labels with a U-brake, relevant only when the learner fits and controls one of those wheel sizes.
The XJD 24-Inch Green Beach Cruiser Bike with U-Brake is offered in Green / 24 Inch, Pink / 24 Inch, and Pink / 26 Inch labels. The Pink XJD Beach Cruiser Bike, 24"/26", U-Brake is offered with 24 Inch and 26 Inch labels. Both are beach cruiser bikes with a U-brake according to the catalog facts.
Use 24-inch versions only as a starting point for riders ages 10–14 and 54–64 in / 137–163 cm tall; use 26-inch versions as a starting point for youth or adults over 60 in / 153 cm. If the learner needs a 12-, 14-, 16-, 18-, or 20-inch wheel, these products are larger comparison points, not substitutes for that required size.
Make the next decision
Measure the child now, shortlist the matching wheel-size starting point, and arrange an actual fit check. Begin teaching only when the child can stand over the bike, reach the controls, operate the brakes, and handle the bicycle confidently; then teach balance, starting, pedalling, turning, and stopping in that order.
Bikes for your next adventure
-

Kids Bike Helmet by XJD for Boys & Girls – Black, Blue, Green, Pink, Purple
The XJD Kids Bike Helmet covers a wide 2-to-8-year age range thanks to two head-…$59.99
-

Kids Bike Helmet by XJD for Girls – Pink
The XJD Kids Bike Helmet in Pink is a lightweight multi-sport helmet for girls r…$59.99
$99 -

XJD Kids Bike for Girls – Pink, 12/14/16/20 Inch with Training Wheels
The XJD Kids Bike for Girls in Pink is a training-wheel bike built to carry your…$139
$159