

How to teach your child how to ride a bike
Teach your child to ride by choosing a correctly fitted bike, securing a level helmet, practising balance and braking first, then adding pedalling on a flat, traffic-free area. Move forward only when the child is relaxed and in control.
Measure the rider before choosing a bike
Measure your child’s standing height and inseam while they wear the shoes they will use for riding. Age is only a starting point. The decisive checks happen on the actual bicycle: the child must be able to stand over it comfortably, reach the handlebars without stretching, steer without strain and operate the brakes confidently.
Do not buy an oversized bicycle for future growth. A bike that is difficult to mount, balance, steer or stop can obstruct learning. Have the child try each candidate and compare control as well as wheel size.
| Wheel size | XBikes age starting point | Rider height starting point |
|---|---|---|
| 12 Inch | Ages 3–4 | 34–40 in / 86–102 cm |
| 14 Inch | Ages 3–6 | 37–45 in / 94–114 cm |
| 16 Inch | Ages 4–7 | 40–48 in / 102–122 cm |
| 18 Inch | Ages 5–9 | 43–52 in / 109–132 cm |
| 20 Inch | Ages 7–12 | 48–60 in / 122–152 cm |
| 24 Inch | Ages 10–14 | 54–64 in / 137–163 cm |
| 26 Inch | Youth and adults | Over 60 in / 153 cm |
These ranges are starting points, not promises of fit. Prioritize measured height, inseam, reach, brake control and current confidence over age alone.
Prepare the bicycle, helmet and practice area
Use a quiet, flat, open area away from traffic, steep slopes and obstacles. Check the bicycle before every lesson. For assembly, adjustments, maintenance, compatibility and torque requirements, follow the exact product manual or ask a qualified bicycle mechanic.
A bicycle helmet must fit properly, sit level on the head and have its straps positioned according to the helmet manufacturer’s instructions. Closed-toe shoes and practical clothing help the child move without loose fabric interfering with the bicycle.
Teach control in a deliberate sequence
- Walking: Ask the child to walk beside the bike while steering and using the brake controls. This introduces turning and stopping without balancing at the same time.
- Mounting: Let the child practise getting on and off while you steady the bicycle only as much as needed. Confirm that every control remains within comfortable reach.
- Balancing: On a bicycle configured appropriately for balance practice, have the child push along and briefly lift their feet. If pedals must be removed or another configuration changed, consult the product manual or a qualified mechanic.
- Braking: Choose a visible stopping point. The child should look ahead, slow deliberately and put a foot down only after the bicycle is nearly stopped.
- Pedalling: Once gliding and stopping are controlled, introduce a level-pedal starting position. Let the child push down, look ahead and continue pedalling while you stay close without pulling the handlebars.
- Turning: Add broad turns in both directions, followed by starts, controlled stops and simple changes of direction.
End a practice period when concentration fades or frustration rises. Progress means repeatable control, not covering a particular distance.
How training wheels fit into the lesson
Training wheels can support early practice with mounting, pedalling and steering, but they do not reproduce the leaning balance used on two wheels. If your child uses them, keep practising looking ahead, braking and making controlled turns. Move toward independent balance when the child’s fit and confidence support it.
Never raise or remove training wheels by guesswork. Use the bicycle’s exact manual or a qualified bicycle mechanic, because the necessary adjustment and compatibility details are product-specific.
Compare the supplied XBikes options
The catalog choices below help by providing wheel-size comparison points across early and larger riders. Only the first is categorized as a training-wheel bike; the cruiser models may help compare fit for taller learners, but their listed sizes do not make them substitutes for a smaller correctly fitted bicycle.
 Pink 12/14/16/20" XJD Girls Bike with Training Wheels & Basket
The directly relevant training-wheel option, offered with 12 Inch, 14 Inch, 16 Inch and 20 Inch SKU labels. Select by measured fit and confirm reach, stand-over and brake control.
 26-Inch XJD Beach Cruiser Bike for Girls – Purple, V-Brake
A larger-rider comparison with listed 20 Inch, 24 Inch and 26 Inch variants. It is relevant only after measurement and an individual control check, and is not categorized as a training-wheel bike.
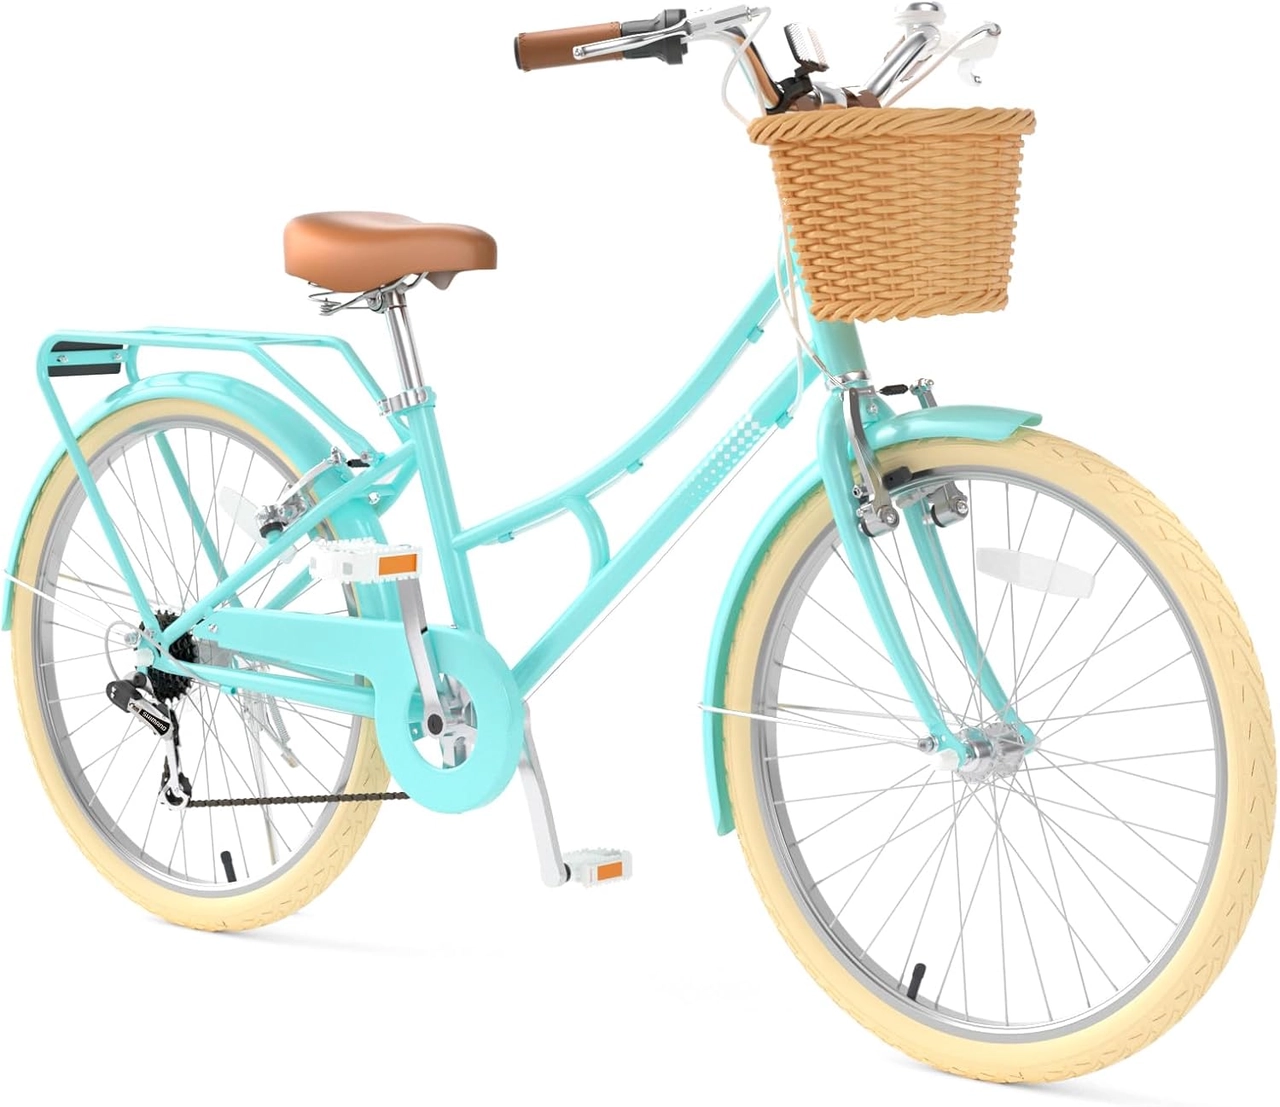 XJD 24-Inch Green Beach Cruiser Bike with U-Brake
A 24 Inch or 26 Inch beach-cruiser comparison for taller learners. Its relevance depends on rider height, inseam, reach, brake control and confidence rather than age alone.
Pink 12/14/16/20" XJD Girls Bike with Training Wheels & Basket is the directly relevant training-wheel option, with 12 Inch, 14 Inch, 16 Inch and 20 Inch SKU labels. Compare the child’s measurements with the table, then verify stand-over clearance, reach and brake control on the chosen size.
26-Inch XJD Beach Cruiser Bike for Girls – Purple, V-Brake has 20 Inch, 24 Inch and 26 Inch SKU labels across the listed colors. It is relevant only when one of those sizes matches the rider’s measurements and an individual fit check confirms control; it is not presented as a training-wheel model.
XJD 24-Inch Green Beach Cruiser Bike with U-Brake has Green / 24 Inch, Pink / 24 Inch and Pink / 26 Inch SKU labels. Use it as a larger-wheel comparison for a rider whose height supports 24 or 26 inches, subject to the same reach, stand-over and brake checks.
Know when to advance
Move to less support only when your child can start, look ahead, steer, slow and stop without panic. If they cannot reach a control, repeatedly tip while stationary or need to stretch to steer, pause and reassess the fit instead of treating more practice as the cure.
Your next step is concrete: measure height and inseam, shortlist the corresponding wheel size, conduct an in-person control check, fit the helmet, and begin with walking and braking before asking the child to pedal.
Bikes for your next adventure
-

Kids Bike Helmet by XJD for Boys & Girls – Black, Blue, Green, Pink, Purple
The XJD Kids Bike Helmet covers a wide 2-to-8-year age range thanks to two head-…$59.99
-

Kids Bike Helmet by XJD for Girls – Pink
The XJD Kids Bike Helmet in Pink is a lightweight multi-sport helmet for girls r…$59.99
$99 -

XJD Kids Bike for Girls – Pink, 12/14/16/20 Inch with Training Wheels
The XJD Kids Bike for Girls in Pink is a training-wheel bike built to carry your…$139
$159