

How to teach your child riding a bike
Teach your child to ride by checking bike fit first, then practising balance, braking, starting and turning in a quiet, open area. Progress only when each skill feels controlled.
Measure before the first lesson
Measure your child’s height and inseam while they wear the shoes they will ride in. Use height to identify a starting wheel size, then have the child try the actual bicycle. Age is only a rough guide.
| Wheel size | Starting age | Rider height |
|---|---|---|
| 12 Inch | 3–4 | 34–40 in / 86–102 cm |
| 14 Inch | 3–6 | 37–45 in / 94–114 cm |
| 16 Inch | 4–7 | 40–48 in / 102–122 cm |
| 18 Inch | 5–9 | 43–52 in / 109–132 cm |
| 20 Inch | 7–12 | 48–60 in / 122–152 cm |
| 24 Inch | 10–14 | 54–64 in / 137–163 cm |
| 26 Inch | Youth and adults | Over 60 in / 153 cm |
Do not buy an oversized bicycle for future growth. Check that your child can stand over it, reach the handlebar without stretching, steer comfortably and operate the brake controls confidently. Their measured height, inseam, reach, brake control and present confidence matter more than age.
Set up a controlled practice session
Choose a spacious, level place away from traffic, parked vehicles, steep slopes and obstacles. Use short sessions so fatigue does not turn careful practice into frustration.
A bicycle helmet should fit properly, sit level and have its straps adjusted according to the helmet manufacturer’s instructions. Before riding, follow the bicycle’s exact product manual for assembly and maintenance checks; if anything is uncertain, use a qualified bicycle mechanic.
Teach balance before pedalling
Begin with the child seated and able to stabilize the bicycle confidently. Let them practise moving forward and coasting while looking ahead rather than down. Stay close enough to assist, but avoid steering the handlebar for them because the child needs to feel and correct small changes in balance.
- Ask the child to move forward gently and stop after a short distance.
- Repeat until they can hold a straight line without sudden steering.
- Introduce wide, gradual turns in both directions.
- Increase distance only after starts, coasting and stops remain calm.
If the bicycle cannot be configured for this exercise according to its manual, do not improvise by removing or changing parts. Ask a qualified bicycle mechanic what is appropriate for that exact model.
Add braking, starting and pedalling
Before building speed, have the child identify and operate the bicycle’s brake controls while stationary. Then practise gentle stops from very low speed. Confirm that their fingers reach the controls and that they can stop without panicking or losing steering control.
For a start, have the child place one foot ready to push a pedal while the other supports them. Ask them to look ahead, push, bring the second foot to its pedal and continue smoothly. A light hand near the child can reassure them, but pulling the bicycle along can hide balance problems.
Use a simple sequence: start, pedal straight, stop at a chosen marker, then repeat. Add broad turns only when the child can start and stop predictably. End a session when concentration or control begins to fade.
Know when these catalog bikes are relevant
The supplied catalog choices are useful comparison points for taller or older beginners because their listed options are 24 Inch and 26 Inch. They are not substitutes when your child’s measured fit indicates a smaller wheel size, and every child still needs an individual fit check.
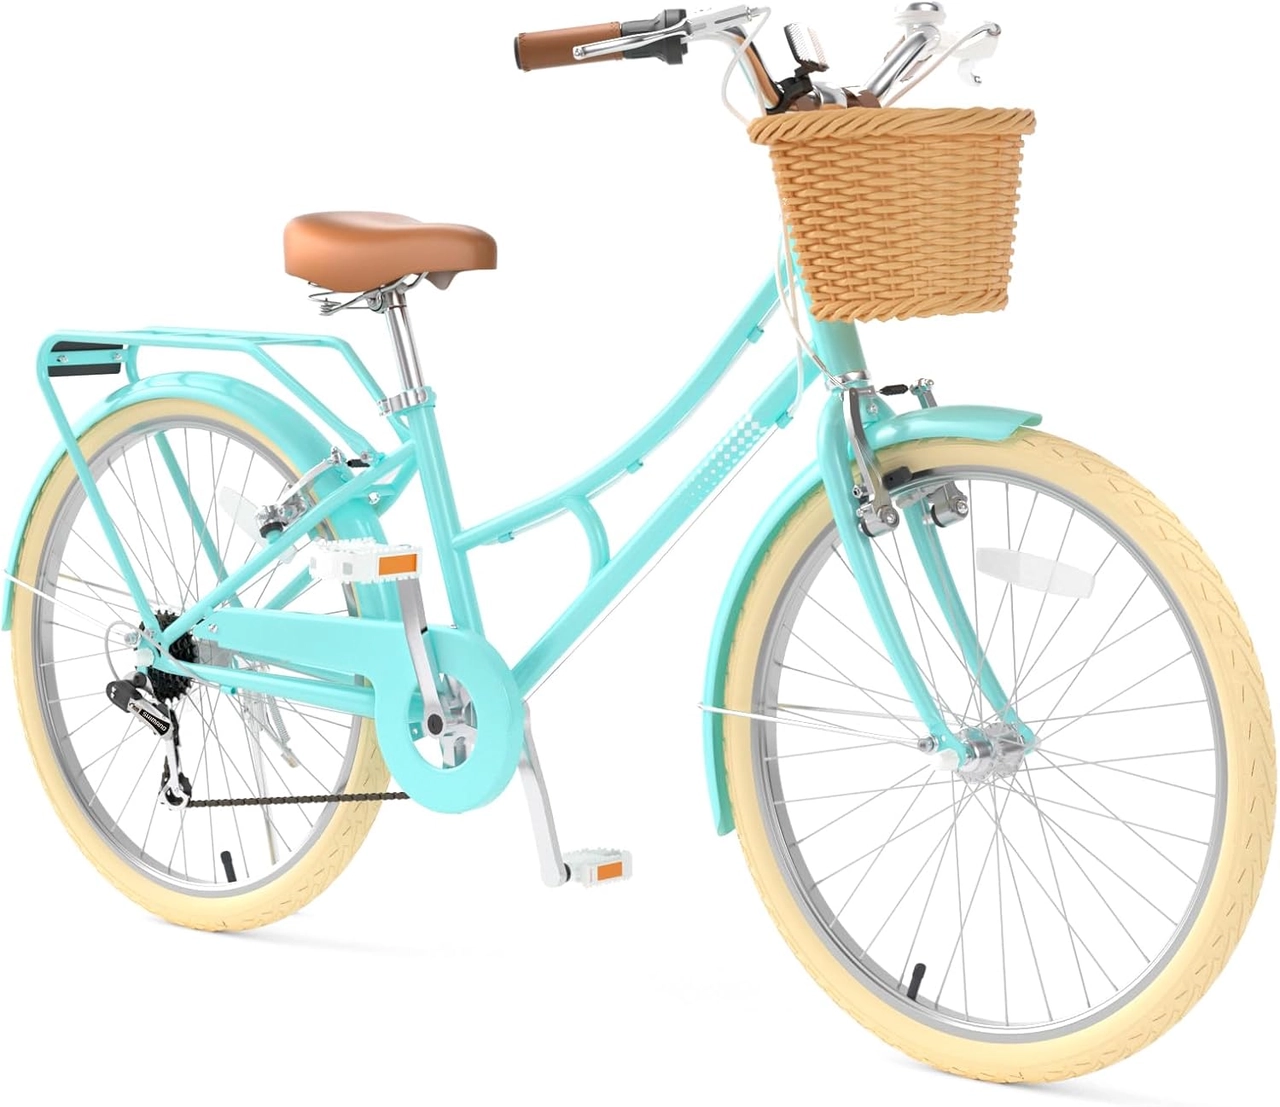 XJD 24-Inch Green Beach Cruiser Bike with U-Brake
A 24- or 26-inch Beach Cruiser Bike comparison for taller learners who pass an individual fit check; its exact title identifies a U-brake, and its SKUs include green and pink options.
 Pink XJD Beach Cruiser Bike, 24"/26", U-Brake
Offers 24 Inch and 26 Inch options as comparison points for appropriately sized learners. Its exact catalog title identifies a pink Beach Cruiser Bike with a U-brake; measured fit and control remain essential.
The XJD 24-Inch Green Beach Cruiser Bike with U-Brake has catalog options labeled Green / 24 Inch, Pink / 24 Inch and Pink / 26 Inch. The Pink XJD Beach Cruiser Bike, 24"/26", U-Brake offers 24 Inch and 26 Inch options. Both are Beach Cruiser Bikes and list a U-brake in their exact titles.
Compare 24 Inch only when the rider is near the 54–64 in / 137–163 cm starting range, and compare 26 Inch only for a youth or adult over 60 in / 153 cm. Those ranges do not confirm fit. Have the rider try the exact option and check stand-over clearance, reach, steering and brake operation. Follow its manual for assembly, maintenance, compatibility, load limits and torque information.
Decide whether to progress
Move to longer rides only when your child can start without rushing, look ahead, ride a steady line, turn both ways and stop on command. If they repeatedly tip while stationary, stretch for the handlebar, cannot reach or control the brakes, or appear frightened by the bicycle’s size, pause and reassess the fit rather than pushing through.
Your next step is specific: measure height and inseam, select only a starting wheel-size range, test the actual bicycle, and begin with balance and braking. Advance to independent pedalling only after your child demonstrates calm control.
Bikes for your next adventure
-

Kids Bike Helmet by XJD for Boys & Girls – Black, Blue, Green, Pink, Purple
The XJD Kids Bike Helmet covers a wide 2-to-8-year age range thanks to two head-…$59.99
-

Kids Bike Helmet by XJD for Girls – Pink
The XJD Kids Bike Helmet in Pink is a lightweight multi-sport helmet for girls r…$59.99
$99 -

XJD Kids Bike for Girls – Pink, 12/14/16/20 Inch with Training Wheels
The XJD Kids Bike for Girls in Pink is a training-wheel bike built to carry your…$139
$159