

What size bike for kid
Choose a kid’s bike by measured height first, then confirm inseam clearance, comfortable reach, brake control and confidence on the actual bike.
Find the starting wheel size
Measure the child without shoes, standing straight against a wall. Record total height from floor to the top of the head. Then measure inseam from the floor to the crotch, using a book held level to represent the bike saddle area. Compare height with the XBikes starting points below; age is only a secondary clue.
| Wheel size | Starting age | Rider height |
|---|---|---|
| 12 Inch | 3–4 | 34–40 in / 86–102 cm |
| 14 Inch | 3–6 | 37–45 in / 94–114 cm |
| 16 Inch | 4–7 | 40–48 in / 102–122 cm |
| 18 Inch | 5–9 | 43–52 in / 109–132 cm |
| 20 Inch | 7–12 | 48–60 in / 122–152 cm |
| 24 Inch | 10–14 | 54–64 in / 137–163 cm |
| 26 Inch | Youth and adults | Over 60 in / 153 cm |
These ranges overlap deliberately. If a child’s height appears in two rows, do not decide by age or automatically choose the larger wheel. Put both sizes on the try-list and let the fit check determine which one the child can control now.
Check the fit on the actual bike
A chart narrows the search; it cannot confirm fit. Have the child try the bicycle in ordinary riding clothes and suitable closed-toe shoes. Keep the bike supported while checking these points:
- Stand-over: The child should be able to straddle the bike and stand securely rather than being forced onto tiptoes or against the frame.
- Starting and stopping: They should be able to get into position, move off and stop without the bike feeling unmanageably tall or heavy.
- Reach: With hands on the handlebar, the child should not have to stretch, lock the elbows or lean excessively forward.
- Brake control: Where hand brakes are fitted, the child must be able to reach and operate them comfortably. Confirm the controls on the exact bicycle rather than assuming all models are alike.
- Steering: Ask the child to turn the handlebar both ways while remaining balanced and in control.
Current confidence matters. Two children of equal height may need different choices because one can confidently start, steer and stop while the other cannot yet control the larger option.
Do not size up for future growth
An oversized bicycle can make mounting, stopping, steering and reaching the controls harder. Following the verified HealthyChildren guidance, buy for present control instead of choosing a larger bike solely so the child can grow into it. A bike that fits later but cannot be managed now is the wrong current size.
Growth can also change fit quickly. Recheck stand-over, reach, control position and confidence periodically and whenever riding begins to look cramped or awkward.
How the available XBikes options compare
The Black XJD Kids Bike for Boys – 12, 14 & 16 Inch Sizes is a Training Wheel Bikes catalog option with 12 Inch, 14 Inch and 16 Inch SKU labels. Those three choices help families compare the smaller wheel-size starting points against the child’s measured height and actual control.

Its 12 Inch option corresponds to the 34–40 in / 86–102 cm starting range, 14 Inch to 37–45 in / 94–114 cm, and 16 Inch to 40–48 in / 102–122 cm. These are comparison ranges, not proof that any SKU fits a particular child.
This product is relevant only when the child’s measurements and hands-on check point toward 12, 14 or 16 Inch. It does not offer a supplied 18, 20, 24 or 26 Inch SKU. If the fit process points to one of those sizes, treat this product as a smaller-size comparison point, not an equal or substitute size.
What to do when measurements fall near a boundary
- Use measured height to identify both overlapping candidates.
- Compare stand-over and inseam clearance on each actual bike.
- Check whether the child can reach the handlebar and any brake controls without strain.
- Let the child demonstrate controlled starting, steering and stopping in an appropriate supervised area.
- Choose the size the child controls comfortably now, even if the larger candidate looks more future-proof.
If neither candidate permits secure stand-over, natural reach and reliable control, keep looking rather than forcing a chart-based choice.
Finish the setup safely
Use a properly fitting bicycle helmet. It should sit level, with its straps adjusted according to the helmet manufacturer’s instructions, consistent with U.S. Consumer Product Safety Commission guidance.
For assembly, maintenance, load limits, compatibility and torque settings, follow the exact bicycle manual or use a qualified bicycle mechanic. Before deciding what size bike for a kid, write down height and inseam, shortlist the matching wheel sizes, and approve only the bike the child can straddle, reach, brake, steer and stop confidently today.
Bikes for your next adventure
-
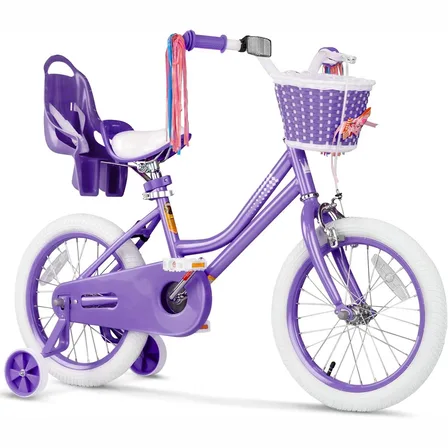
XJD Girls Bike for Kids Ages 3-8, 12/14/16 Inch with Training Wheels – Purple
The XJD Girls Bike in Purple is a training-wheel bicycle for kids ages 3 to 8, f…$149
$169 -
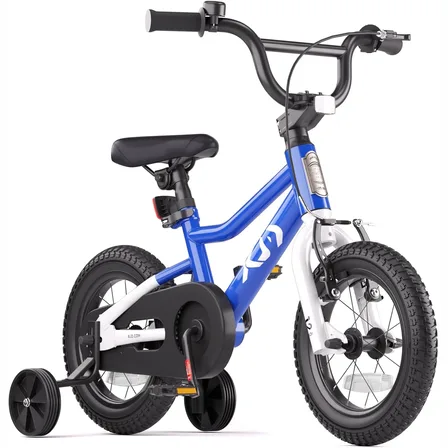
XJD Boys & Girls BMX Bike with Training Wheels, 12/14/16" – Blue
The XJD Boys & Girls BMX Bike in Blue is a first pedal bike for kids roughly age…$99.99
$119.99 -
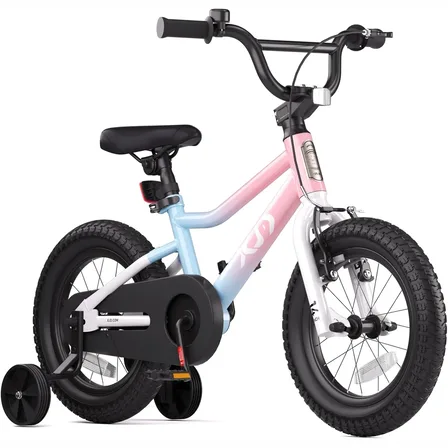
XJD Girls BMX Bike 12/14/16 Inch with Training Wheels – Pink Blue
The XJD Girls BMX Bike in Pink/Blue is built as a first pedal bike for kids roug…$99.99
$119.99