

What size bike for my kid
Choose your child’s bike size by measuring height and inseam, then checking stand-over clearance, reach and brake control on the actual bike. Use age only as a starting point, and never buy an oversized bike for growth.
Measure your child before comparing sizes
Measure your child without shoes, standing straight against a wall. Record total height from the floor to the top of the head. For inseam, have the child stand with feet slightly apart and measure from the floor to the crotch. These measurements describe the rider more reliably than age alone.
Next, note current confidence. A cautious beginner may need easier ground contact and a more upright, manageable position. A confident rider still needs comfortable reach, dependable control and a bike that is not too large.
Compare measured height with these starting points
| Wheel size | Starting age | Rider height |
|---|---|---|
| 12 Inch | 3–4 | 34–40 in / 86–102 cm |
| 14 Inch | 3–6 | 37–45 in / 94–114 cm |
| 16 Inch | 4–7 | 40–48 in / 102–122 cm |
| 18 Inch | 5–9 | 43–52 in / 109–132 cm |
| 20 Inch | 7–12 | 48–60 in / 122–152 cm |
| 24 Inch | 10–14 | 54–64 in / 137–163 cm |
| 26 Inch | Youth and adults | Over 60 in / 153 cm |
Start with the row containing the measured height. Because the ranges overlap, the table may suggest two sizes. That is a signal to try both—not to choose automatically by age. Frame shape, saddle adjustment and handlebar position can make bicycles with the same wheel size feel different.
Check the fit on the actual bicycle
Have your child try the assembled bicycle in a controlled area with adult support. Use this sequence:
- Stand-over: With the child straddling the bike, confirm that the frame does not obstruct comfortable standing. Do not rely on wheel size to predict clearance.
- Saddle contact: Check whether the child can start, stop and steady the bike with the level of foot contact appropriate to current ability.
- Reach: Seated normally, the child should reach the handlebar without stretching, locking the elbows or losing a stable posture.
- Brake control: Confirm that the child can reach and operate the brake controls while maintaining a secure grip and steering control.
- Low-speed handling: Watch a start, straight ride, gentle turn and controlled stop. The child should remain composed rather than fighting the bicycle.
If stand-over, reach or braking is awkward, do not treat the nominal size as a fit. Try another size or frame, even when age and height appear to match. The American Academy of Pediatrics advises having the child try the bicycle and avoiding an oversized purchase made only to allow room for growth.
When the supplied 24- and 26-inch bikes are relevant
The supplied catalog choices help when your child’s measured height points toward a 24-inch or 26-inch comparison. They do not cover the 12-, 14-, 16-, 18- or 20-inch sizes, so for a child whose measurements and control indicate one of those sizes, these products are comparison points only—not equal substitutes.
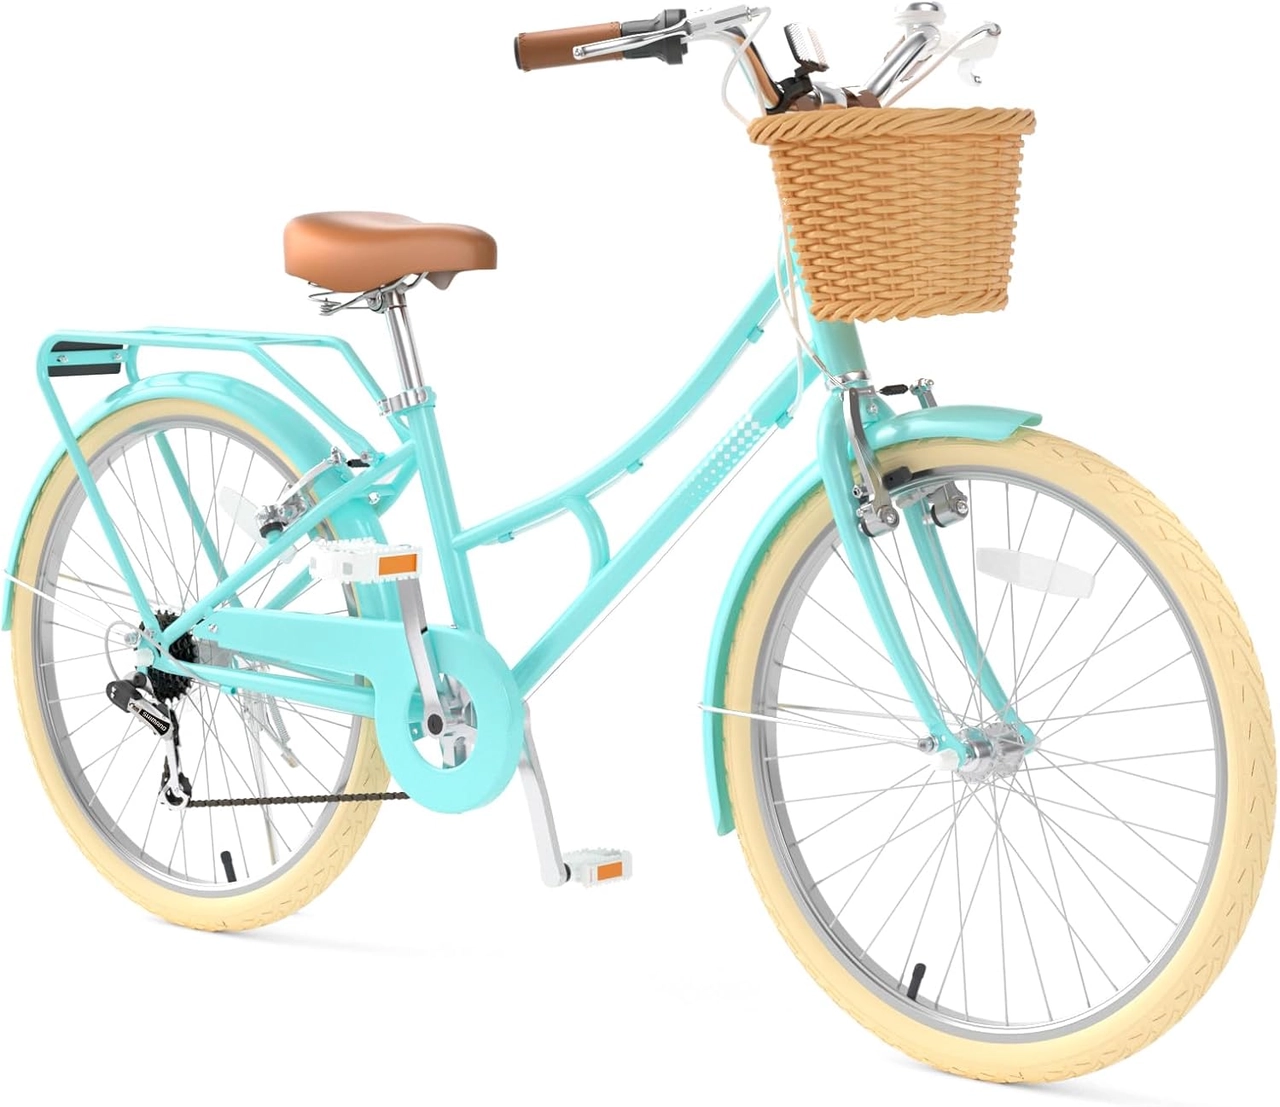 XJD 24-Inch Green Beach Cruiser Bike with U-Brake
A 24- or 26-inch beach cruiser comparison with Green / 24 Inch, Pink / 24 Inch and Pink / 26 Inch SKU labels; relevance depends on measured height and an individual fit check.
 Pink XJD Beach Cruiser Bike, 24"/26", U-Brake
Offers 24 Inch and 26 Inch SKU labels for comparing those wheel-size starting points. The child must still pass stand-over, reach, brake-control and confidence checks on the actual bicycle.
The XJD 24-Inch Green Beach Cruiser Bike with U-Brake has Green / 24 Inch, Pink / 24 Inch and Pink / 26 Inch SKU labels. The Pink XJD Beach Cruiser Bike, 24"/26", U-Brake has 24 Inch and 26 Inch SKU labels. These options let you compare the two relevant wheel-size steps while keeping in mind that wheel size alone does not establish fit.
A 24-inch option is a starting point for riders measuring 54–64 inches / 137–163 cm, with ages 10–14 as secondary guidance. A 26-inch option starts with youth and adults over 60 inches / 153 cm. A rider over 60 inches may fall within both starting points, so the actual stand-over, reach, brake operation and confidence check should decide. A 26-inch label does not make that bike interchangeable with a well-fitting 24-inch bike.
Complete the safety and setup checks
Use a properly fitting bicycle helmet. It should sit level, and its straps should be adjusted according to the helmet manufacturer’s instructions. Recheck the fit whenever the helmet is adjusted or replaced.
For assembly, maintenance, load limits, component compatibility and torque settings, follow the exact bicycle’s product manual. If the instructions are missing, unclear or beyond your experience, use a qualified bicycle mechanic rather than guessing.
Make the final size decision
Measure first, shortlist the matching wheel-size row, and have your child try the bicycle. Choose only when the child can stand over it comfortably, reach the controls, operate the brakes and ride with present-day confidence. If those checks fail, move to a different size now instead of buying extra growth room.
Bikes for your next adventure
-
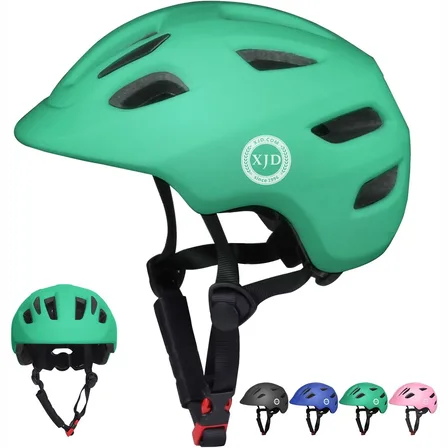
Green XJD Toddler Bike Helmet with Adjustable Fit, XS (46–51 cm)
The XJD toddler bike helmet in Green is built for the youngest riders — the size…$20.39
$23.99 -

Kids Bike Helmet by XJD for Boys & Girls – Black, Blue, Green, Pink, Purple
The XJD Kids Bike Helmet covers a wide 2-to-8-year age range thanks to two head-…$59.99
-

Kids Bike Helmet by XJD for Girls – Pink
The XJD Kids Bike Helmet in Pink is a lightweight multi-sport helmet for girls r…$59.99
$99