

What size bike to buy a 9 year old
For most 9-year-olds, start with a 20-inch bike, then confirm the choice using the child’s height, inseam, reach, brake control and confidence.
Start with height, not the birthday
Under the XBikes sizing starting points, a 20-inch bike covers rider heights of 48–60 inches (122–152 cm) and ages 7–12. That makes it the usual first size to try for a 9-year-old, but age alone cannot establish a proper fit.
A shorter 9-year-old may need an 18-inch bike, whose starting range is 43–52 inches (109–132 cm) and ages 5–9. A taller child approaching the next size may be ready to try a 24-inch bike, which starts at 54–64 inches (137–163 cm) and ages 10–14. Because those height ranges overlap, the deciding factor is how the individual child fits and controls the bicycle.
| Wheel size to compare | XBikes starting point | What it means at age 9 |
|---|---|---|
| 18 Inch | Ages 5–9; 43–52 in / 109–132 cm | Worth trying for a shorter rider |
| 20 Inch | Ages 7–12; 48–60 in / 122–152 cm | The usual first size to try |
| 24 Inch | Ages 10–14; 54–64 in / 137–163 cm | Consider only for a taller rider who can control it comfortably |
Measure before choosing
Measure the child barefoot or in thin socks, standing straight against a wall. Record total height from the floor to the top of the head. Then measure inseam from the floor to the crotch, using a book held level between the legs to represent where the saddle area meets the rider.
Use height to identify which wheel sizes deserve a trial. Use inseam during the trial to judge clearance and mounting comfort. Inseam is not a reason to select a wheel size by itself, and there is no universal inseam conversion here because frame shapes can differ.
Perform the fit check on the actual bike
Have the child try the exact bicycle rather than relying only on its wheel label. Do not buy an oversized bike merely to leave room for growth. Ask the rider to complete these checks:
- Stand-over: With feet on the ground and the bike upright, the child should have comfortable clearance and should not be pressed against the frame.
- Reach: The handlebars should be reachable without stretching, locking the elbows or leaning so far forward that steering feels awkward.
- Brake control: The child must be able to reach and operate the available brake controls confidently. Check the exact model rather than assuming every bike uses the same system.
- Starting and stopping: The rider should be able to mount, set off, steer, slow down and stop without the bicycle feeling unwieldy.
- Confidence: Choose the size the child can control now. Nervous, hesitant control is a reason to compare a smaller suitable size, even when a larger one falls within the height range.
How the supplied 20-inch options are relevant
The supplied catalog choices both include a 20 Inch SKU, so they provide relevant comparison points for the size most commonly tried at age 9. They are categorized as Training Wheel Bikes, which may be pertinent when current riding confidence is part of the decision; the catalog facts do not establish whether that setup suits every rider.
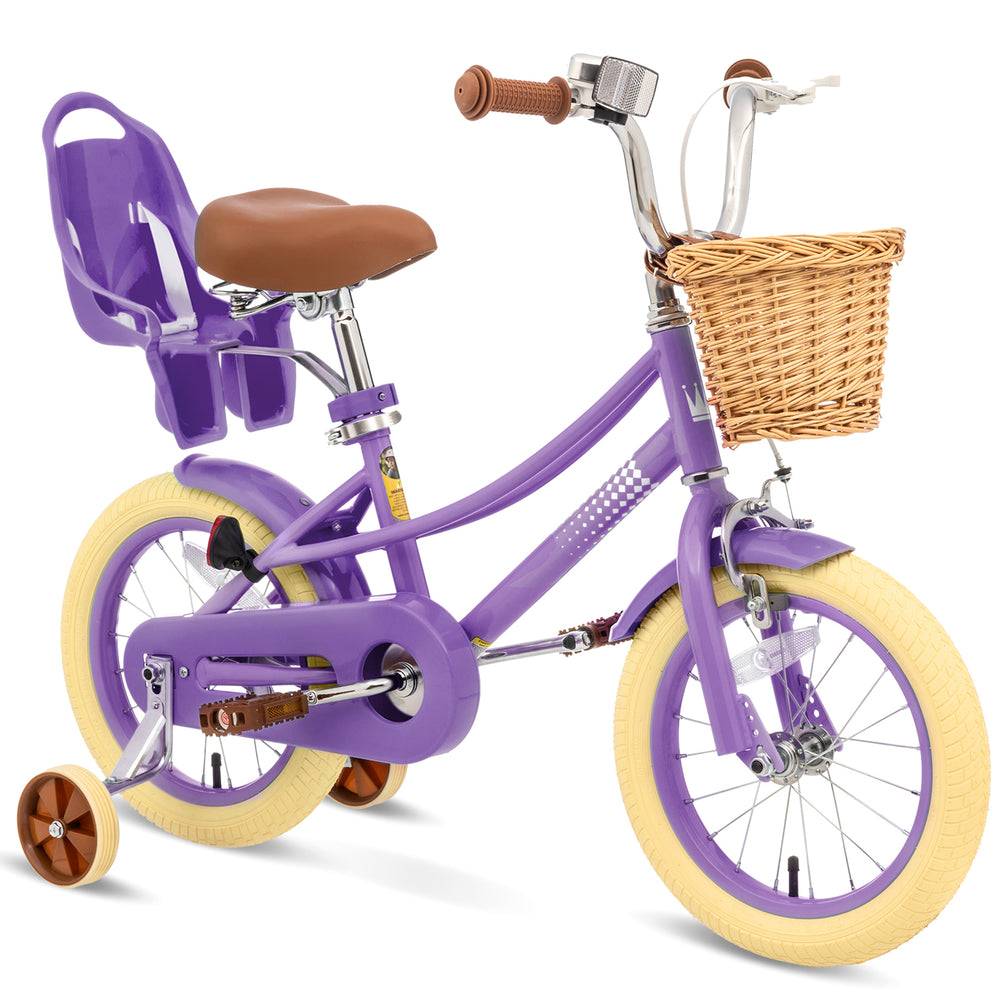 XJD Girls' Bike with Training Wheels, 12/14/16/20 Inch – Purple
Its 20 Inch SKU is relevant to the usual starting size for a 9-year-old. The 12, 14 and 16 Inch labels are also available, but individual height and fit must determine suitability.
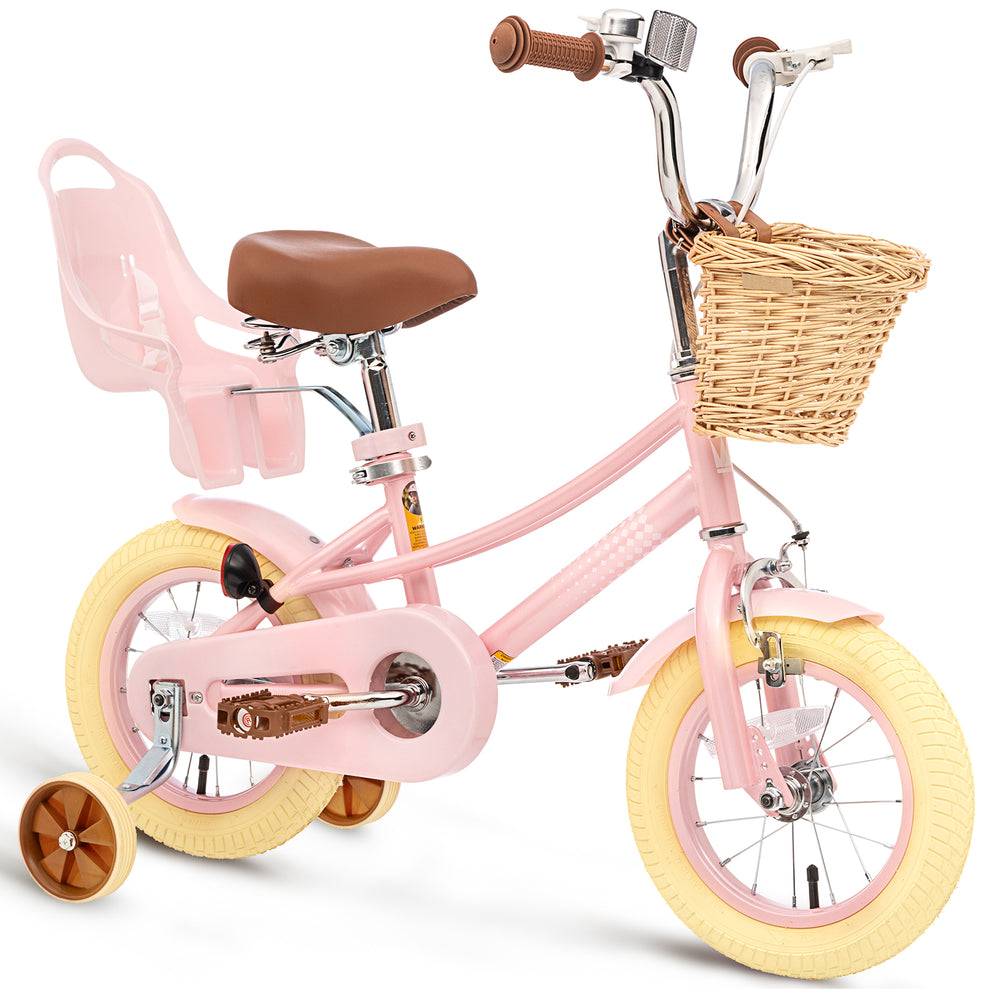 XJD Kids Bike for Girls – Pink, 12/14/16/20 Inch with Training Wheels
This training-wheel bike includes a 20 Inch SKU that can be compared for a 9-year-old who fits the height range. Its other supplied size labels are 12, 14 and 16 Inch.
XJD Girls' Bike with Training Wheels, 12/14/16/20 Inch – Purple is offered in 12 Inch, 14 Inch, 16 Inch and 20 Inch labels. For this question, compare only its 20 Inch version if the child measures within the 20-inch starting range and passes the individual fit checks.
XJD Kids Bike for Girls – Pink, 12/14/16/20 Inch with Training Wheels has the same supplied size-label choices: 12 Inch, 14 Inch, 16 Inch and 20 Inch. Its 20 Inch option is likewise a candidate to try, not proof of fit based on age or title wording.
Neither supplied product has an 18 Inch or 24 Inch SKU. If the child’s measurements and trial point toward either of those sizes, these products are nearest-size comparison points only; their 20 Inch versions are not substitutes for an 18 Inch or 24 Inch bike.
Make the final decision
Begin with 20 inches when the 9-year-old is 48–60 inches (122–152 cm) tall. Compare 18 inches for a shorter rider in its range, or consider a 24-inch trial for a taller rider in its range, without sizing up solely for growth. Select only after confirming stand-over clearance, relaxed reach, usable brake controls and confident starts and stops.
Before riding, use a properly fitting bicycle helmet that sits level, with its straps adjusted according to the helmet manufacturer’s instructions. Follow the exact bicycle manual for assembly, maintenance, compatibility, load limits and torque; when anything is uncertain, use a qualified bicycle mechanic.
Bikes for your next adventure
-
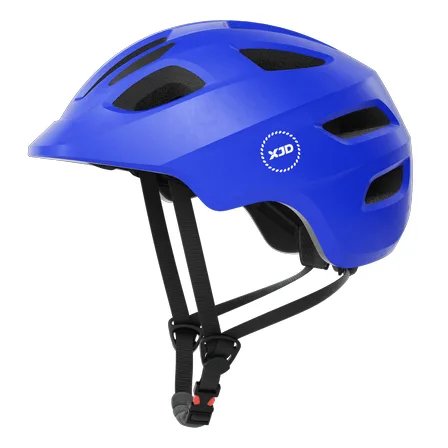
Blue XJD Kids Bike Helmet for Boys & Girls
The Blue XJD Kids Bike Helmet is a lightweight, adjustable multi-sport helmet fo…$59.99
$99 -
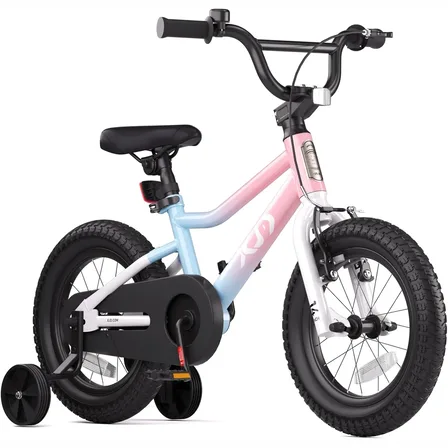
XJD Girls BMX Bike 12/14/16 Inch with Training Wheels – Pink Blue
The XJD Girls BMX Bike in Pink/Blue is built as a first pedal bike for kids roug…$99.99
$119.99 -
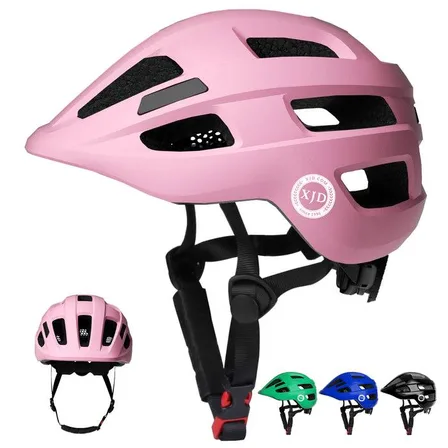
Kids Bike Helmet by XJD for Boys & Girls – Black, Blue, Green, Pink, Purple
The XJD Kids Bike Helmet covers a wide 2-to-8-year age range thanks to two head-…$59.99