

Where can they put up a kid's bike together
A kid’s bike can be put together at home if the exact product manual is followed, or by a qualified bicycle mechanic when tools, instructions, or confidence are lacking.
Choose the assembly place by the work required
Start by checking the box contents and the manual before removing packaging or adjusting parts. The manual identifies what arrives preassembled, which tools are required, and the product-specific sequence. Because assembly details differ, do not rely on a general online procedure in place of those instructions.
Home can be suitable when an adult can follow the manual precisely and has the specified tools, a clean level work area, and enough time to complete every listed check. Use a qualified bicycle mechanic if the manual is missing, a required tool is unavailable, a component does not fit as shown, or any control remains difficult to assess. A local bike shop may provide assembly, but ask the individual shop what it accepts, charges, and checks before taking the boxed bike there.
Measure the child before selecting the box
Assembly cannot correct a poor size choice. Measure the child’s current standing height and inseam while they wear the shoes they will normally use for riding. Then compare height with the XBikes starting points below. Age is only a secondary clue.
| Wheel size | Starting age | Rider height |
|---|---|---|
| 12 Inch | 3–4 | 34–40 in / 86–102 cm |
| 14 Inch | 3–6 | 37–45 in / 94–114 cm |
| 16 Inch | 4–7 | 40–48 in / 102–122 cm |
| 18 Inch | 5–9 | 43–52 in / 109–132 cm |
| 20 Inch | 7–12 | 48–60 in / 122–152 cm |
| 24 Inch | 10–14 | 54–64 in / 137–163 cm |
| 26 Inch | Youth and adults | Over 60 in / 153 cm |
Overlapping ranges are deliberate starting points, not proof that either size fits. Do not buy an oversized bicycle merely to leave room for growth. The child still needs to try the assembled bike so you can evaluate stand-over space, reach, brake control, and present confidence.
How the supplied bike helps with the decision
The Black XJD Kids Bike for Boys – 12, 14 & 16 Inch Sizes is a training-wheel bike offered with 12 Inch, 14 Inch, and 16 Inch SKU labels. Those three choices make it relevant when the child’s measured height falls within the corresponding starting ranges. The catalog facts do not state its assembly service, included tools, brake type, load limit, or setup procedure, so use its exact manual or a qualified mechanic for those details.
These particular catalog options help answer the question because they let a parent compare three nearby wheel-size starting points before deciding which boxed bike, if any, should be assembled for the child.

If the child measures outside all three supplied size ranges, this product is not a substitute for the indicated larger wheel size. For example, its 16 Inch option is not equivalent to an 18 Inch or 20 Inch bike.
Check fit after assembly, not just workmanship
Once assembly is complete, have the child try the bicycle in a quiet, level area with close adult supervision. Confirm each of these points before riding:
- The child can straddle the bike with appropriate clearance rather than being pressed against the frame.
- The child can reach the handlebar comfortably without stretching or losing a controlled posture.
- The child can operate the brakes and other controls confidently with their hands in a normal riding position.
- The chosen size matches current ability and confidence; training wheels do not make an oversized frame fit.
- No part is loose, misaligned, damaged, or operating differently from the manual’s description.
If the child cannot manage stand-over, reach, or braking, stop and compare another size. Do not try to solve an unsuitable frame size through improvised adjustments.
Finish with the manual and helmet check
Follow the exact product manual for fastener order, torque, tire setup, maintenance, compatibility, and any final inspection. No universal torque value or assembly sequence should be guessed. If anything is unclear, have a qualified bicycle mechanic finish or inspect the work.
Before the first ride, fit a bicycle helmet to the child. It should sit level and fit properly, with its straps adjusted according to the helmet manufacturer’s instructions. Recheck the bicycle as directed by its manual after initial use.
What to do next
- Measure the child’s height and inseam.
- Compare height with the wheel-size starting points.
- Arrange home assembly only if the manual and specified tools are available; otherwise contact a qualified bicycle mechanic.
- Have the child try the completed bike and reject any size that compromises stand-over, reach, brake use, or confidence.
For this purchase, decide the wheel size from the child’s measurements first, then decide whether home or mechanic assembly can deliver the manual’s exact setup without guesswork.
Bikes for your next adventure
-

Kids Bike Helmet by XJD for Boys & Girls – Black, Blue, Green, Pink, Purple
The XJD Kids Bike Helmet covers a wide 2-to-8-year age range thanks to two head-…$59.99
-
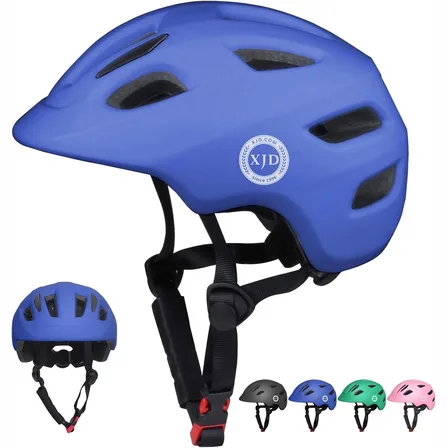
Blue XJD Kids' Bike Helmet, Adjustable Fit – Sizes XS & S
The Blue XJD Kids' Bike Helmet is a lightweight, adjustable helmet for toddlers …$20.39
-

Kids Bike Helmet by XJD for Girls – Pink
The XJD Kids Bike Helmet in Pink is a lightweight multi-sport helmet for girls r…$59.99
$99