

Where to buy a desent youth bike
Buy a decent youth bike from a retailer that lets the child try the exact size and confirm stand-over clearance, reach and brake control. Measure the rider first, compare wheel-size starting points, and avoid buying an oversized bike for future growth.
Where to buy with confidence
Start with a local bicycle shop or another seller where the child can sit on and handle the assembled bike before purchase. The useful advantage is not the type of store itself; it is the chance to check the specific bicycle against the rider. If buying online, choose the size from current measurements, review the exact product manual, and arrange qualified assembly or inspection when you cannot verify it yourself.
Before paying, ask how returns or size exchanges work, whether the bicycle arrives assembled, and who can perform a final fit check. Those policies vary, so confirm them directly rather than assuming that a wheel-size label guarantees a good fit.
Measure before comparing bikes
Measure the child’s height without shoes. Also measure inseam from the floor to the crotch while the child stands naturally. Take both measurements with you, but remember that wheel size alone does not establish stand-over clearance because bicycle frames can differ.
On the actual bike, check that the child can stand over it with usable clearance, reach the handlebar without stretching, steer without losing balance, and operate the brakes reliably. Current confidence matters too: a size that looks acceptable on paper may still be difficult for a hesitant or inexperienced rider to control.
Use wheel size as a starting point
| Wheel size | Age starting point | Rider-height starting point |
|---|---|---|
| 12 Inch | 3–4 | 34–40 in / 86–102 cm |
| 14 Inch | 3–6 | 37–45 in / 94–114 cm |
| 16 Inch | 4–7 | 40–48 in / 102–122 cm |
| 18 Inch | 5–9 | 43–52 in / 109–132 cm |
| 20 Inch | 7–12 | 48–60 in / 122–152 cm |
| 24 Inch | 10–14 | 54–64 in / 137–163 cm |
| 26 Inch | Youth and adults | Over 60 in / 153 cm |
Use the rider’s measured height before age, particularly where the ranges overlap. Then confirm inseam, reach, brake access and control on the exact frame. Do not move up merely because a child is close to the next range or because a larger bicycle may last longer.
What the supplied XBikes option can tell you
The catalog option relevant to this search is the XJD Girls' Bike with Training Wheels, 12/14/16/20 Inch – Purple. Its available size labels are 12 Inch, 14 Inch, 16 Inch and 20 Inch, so it provides several comparison points across the supplied height ranges. It is categorized as a training-wheel bike; that makes it relevant when training wheels suit the child’s present confidence and learning needs, but its title and category do not prove individual fit.

This product is not an 18 Inch, 24 Inch or 26 Inch option. If the child’s measurements indicate one of those starting points, treat the listed sizes only as comparison points, not equivalent substitutes. Likewise, do not select 20 Inch simply because it is the largest supplied choice.
Compare the shortlisted bicycles in person
- Check stand-over: Have the child straddle the bicycle while standing. Reject a frame that prevents comfortable, controlled positioning.
- Check reach: The rider should reach the handlebar and maintain a controlled posture without leaning or stretching excessively.
- Check brake control: Confirm that the child can reach and operate the bicycle’s braking controls. Do not infer the brake type from a product name.
- Check movement: In a suitable controlled area, make sure the child can start, steer, stop and dismount with confidence.
- Compare learning setup: Decide whether training wheels match the rider’s current needs rather than choosing them from age alone.
If assembly, adjustment, compatibility, load limits, maintenance or torque requirements are unclear, follow the exact product manual or use a qualified bicycle mechanic. Do not improvise specifications from another model.
Complete the purchase safely
Add a properly fitting bicycle helmet rather than relying on a size label alone. The helmet should sit level and its straps should be adjusted according to the manufacturer’s instructions. Recheck helmet fit whenever it is adjusted or replaced.
Your next step is simple: measure height and inseam today, identify the matching wheel-size starting point, and take the child to try that exact size. Buy only when stand-over, reach, brake operation and real riding control all work for this rider now.
Bikes for your next adventure
-

Kids Bike Helmet by XJD for Boys & Girls – Black, Blue, Green, Pink, Purple
The XJD Kids Bike Helmet covers a wide 2-to-8-year age range thanks to two head-…$59.99
-
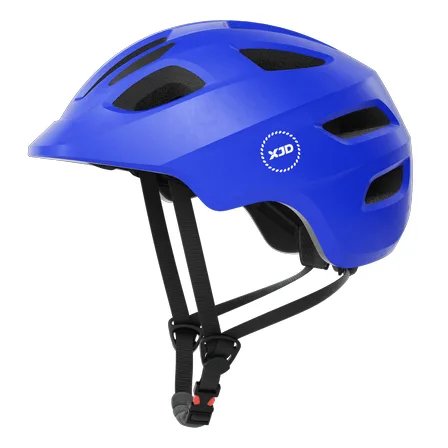
Blue XJD Kids Bike Helmet for Boys & Girls
The Blue XJD Kids Bike Helmet is a lightweight, adjustable multi-sport helmet fo…$59.99
$99 -
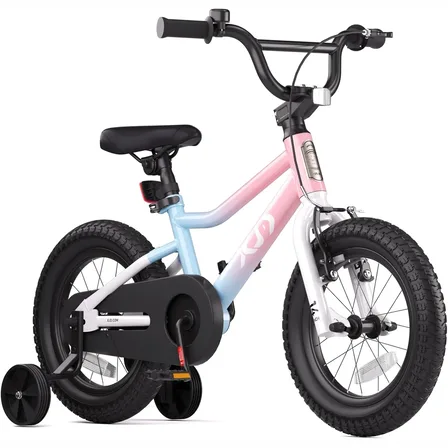
XJD Girls BMX Bike 12/14/16 Inch with Training Wheels – Pink Blue
The XJD Girls BMX Bike in Pink/Blue is built as a first pedal bike for kids roug…$99.99
$119.99