

Are boys and girls bikes different
Yes, boys’ and girls’ bikes can look different, but gender does not determine fit. Choose by the child’s measurements, control and confidence.
What is actually different?
Labels such as “boys’ bike” and “girls’ bike” commonly help describe styling or how a model is marketed. They do not provide a reliable sizing rule. A bike with the preferred colour or label is useful only if the rider can mount it, balance it, steer comfortably and operate its controls.
Compare bikes of either label on the same practical criteria: wheel size, stand-over clearance, saddle adjustment, reach to the handlebar and access to the brakes. The right choice is the bike that fits the individual child now—not the one assigned to a gender.
Measure before comparing bikes
Measure the child’s standing height without shoes. Then measure inseam from the floor to the crotch while the child stands straight with feet slightly apart. Record both measurements rather than relying on clothing size or age.
Use measured height to identify a starting wheel size:
| Wheel size | Starting age | Rider height |
|---|---|---|
| 12 Inch | 3–4 | 34–40 in / 86–102 cm |
| 14 Inch | 3–6 | 37–45 in / 94–114 cm |
| 16 Inch | 4–7 | 40–48 in / 102–122 cm |
| 18 Inch | 5–9 | 43–52 in / 109–132 cm |
| 20 Inch | 7–12 | 48–60 in / 122–152 cm |
| 24 Inch | 10–14 | 54–64 in / 137–163 cm |
| 26 Inch | Youth and adults | Over 60 in / 153 cm |
These overlapping ranges are starting points, not guarantees. Prioritize measured height, inseam, reach, brake control and current confidence over age alone. If the child falls between sizes, compare both in person instead of assuming the larger one will be better.
Check fit on the actual bicycle
Have the child try the bicycle. Do not buy an oversized bike simply to allow room for growth. During the fit check, look for these results:
- Stand-over: The child can straddle the bicycle with usable clearance and without leaning it sharply to one side.
- Starting and stopping: The rider can get on, start and stop without losing control.
- Reach: Hands reach the handlebar naturally without a strained stretch or cramped posture.
- Braking: The child can reach and operate the brakes while maintaining a secure grip and steering control.
- Confidence: The wheel size and riding position match the child’s present ability rather than the size an adult expects them to grow into.
If any of these checks fail, try another size or configuration. For assembly, adjustments, compatibility, load limits, maintenance and torque requirements, follow the exact product manual or ask a qualified bicycle mechanic.
How the supplied boys’ and girls’ models compare
The two catalog options make the central point especially clear: both are explicitly presented for boys and girls, and both offer 12 Inch, 14 Inch and 16 Inch size labels. They are useful comparison options when the rider’s measurements indicate one of those starting sizes, while their different catalog categories help parents compare a training-wheel bike with a kids’ BMX bike.
 XJD Kids' Training Wheel Bike for Boys & Girls, 12/14/16 Inch – White
A Training Wheel Bike offered with 12 Inch, 14 Inch and 16 Inch SKU labels for boys and girls; relevant when the rider’s measurements and individual fit check support one of those sizes.
 XJD Boys & Girls BMX Bike with Training Wheels, 12/14/16" – Blue
A Kids’ BMX Bike with training wheels, described for boys and girls and offered in 12 Inch, 14 Inch and 16 Inch SKU labels; compare its listed size against the child’s measured fit.
XJD Kids' Training Wheel Bike for Boys & Girls, 12/14/16 Inch – White is categorized as a Training Wheel Bike and is available with 12 Inch, 14 Inch and 16 Inch SKU labels. Consider it when those wheel-size starting points and an individual fit check align with the child.
XJD Boys & Girls BMX Bike with Training Wheels, 12/14/16" – Blue is categorized as a Kids’ BMX Bike and also has 12 Inch, 14 Inch and 16 Inch SKU labels. Its boys-and-girls wording is a catalog description, not sizing evidence; verify the rider on the bicycle.
Neither supplied product offers an 18 Inch, 20 Inch, 24 Inch or 26 Inch SKU label. If measurements point to one of those sizes, these products are smaller-size comparison points, not equal substitutes. Do not choose a listed 16 Inch option in place of a required larger size.
Make the final decision
Let the child choose between acceptable colours or category styles only after fit has narrowed the options. A bike marketed toward a different gender is still relevant when it fits, supports control and appeals to the rider; a preferred gender label cannot rescue a poor fit.
Complete the setup with a properly fitting bicycle helmet. It should sit level, and its straps should be used according to the helmet manufacturer’s instructions. Recheck bicycle fit as the child grows or if starting, stopping, steering or braking becomes awkward.
The practical answer is simple: measure height and inseam, use wheel size only as a starting point, try the bike, and choose the boys’, girls’ or unisex label only after the child demonstrates comfortable stand-over, reach, braking and control.
Bikes for your next adventure
-
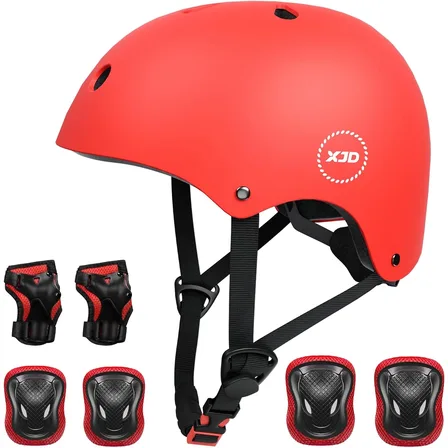
Red XJD Helmet & Protective Gear Set for Kids, Medium
If your child rides a bike, scooter, or skateboard, this red XJD helmet and prot…$25.49
$29.99 -
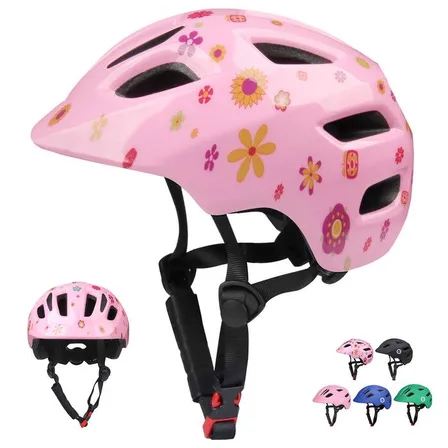
Girls Bike Helmet by XJD, Pink Flower Print
7 reviews
The XJD Girls Bike Helmet in Pink Flower print is a fun, floral kids helmet desi…$59.99
-
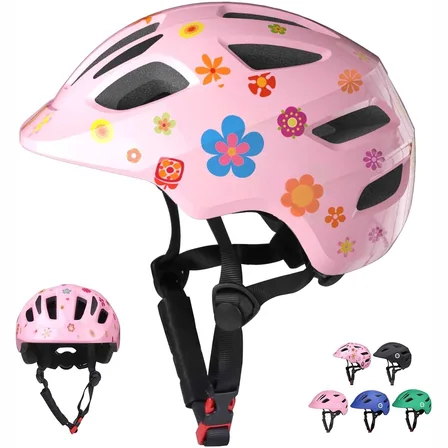
XJD Kids Bike Helmet for Girls, Pink Flowers, Adjustable (XS–S)
The XJD Kids Bike Helmet in Pink Flowers is an adjustable toddler-and-kids helme…$21.24
$24.99