How to install training wheels on a 20 inch bike
To install training wheels on a 20 inch bike, first confirm that the specific bike, rear axle and training-wheel kit are compatible; then follow the kit and bicycle manuals exactly.
Measure before buying or fitting anything
“20 inch” describes the bicycle’s wheel size, but it does not prove that a training-wheel kit will fit. Inspect and measure the rear mounting area before loosening any parts.
- Wheel size: Confirm that both the bicycle and the kit specify 20 inch compatibility.
- Rear axle: Identify how the rear wheel is secured and measure the usable axle or mounting space on both sides. There must be enough room for the specified brackets and fasteners.
- Obstructions: Compare the bracket shape with the frame, chain guard and any gear-related parts near the rear axle.
- Kit dimensions: Compare its stated axle requirements, bracket clearance, adjustment range and load limit with the bicycle and rider.
Wheel diameter alone is not enough. If the manual does not clearly approve the combination, ask the bicycle or kit manufacturer, or have a qualified bicycle mechanic inspect it. Do not modify the frame, substitute fasteners or force brackets around an obstruction.
Check that a 20 inch bike fits the rider
XBikes uses 20 inch wheels as a starting point for riders ages 7–12 and 48–60 inches (122–152 cm) tall. Age is only a guide. Measure the child’s height and inseam, then have the child try the bicycle.
The rider should have suitable stand-over clearance, reach the controls comfortably, steer without stretching and operate the brakes reliably. Current confidence also matters. Do not choose an oversized bicycle merely to allow room for growth. Training wheels cannot correct a frame that is too large or controls that the child cannot reach.
Install the kit in the correct sequence
Exact bracket order, washer placement, permitted axle types and tightening requirements vary. Use the instructions supplied with the exact bicycle and training-wheel kit. A typical decision sequence is:
- Place the bicycle in a stable work position and compare every part with the manual’s parts diagram.
- Confirm which side each bracket belongs on and whether the manual permits installation around the existing rear-wheel hardware.
- Fit the brackets and training-wheel arms in the stated order without disturbing unrelated brake, gear or wheel-alignment components.
- Set both sides to the manual’s specified height and orientation. Make sure the arms are matched and the small wheels face in the required direction.
- Tighten every fastener to the bicycle or kit manufacturer’s stated torque and recheck rear-wheel alignment. No universal torque value should be guessed.
Stop if axle engagement appears insufficient, a bracket contacts a moving part, the rear wheel shifts, or the instructions conflict. Those conditions require a qualified bicycle mechanic rather than improvisation.
Inspect and test before the child rides
With the bicycle supported and the child off it, confirm that both training wheels rotate freely, all fasteners are secure, and nothing touches the tire, spokes, chain, gears or brakes. Check that the rear wheel remains centered and that the brakes and steering operate normally.
Next, test the bicycle at walking speed in a flat, open area away from traffic. Watch for excessive rocking, bracket movement, poor braking or unexpected contact during gentle turns. Stop immediately if anything loosens or shifts. Follow the manuals for initial rechecks and continuing maintenance because inspection intervals are product-specific.
The child should wear a properly fitted bicycle helmet. It should sit level and its straps should be adjusted according to the helmet manufacturer’s instructions. Close supervision and a controlled practice area remain necessary even after the hardware is fitted.
When the XBikes catalog options are relevant
The catalog lists three Training Wheel Bikes with 20 Inch SKU labels, so they are useful alternatives when a parent is comparing a complete 20 inch bicycle supplied as a training-wheel model rather than adapting an existing bike. Their supplied facts do not establish compatibility between their hardware and any other bicycle.
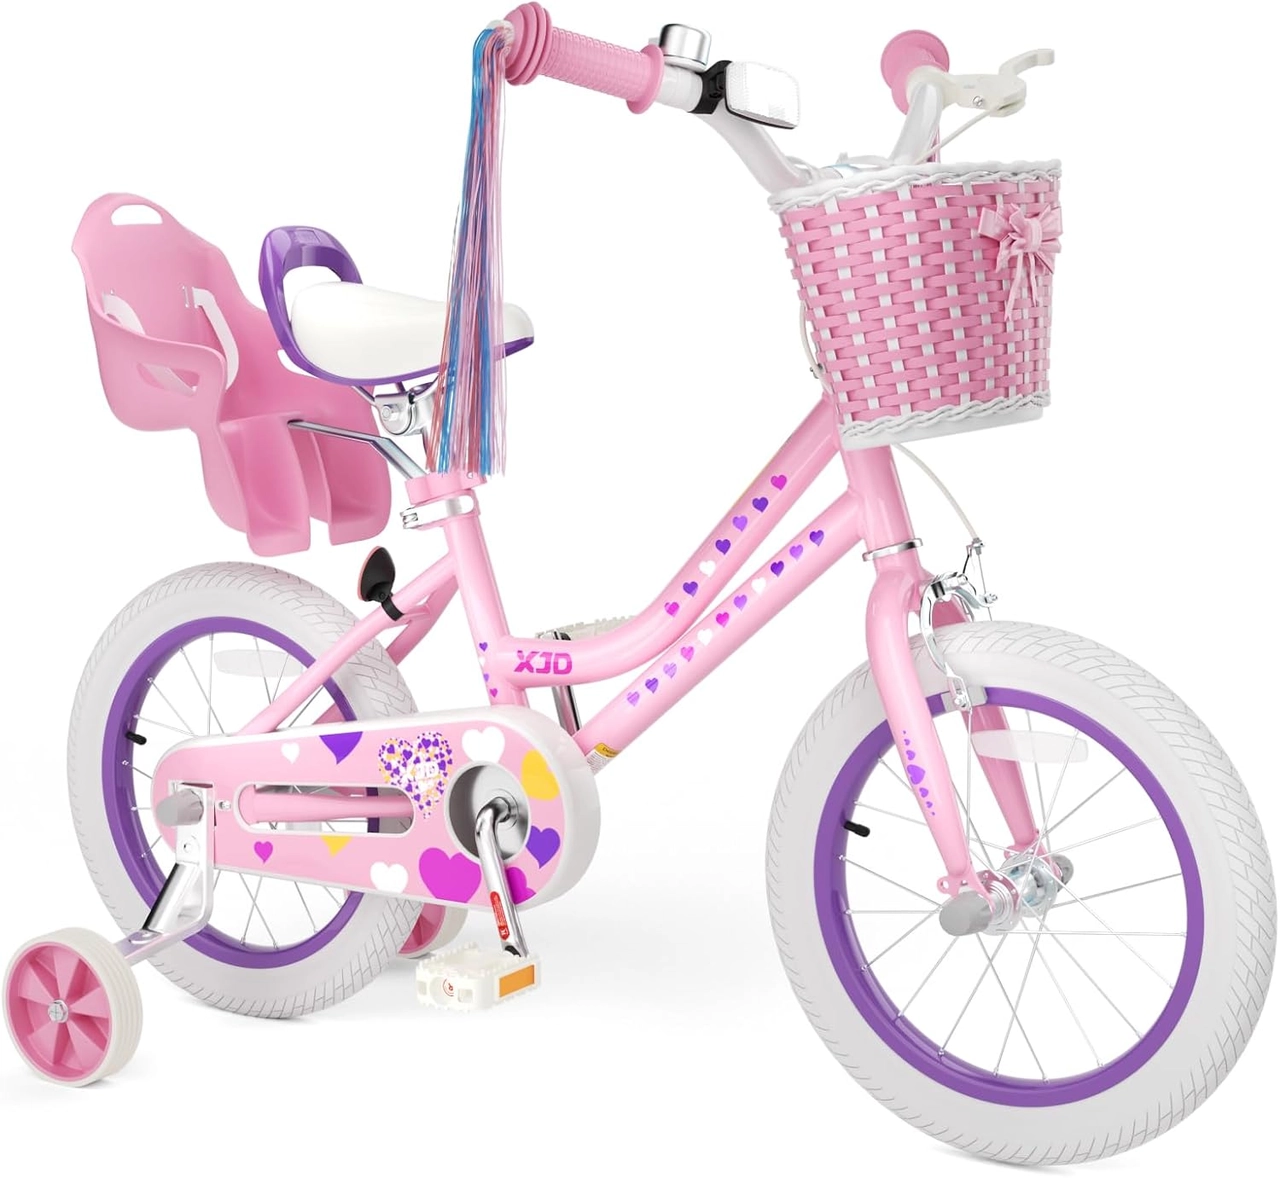 Light Pink XJD Girls' Bicycle with Basket & Training Wheels
Listed with training wheels and 12, 14, 16 and 20 Inch SKU labels, making its 20 Inch option relevant when comparing a complete bike rather than an add-on kit.
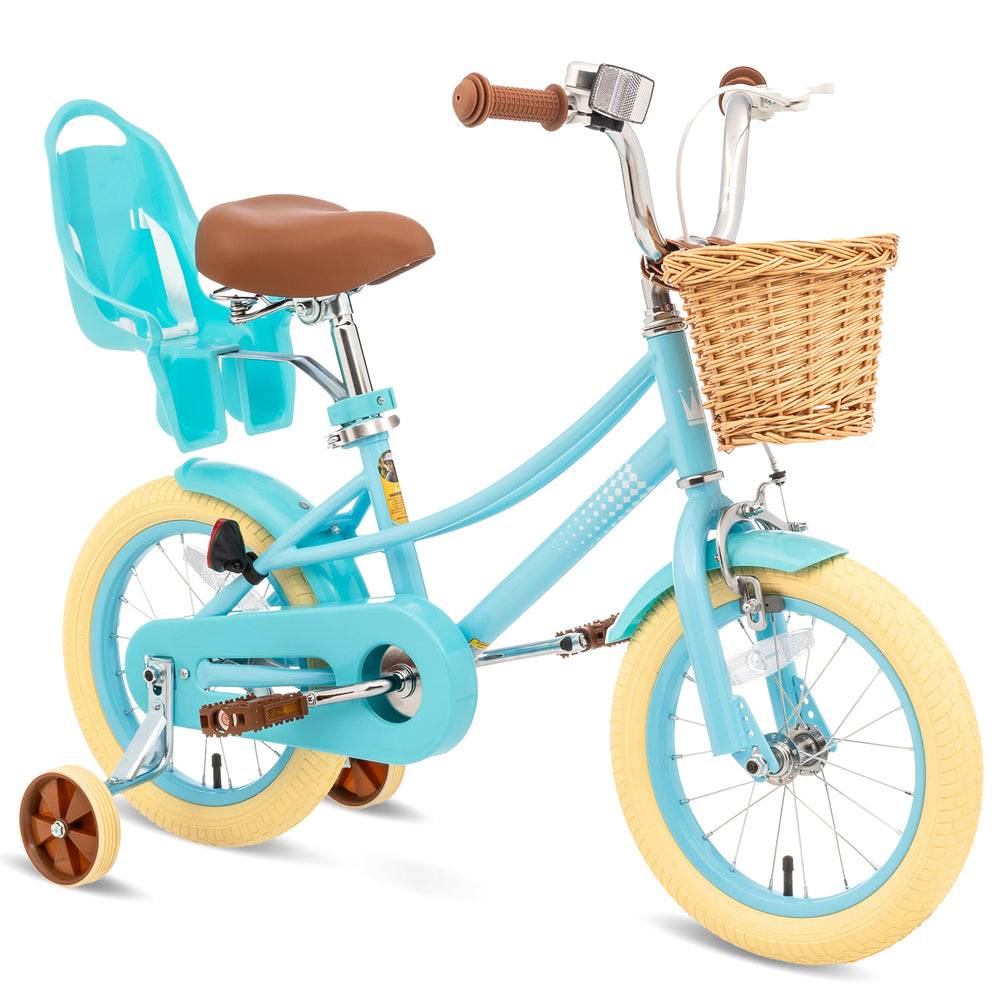 Girls' Training Wheel Bike by XJD, 12–20 Inch Wheels – Blue
This blue XJD training-wheel bike lists 12, 14, 16 and 20 Inch SKU labels. Its 20 Inch option is relevant to complete-bike comparison, but no transferable-kit compatibility is supplied.
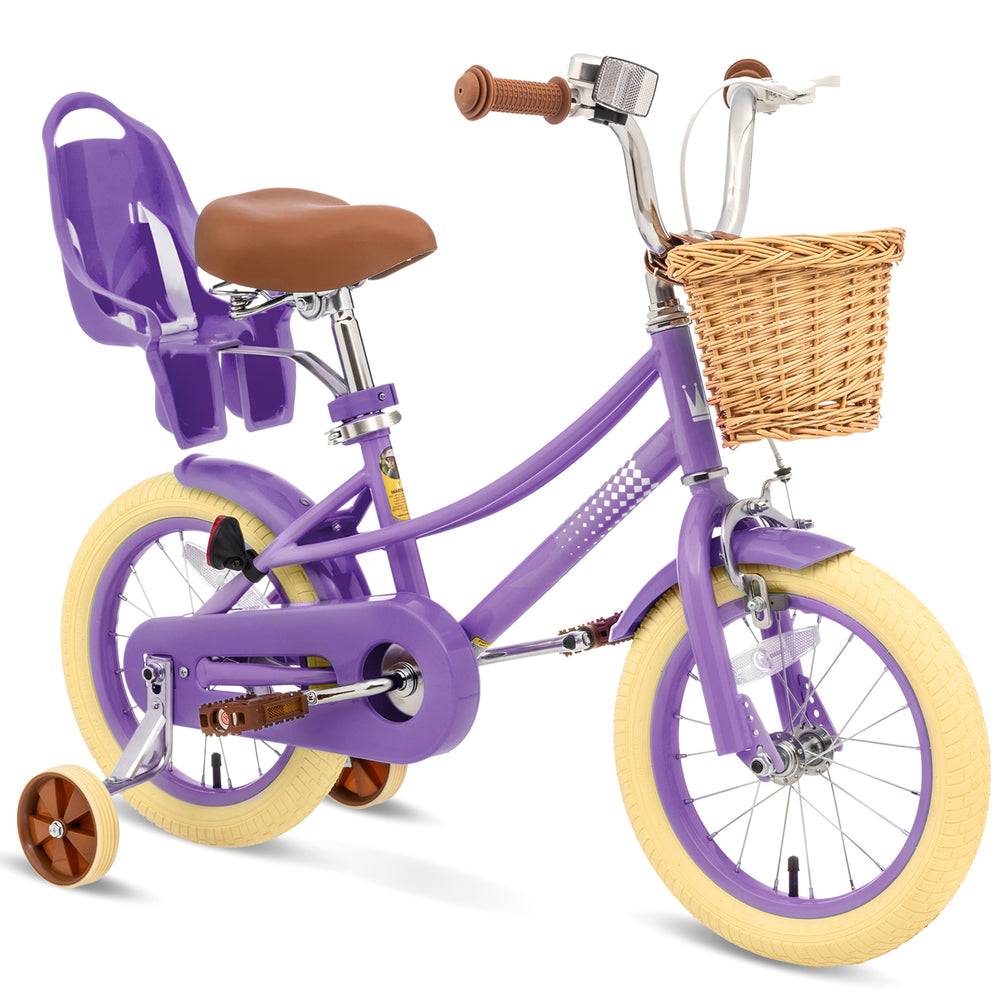 XJD Girls' Bike with Training Wheels, 12/14/16/20 Inch – Purple
This purple XJD bike is listed with training wheels in 12, 14, 16 and 20 Inch SKUs. The 20 Inch option is relevant, while rider fit still requires an individual check.
Light Pink XJD Girls' Bicycle with Basket & Training Wheels has 12 Inch, 14 Inch, 16 Inch and 20 Inch SKU labels. Girls' Training Wheel Bike by XJD, 12–20 Inch Wheels – Blue lists the same four sizes, as does XJD Girls' Bike with Training Wheels, 12/14/16/20 Inch – Purple.
These titles and size labels support a comparison by catalog color/title and wheel-size option only. They do not provide add-on kit dimensions, axle specifications, torque values, load limits or proof that their training wheels can be transferred to another bike. Select the 20 Inch SKU only after checking the individual rider’s fit; never treat the smaller SKUs as equivalent substitutes.
Make the final installation decision
Proceed only when the rider fits the 20 inch bicycle, both manuals approve the exact bike-and-kit combination, all mounting measurements agree, and the completed bicycle passes the stationary and walking-speed checks. Otherwise, use a qualified bicycle mechanic or compare a purpose-listed 20 inch training-wheel bike instead of forcing an uncertain installation.
Recommended products
-
Save 12%
XJD Girls' Bike with Training Wheels, 12/14/16/20 Inch – Purple
The XJD girls' bike with training wheels in Purple is built to grow with your ri…
Training Wheel Bikes Wheel Size 12 Inch / 14 Inch / 16 Inch / 20 Inch Recommended Height 86–152 cm Training Wheels Yes 12 Inch -
Save 11%
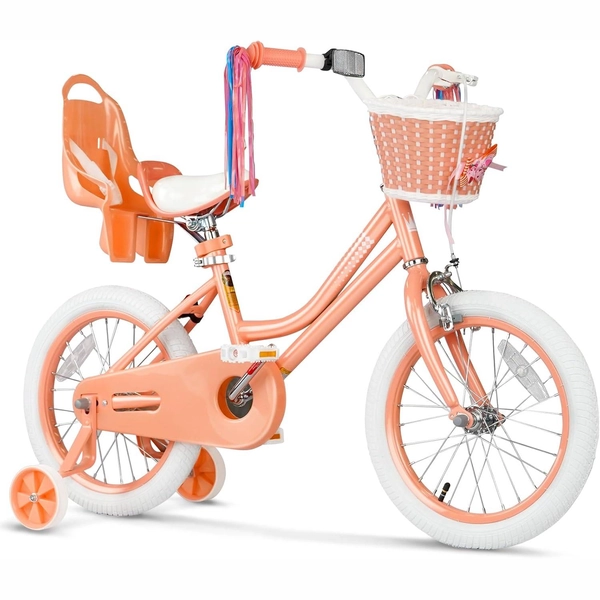
Girls 12/14/16 Inch Kids Bike by XJD with Training Wheels – Peach
The XJD Girls Bike in Peach is a training-wheel bike built for girls roughly 3 t…
Training Wheel Bikes Wheel Size 12 Inch / 14 Inch / 16 Inch Recommended Height 86–122 cm Training Wheels Yes 12 Inch -
Save 16%
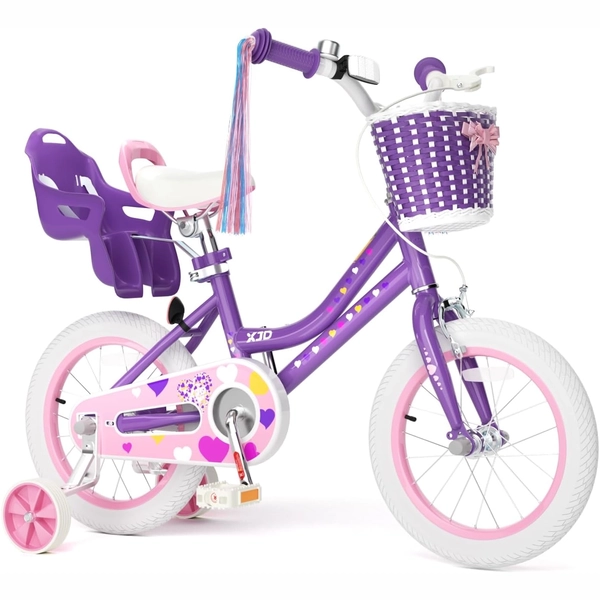
XJD Light Purple Girls Bike with Basket, Training Wheels, 12/14/16/20 Inch
The XJD Girls Bike with Basket in Light Purple is a single-speed training-wheel …
Training Wheel Bikes Wheel Size 12 Inch / 14 Inch / 16 Inch Recommended Height 86–122 cm Training Wheels Yes Single Speed 12 Inch -
Save 16%
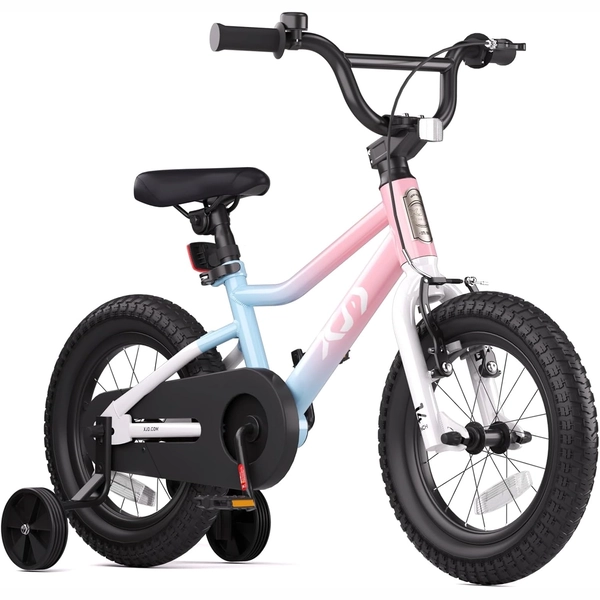
XJD Girls BMX Bike 12/14/16 Inch with Training Wheels – Pink Blue
The XJD Girls BMX Bike in Pink/Blue is built as a first pedal bike for kids roug…
Kids' BMX Bikes Wheel Size 12 Inch / 14 Inch / 16 Inch Recommended Height 86–122 cm Training Wheels Yes Single Speed 12 Inch