How to put training wheels on a 20 inch bike
To put training wheels on a 20 inch bike, first confirm the kit fits the rear axle and frame, then install and align it exactly as its manual directs.
Measure before buying or fitting anything
A “20 inch” label describes the bicycle’s wheel-size class; it does not guarantee that any 20-inch training-wheel kit will attach correctly. Inspect and measure the rear mounting area before removing hardware.
- Confirm the wheel size: Read the size marked on the tire or bicycle documentation rather than estimating with a tape measure.
- Identify the rear-axle arrangement: Check whether the axle has nuts and whether enough threaded axle remains available for the proposed brackets. Record the axle diameter and thread specification from the bicycle manual or have a mechanic identify them.
- Check bracket clearance: Compare the kit’s bracket shape and reach with the frame, chain, gear components, brake parts, guards and any nearby cables. Nothing should be pinched, bent or forced aside.
- Check the kit limits: Its instructions must explicitly support the bicycle’s wheel size, mounting arrangement and rider or bicycle load. Follow any stated exclusions.
If the specifications are missing, the axle is too short, or a bracket would interfere with another component, stop. The appropriate next step is the bicycle manufacturer, the training-wheel manufacturer or a qualified bicycle mechanic—not improvised hardware or altered safety components.
Fit the brackets in the documented order
- Place the bicycle on a stable surface and prevent it from rolling. Read both the bicycle manual and training-wheel instructions fully.
- Remove only the rear-axle hardware identified by the kit instructions. Keep washers, anti-rotation parts and other original pieces in their documented order.
- Position each mounting bracket on the correct side and in the required orientation. Reinstall every required original and supplied part in the exact sequence shown by the manufacturer.
- Attach the support arms and training wheels. Adjust both sides evenly to the position specified in the kit manual.
- Tighten the fasteners with the specified tools and torque values. No universal torque can be assumed; use the exact product manual or ask a qualified bicycle mechanic.
Do not stack extra washers merely to gain clearance, substitute fasteners, extend an axle, drill the frame or bend brackets unless the relevant manufacturer expressly documents that procedure for the exact products.
Set alignment and perform a stationary check
Viewed from behind, the supports should match the manual’s alignment diagram and the training wheels should not toe noticeably inward or outward. Use the manufacturer’s specified ground-clearance setup; do not assume both stabilizer wheels should continuously carry the bicycle.
Before a child rides, hold the bicycle stationary and check that every fastener is secure, both wheels rotate freely, the rear wheel remains correctly seated and centered, and the chain, gears and brakes operate without bracket contact. Recheck after the initial short rides at the interval required by the manual. Any loosening, axle movement, rubbing or handling change calls for an immediate stop and mechanic inspection.
Confirm that the 20 inch bike fits the rider
XBikes uses age 7–12 and rider height 48–60 in (122–152 cm) as starting points for a 20 Inch bicycle. Height matters more than age, and those ranges never replace an individual fit check.
Have the child try the bicycle. Confirm suitable stand-over clearance, a comfortable reach to the handlebar, reliable access to and control of the brakes, and enough confidence to start and stop under supervision. Inseam and body proportions can change the result even for children of the same height. Do not choose an oversized bicycle simply to allow room for growth.
A properly fitting bicycle helmet is also essential. It should sit level and be adjusted with its straps according to the helmet manufacturer’s instructions.
When the supplied XBikes products are relevant
All three catalog bicycles offer a 20 Inch SKU and are categorized as Training Wheel Bikes, so they are useful complete-bike comparison options when the current bicycle cannot accept a compatible kit or does not fit the rider. Their catalog facts do not establish compatibility between their training wheels and a different bicycle.
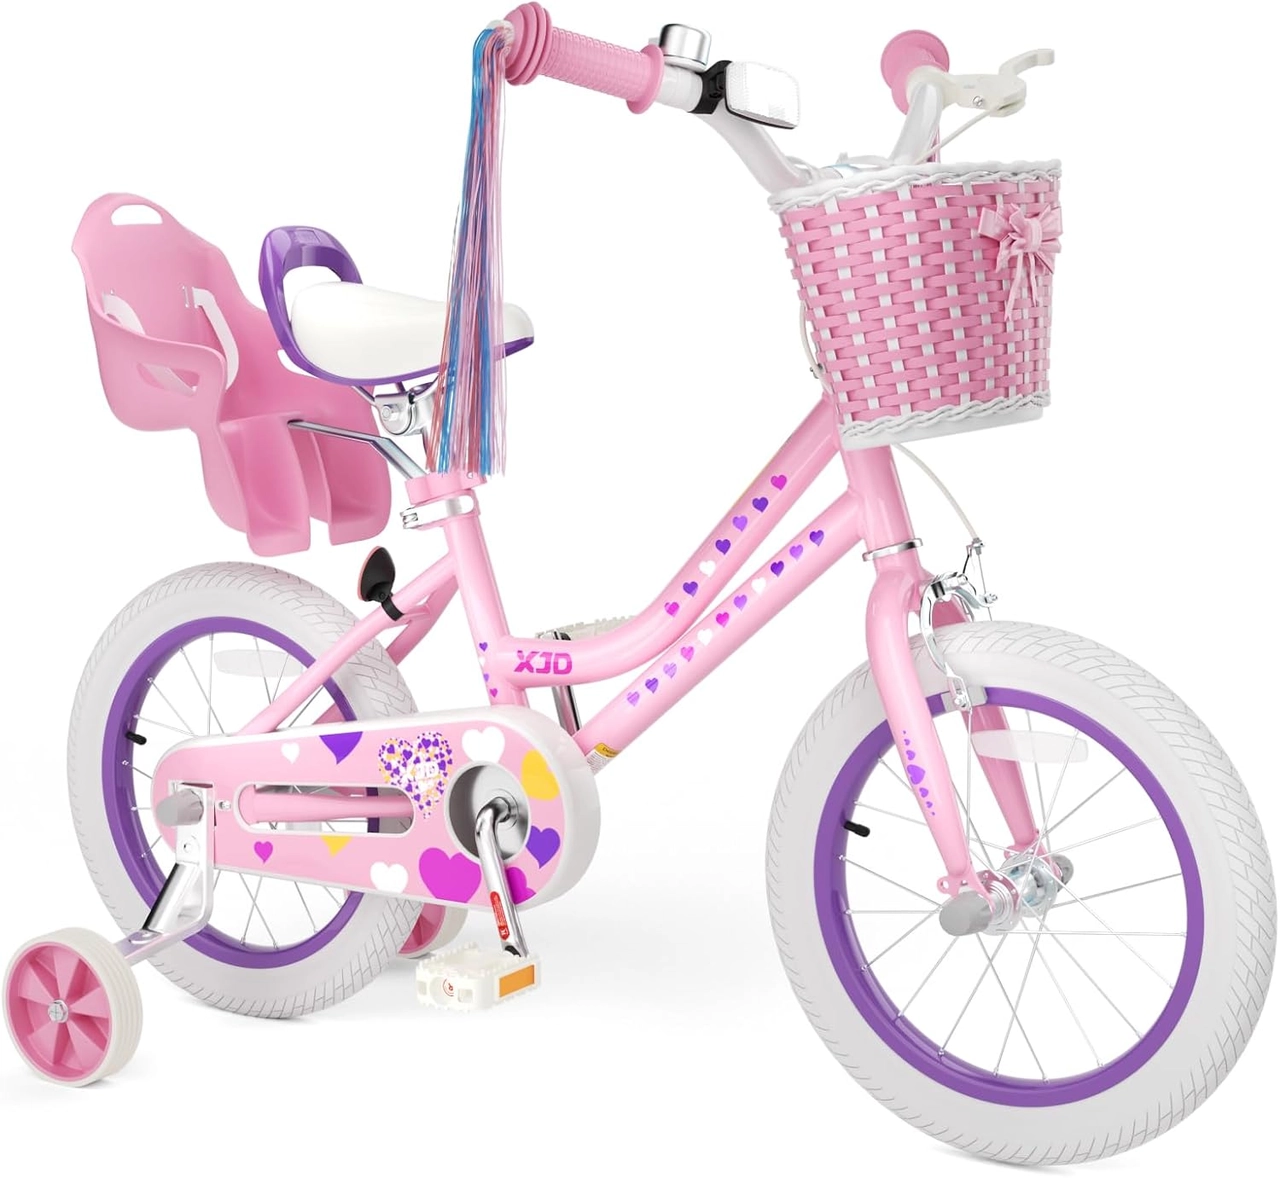 Light Pink XJD Girls' Bicycle with Basket & Training Wheels
Available in a 20 Inch SKU and categorized as a Training Wheel Bike, making it a relevant complete-bike comparison when a separate kit will not fit the existing bicycle.
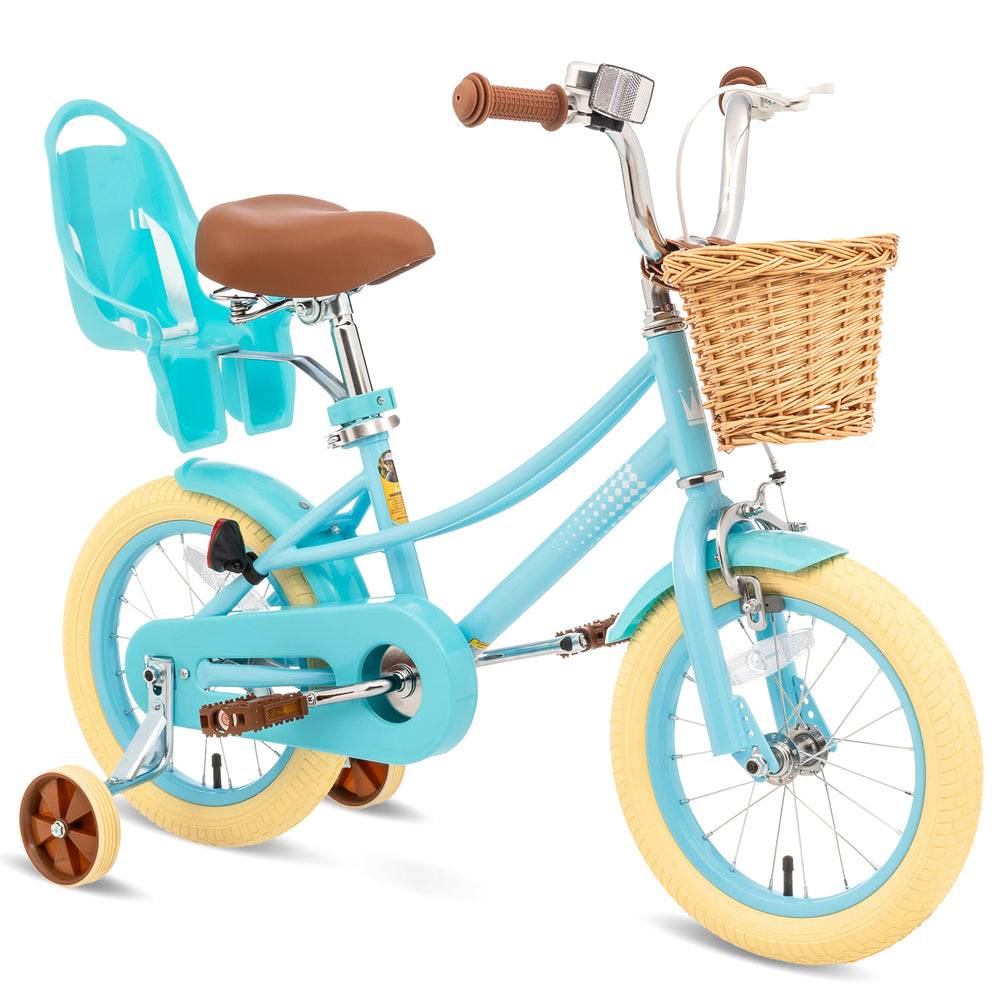 Girls' Training Wheel Bike by XJD, 12–20 Inch Wheels – Blue
This Training Wheel Bike has an available 20 Inch SKU. It is relevant as a complete-bike option, but its catalog facts do not prove its training wheels fit another bicycle.
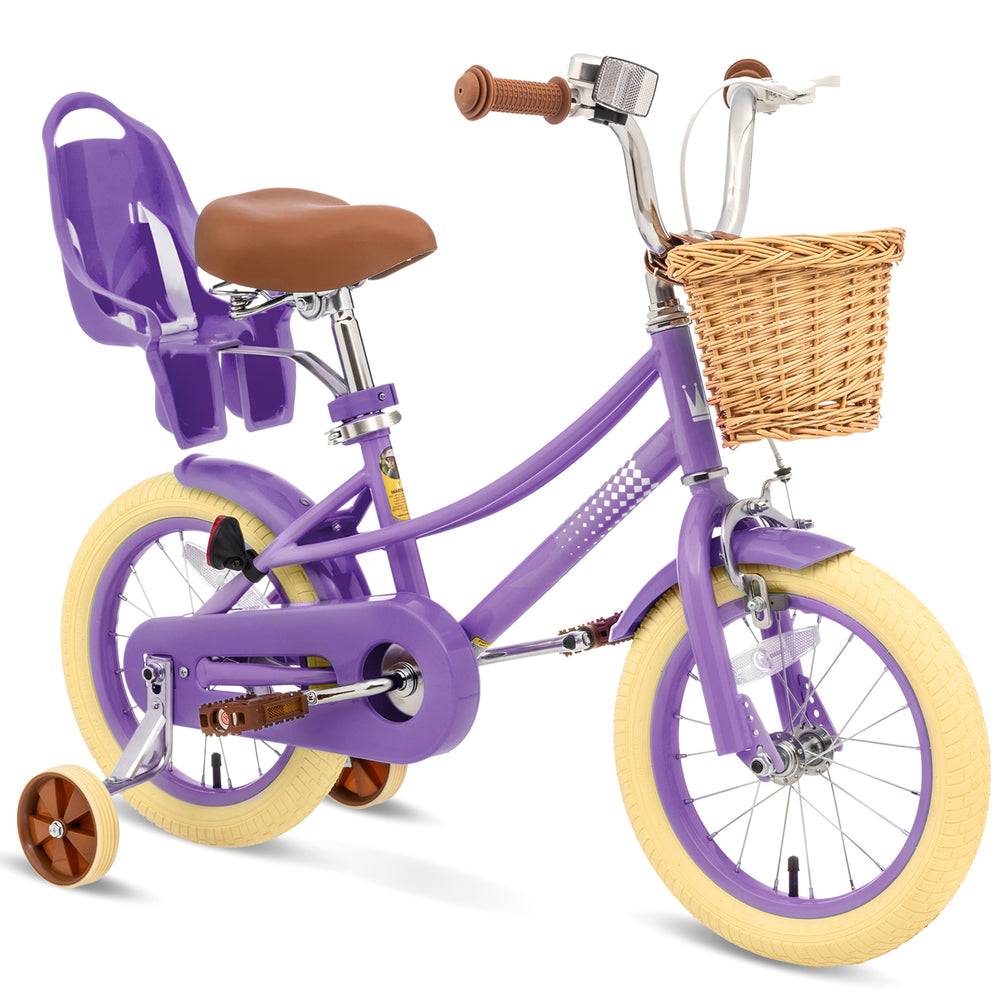 XJD Girls' Bike with Training Wheels, 12/14/16/20 Inch – Purple
Listed with an available 20 Inch SKU in the Training Wheel Bikes category, this is a relevant whole-bike comparison rather than evidence of kit compatibility with a different frame.
The relevant choices are Light Pink XJD Girls' Bicycle with Basket & Training Wheels, Girls' Training Wheel Bike by XJD, 12–20 Inch Wheels – Blue, and XJD Girls' Bike with Training Wheels, 12/14/16/20 Inch – Purple. Each is listed with 12 Inch, 14 Inch, 16 Inch and 20 Inch SKU labels. Compare the exact 20 Inch variant, then perform the same rider fit check rather than treating the title, color or size label as proof of fit.
Make the final go-or-stop decision
Proceed only when the tire or documentation confirms 20 Inch, the kit manual explicitly matches the axle and frame arrangement, every bracket clears moving and braking parts, and the child can control the fitted bicycle. If any one of those checks fails or remains uncertain, do not install or ride it; take the bike, kit and manuals to a qualified bicycle mechanic.
Recommended products
-
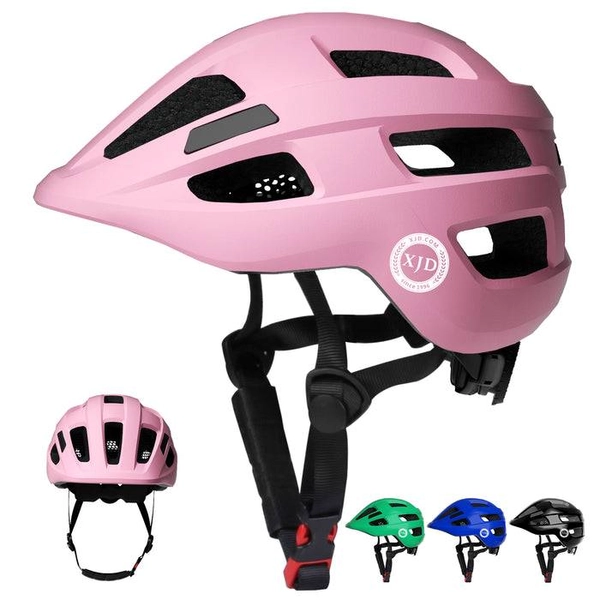
Kids Bike Helmet by XJD for Boys & Girls – Black, Blue, Green, Pink, Purple
The XJD Kids Bike Helmet covers a wide 2-to-8-year age range thanks to two head-…
Bike Helmets Pink / M:20.47"-22.05" / 52-56 cm -

Blue XJD Kids' Bike Helmet, Adjustable Fit – Sizes XS & S
The Blue XJD Kids' Bike Helmet is a lightweight, adjustable helmet for toddlers …
Bike Helmets XS (46–51 cm) -
Save 12%
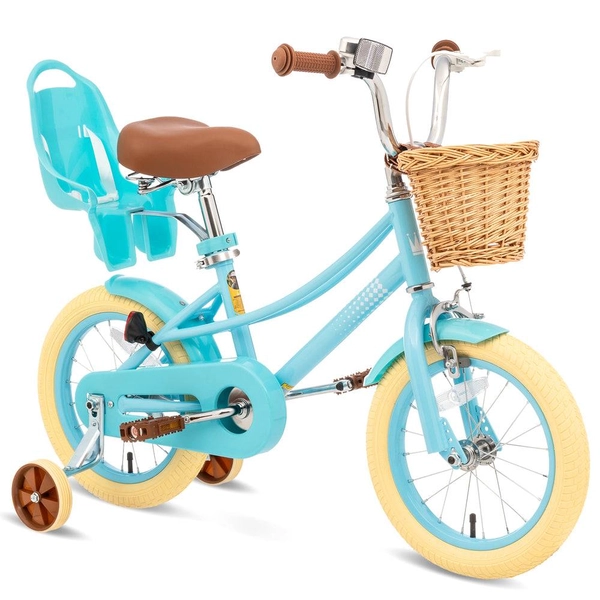
Girls' Training Wheel Bike by XJD, 12–20 Inch Wheels – Blue
This XJD girls' training wheel bike in Blue covers one of the widest fit ranges …
Training Wheel Bikes Wheel Size 12 Inch / 14 Inch / 16 Inch / 20 Inch Recommended Height 86–152 cm Training Wheels Yes 12 Inch -
Save 15%
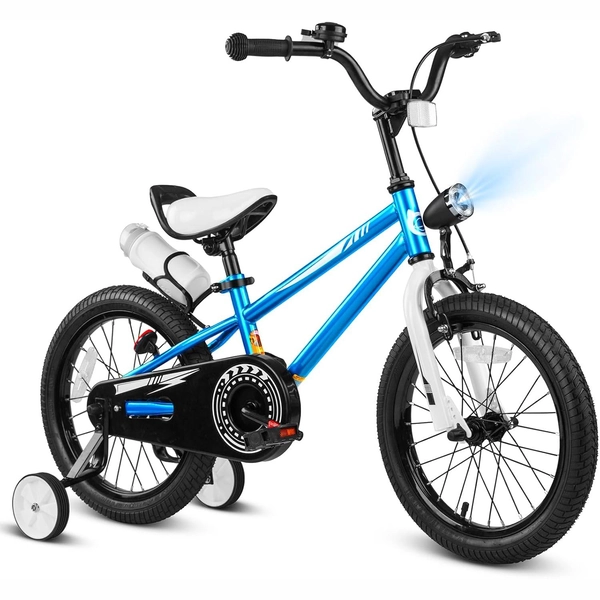
XJD Boys 12/14/16" Training Wheel Bike – Blue
The XJD Boys Bike in Blue is a training wheel bike for riders 71–122 cm tall—rou…
Training Wheel Bikes Wheel Size 12 Inch / 14 Inch / 16 Inch Recommended Height 86–122 cm Training Wheels Yes 16 Inch