How to teach child to ride bike with training wheels
Teach a child to ride with training wheels by choosing a bike that fits now, practicing braking and steering in a clear area, and reducing support only after the child rides confidently.
Measure the child before choosing the bike
Measure standing height without shoes and check inseam, reach, brake control and confidence on the actual bicycle. Age is only a starting point. A child should be able to stand over the bike, reach the controls comfortably and operate the brakes without stretching or shifting into an unstable position.
Do not buy an oversized bicycle for the child to grow into. Have the child try it whenever possible, because two riders of the same height can differ in leg length, arm reach and confidence.
| Wheel size | XBikes starting height | Starting age |
|---|---|---|
| 12 Inch | 34–40 in / 86–102 cm | 3–4 |
| 14 Inch | 37–45 in / 94–114 cm | 3–6 |
| 16 Inch | 40–48 in / 102–122 cm | 4–7 |
| 20 Inch | 48–60 in / 122–152 cm | 7–12 |
These ranges overlap deliberately. Use measured height to identify candidates, then compare stand-over clearance, seated reach, brake operation and the child’s control on each candidate.
Prepare the bike and practice area
Follow the exact product manual for assembly, training-wheel setup, maintenance and compatibility. If instructions are missing, unclear or the wheels do not appear even and secure, use a qualified bicycle mechanic rather than improvising a setting or torque value.
Choose a flat, open area away from traffic, slopes, parked vehicles and obstacles. The child should wear a properly fitting bicycle helmet that sits level, with its straps adjusted according to the helmet manufacturer’s instructions. Closed-toe shoes and practical clothing help the child move without loose fabric catching on the bicycle.
Teach one control at a time
- Mount and stop: Hold the bicycle steady while the child gets on, finds the pedals and practices operating the brakes. Repeat until stopping is deliberate rather than a surprise.
- Start: Position one pedal ready for a firm first push. Walk beside the child, supporting only as much as needed and avoiding sudden pulls on the handlebar.
- Look and steer: Ask the child to look toward a visible destination, ride a wide straight line and make broad turns. Looking down at the front wheel commonly makes steering less steady.
- Pedal smoothly: Use short passes with plenty of room. Pause before fatigue or frustration causes rushed steering and braking.
Keep instructions brief: “look ahead,” “pedal,” and “brake” are easier to use while moving than a stream of corrections. Finish each session after a controlled stop the child can recognize as progress.
Know when the training wheels are helping
Training wheels are useful while the child is learning the sequence of starting, pedaling, steering and stopping. Watch rather than guessing: does the child look ahead, hold a chosen line, turn both ways and stop on request?
They become less useful when the rider consistently controls those tasks and is ready to develop balance without relying on side support. Do not remove them merely because of age or comparison with another child. Make any staged adjustment or removal only as directed by the bicycle’s manual; ask a qualified mechanic when the procedure or compatibility is uncertain.
Compare the supplied training-wheel bikes
The catalog options are relevant because they provide overlapping wheel-size choices for comparing a child’s measured height with an individual fit check. They do not establish fit through their names, colors or accessories.
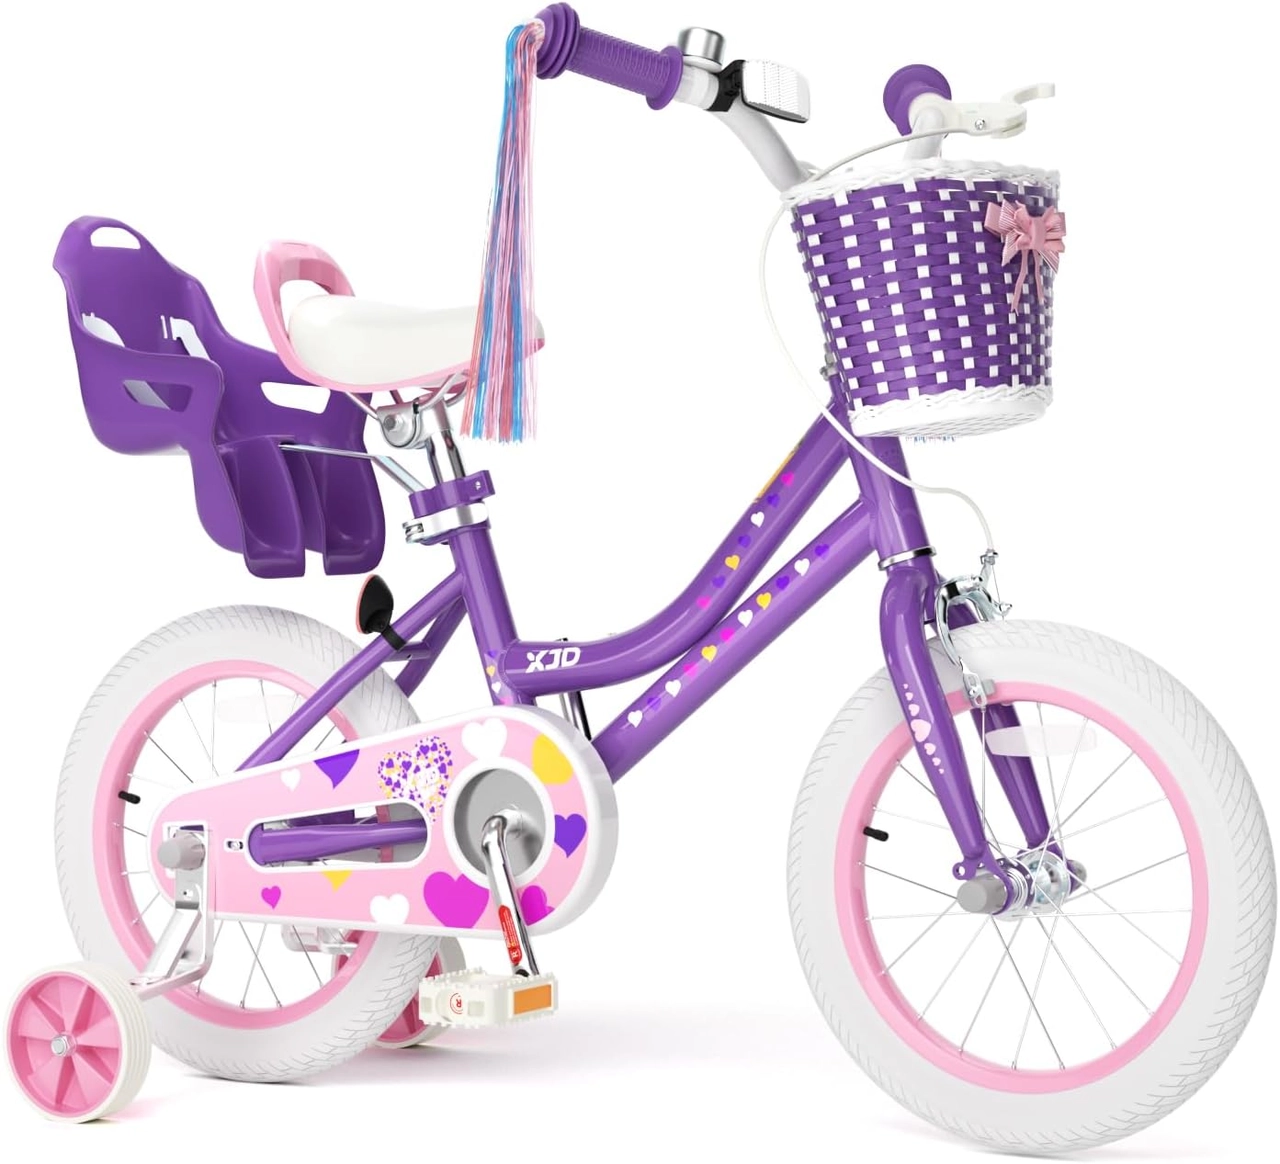 XJD Light Purple Girls Bike with Basket, Training Wheels, 12/14/16/20 Inch
Offers supplied 12, 14 and 16 Inch choices for comparing adjacent starting sizes. Confirm the child’s height, inseam, reach, brake control and confidence on the actual bike.
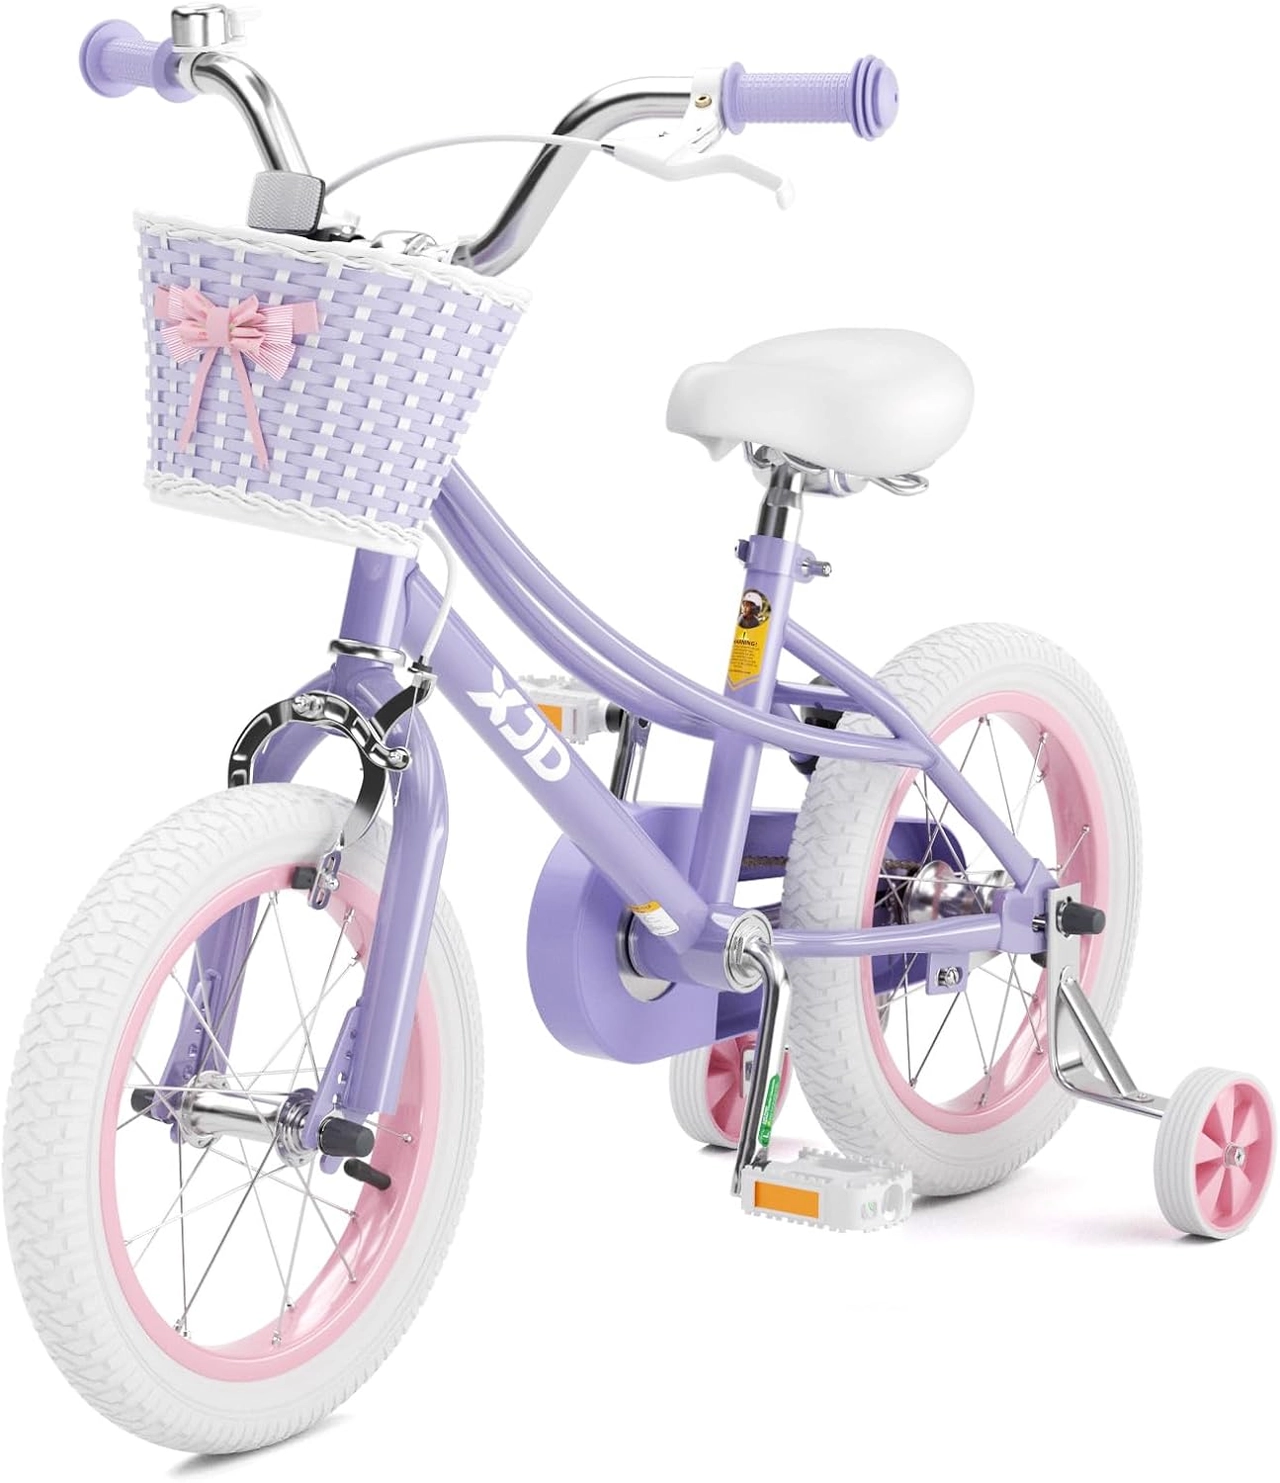 Girls' Training Wheel Bike by XJD with Basket – Purple
Its supplied 14, 16 and 20 Inch choices span several XBikes height starting points. Use the appropriate labeled size only after an individual stand-over, reach and control check.
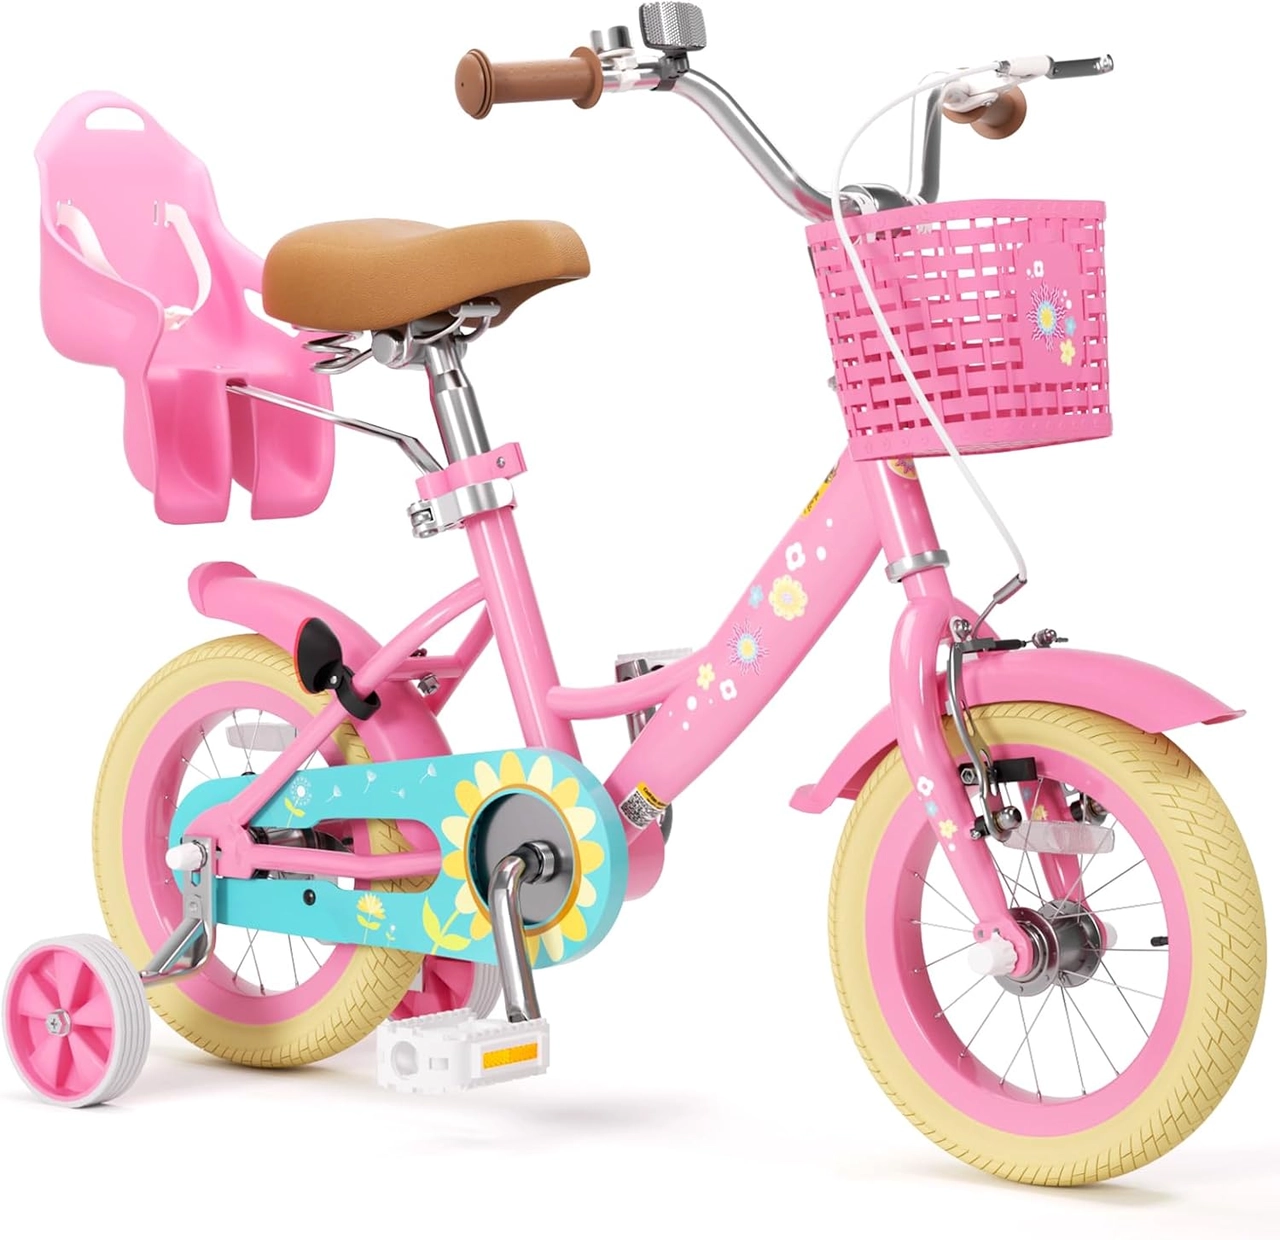 Flower Pink XJD Girls Bike with Doll Seat & Basket
Provides supplied 12, 14 and 16 Inch choices. The doll seat and basket distinguish the catalog title, but measured fit and control—not accessories—should determine relevance.
- XJD Light Purple Girls Bike with Basket, Training Wheels, 12/14/16/20 Inch is supplied in 12, 14 and 16 Inch SKU labels, covering three adjacent comparison sizes.
- Girls' Training Wheel Bike by XJD with Basket – Purple is supplied in 14, 16 and 20 Inch SKU labels, making it relevant when the rider’s measurement points toward one of those sizes.
- Flower Pink XJD Girls Bike with Doll Seat & Basket is supplied in 12, 14 and 16 Inch SKU labels, so compare those sizes by fit rather than choosing from accessories alone.
Availability of a labeled size does not prove that it fits a particular child. If height falls within an overlap, try both candidate sizes and reject any bicycle on which stand-over, reach, brake control or confidence is poor.
Decide what to do next
Measure height and inseam today, shortlist the matching wheel sizes, and arrange an actual fit check. Once the child can start, steer and brake repeatedly in a flat clear area, consult the bike’s manual before changing or removing the training wheels.
Recommended products
-
Save 12%
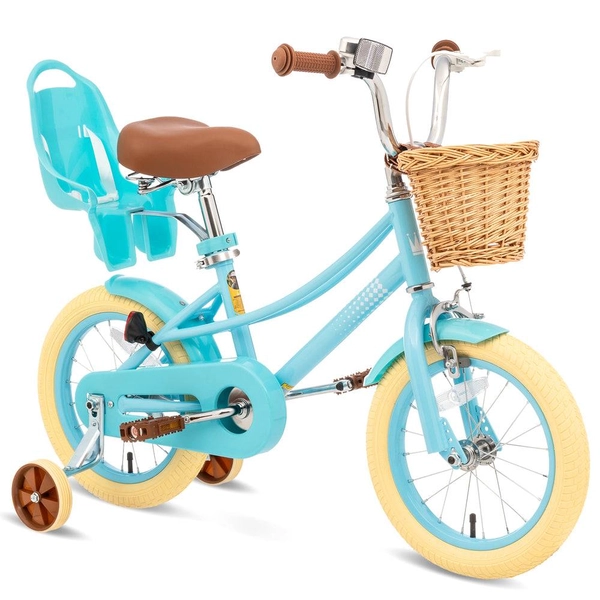
Girls' Training Wheel Bike by XJD, 12–20 Inch Wheels – Blue
This XJD girls' training wheel bike in Blue covers one of the widest fit ranges …
Training Wheel Bikes Wheel Size 12 Inch / 14 Inch / 16 Inch / 20 Inch Recommended Height 86–152 cm Training Wheels Yes 12 Inch -
Save 15%
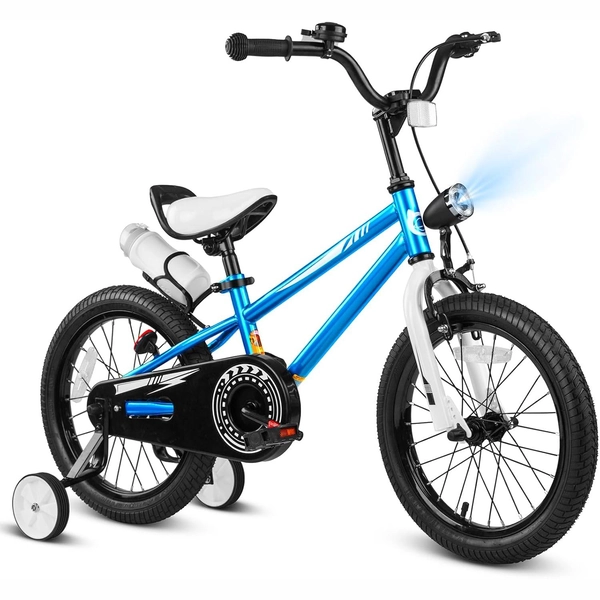
XJD Boys 12/14/16" Training Wheel Bike – Blue
The XJD Boys Bike in Blue is a training wheel bike for riders 71–122 cm tall—rou…
Training Wheel Bikes Wheel Size 12 Inch / 14 Inch / 16 Inch Recommended Height 86–122 cm Training Wheels Yes 16 Inch -
Save 15%
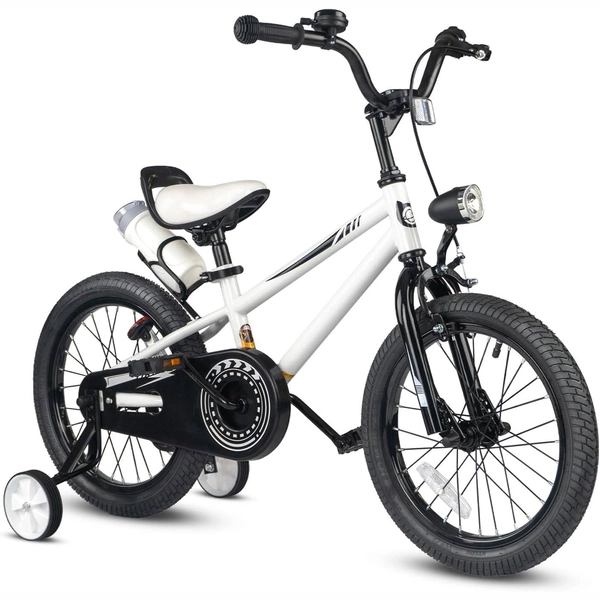
XJD Kids' Training Wheel Bike for Boys & Girls, 12/14/16 Inch – White
The XJD kids' training wheel bike in White is made for riders ages 3–8 (roughly …
Training Wheel Bikes Wheel Size 12 Inch / 14 Inch / 16 Inch Recommended Height 86–122 cm Training Wheels Yes 14 Inch -
Save 12%
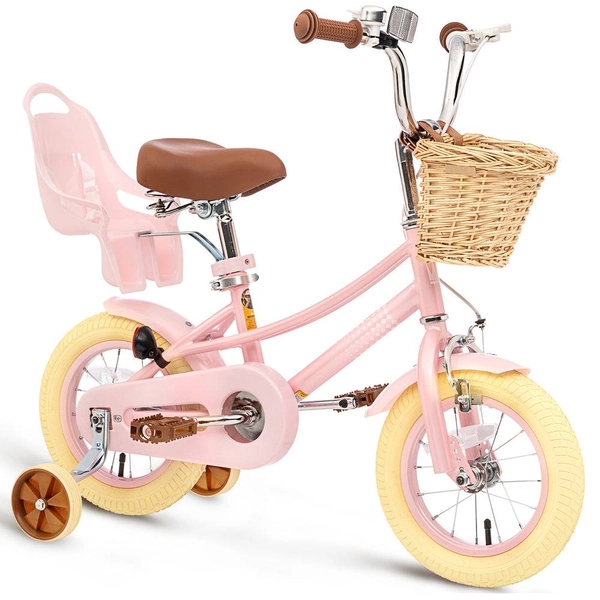
XJD Kids Bike for Girls – Pink, 12/14/16/20 Inch with Training Wheels
The XJD Kids Bike for Girls in Pink is a training-wheel bike built to carry your…
Training Wheel Bikes Wheel Size 12 Inch / 14 Inch / 16 Inch / 20 Inch Recommended Height 86–152 cm Training Wheels Yes 12 Inch