

How to buy a bike for a 4 year old
To buy a bike for a 4 year old, measure the child’s height and inseam, then test a 12, 14 or 16 Inch bike for stand-over, reach and control.
Measure the child before choosing a wheel size
Start with the child standing straight in socks against a wall. Measure total height from the floor to the top of the head. Then measure inseam from the floor to the crotch. Height lets you use the XBikes size starting points; inseam helps you judge whether the child can stand over and manage the actual bicycle.
Record both measurements rather than relying on “age 4.” Children of the same age can need different sizes, and frame shapes can fit differently even when wheel labels match. The correct choice is the bicycle the child can control now—not an oversized model bought for future growth.
Compare the likely wheel sizes
| Wheel size | XBikes starting range | What it means for a 4 year old |
|---|---|---|
| 12 Inch | Ages 3–4; 34–40 in / 86–102 cm | A starting option for a child within this height range. |
| 14 Inch | Ages 3–6; 37–45 in / 94–114 cm | Compare directly with 12 or 16 Inch when ranges overlap. |
| 16 Inch | Ages 4–7; 40–48 in / 102–122 cm | A possible starting option only when the child is tall enough and can control it. |
These ranges narrow the search, but they do not determine the final fit. If the child is 40 inches tall, for example, all three ranges meet at that point. A hands-on comparison of stand-over clearance, reach, braking and confidence should decide—not a desire to choose the largest wheel.
A 20 Inch bike is listed by XBikes for ages 7–12 and heights of 48–60 in / 122–152 cm, so it is generally not relevant to this age-specific search. Do not select it merely because a particular product offers that SKU.
Do a five-part fit check
Have the child try each realistic candidate with close adult supervision. The American Academy of Pediatrics guidance supports trying the bicycle, avoiding an oversized purchase for growth, and checking stand-over, control and brake reach.
- Stand-over: Ask the child to straddle the bicycle with both feet planted. Confirm that the frame does not prevent a stable stance.
- Seat position: Check whether the child can get on, get off and support the bicycle without tipping. Use the exact product manual for permitted adjustments.
- Reach: With hands on the handlebar, look for a comfortable posture rather than stretched arms or an awkward lean.
- Brake control: Confirm that the child can reach and operate the bicycle’s provided braking controls. Do not assume brake configuration from wheel size or product name.
- Confidence: Let the child start, steer, stop and turn in a controlled area. If a size makes these actions noticeably harder, compare the smaller option.
A child between sizes should leave with the model that offers better present control. Training wheels can provide support, but they do not make an oversized or poorly fitting bicycle appropriate.
How the supplied training-wheel bikes compare
The three supplied catalog options are relevant because each is a training-wheel bicycle offered in multiple wheel sizes that overlap the 12, 14 and 16 Inch starting points for many 4 year olds. They provide practical sizes to compare after measuring the rider, while the final choice still requires an individual fit check.
 Light Pink XJD Girls' Bicycle with Basket & Training Wheels
A training-wheel bicycle offered in 12, 14, 16 and 20 Inch labels. For a 4 year old, compare only the sizes matching the supplied height ranges and confirm fit; the 20 Inch option is generally outside this search.
 Blue XJD Girls Bike with Training Wheels – 12/14/16 Inch
A training-wheel bike available in 12, 14 and 16 Inch labels, making it relevant for comparing the supplied starting sizes after measuring the child and before completing an individual stand-over, reach, braking and control check.
 XJD Boys 12/14/16" Training Wheel Bike – Blue
A training-wheel bike with 12, 14 and 16 Inch labels. Its catalog title does not determine fit; use measured height to shortlist a size, then confirm stand-over, reach, brake control and current confidence.
Light Pink XJD Girls' Bicycle with Basket & Training Wheels is offered in 12, 14, 16 and 20 Inch labels. For this search, compare its 12, 14 or 16 Inch versions when the child’s measured height falls within the corresponding XBikes range. Its 20 Inch option is outside the supplied starting range for a typical 4-year-old search.
Blue XJD Girls Bike with Training Wheels – 12/14/16 Inch offers 12, 14 and 16 Inch labels, as does XJD Boys 12/14/16" Training Wheel Bike – Blue. Their supplied facts establish the same wheel-size choices and training-wheel category; they do not establish differences in weight, components, braking, materials or fit.
Names such as “Girls” and “Boys” are catalog titles, not sizing evidence. Choose by the child’s measurements and ability to handle the bicycle. For assembly, maintenance, adjustment limits, compatibility, load limits and torque, follow the exact product manual or ask a qualified bicycle mechanic.
Complete the purchase safely
Before buying, repeat the fit check on the exact size under consideration and confirm that the child can stand securely, reach the handlebar and braking controls, steer, and stop with current confidence. If buying remotely, verify the seller’s fitting or return process before committing, because a wheel-size label cannot guarantee fit.
Add a properly fitting bicycle helmet. Following U.S. Consumer Product Safety Commission guidance, it should sit level and use its straps according to the helmet manufacturer’s instructions. Replace guesswork with one clear next step: measure the child today, shortlist only the matching 12, 14 or 16 Inch sizes, and choose the smallest comparison candidate that passes every hands-on control check comfortably.
Bikes for your next adventure
-

Kids Bike Helmet by XJD for Boys & Girls – Black, Blue, Green, Pink, Purple
The XJD Kids Bike Helmet covers a wide 2-to-8-year age range thanks to two head-…$59.99
-
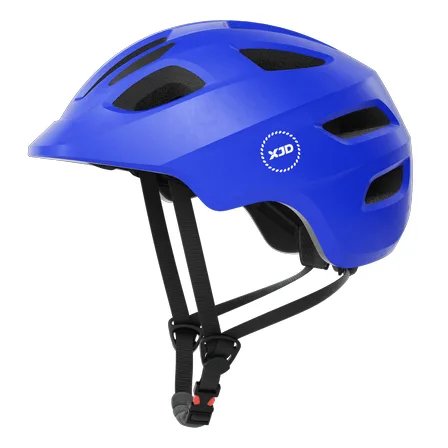
Blue XJD Kids Bike Helmet for Boys & Girls
The Blue XJD Kids Bike Helmet is a lightweight, adjustable multi-sport helmet fo…$59.99
$99 -
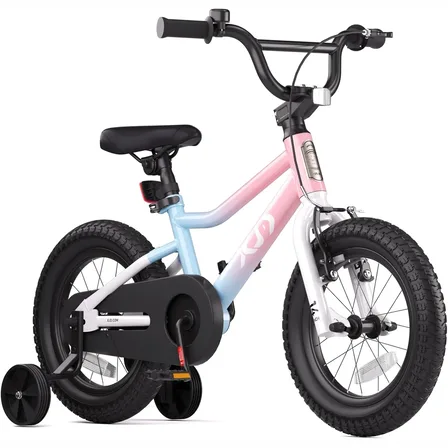
XJD Girls BMX Bike 12/14/16 Inch with Training Wheels – Pink Blue
The XJD Girls BMX Bike in Pink/Blue is built as a first pedal bike for kids roug…$99.99
$119.99