

How to choose a baby todller bike helmet
Measure your toddler’s head circumference, choose the size range that contains that measurement, then check that the helmet sits level and stays secure.
Measure before comparing helmets
Use a flexible measuring tape around the widest part of the child’s head. Keep it level, passing just above the eyebrows and ears and around the fullest point at the back. Record the result in centimetres, then repeat the measurement to confirm it.
Compare that number with the helmet’s listed size range. Do not choose by age, appearance or a size letter alone: one brand’s “S” or “M” may represent a different range from another. If the measurement is outside every listed range, neither supplied product is relevant, even if its title includes “Toddler,” “Youth,” “Kids,” “Boys” or “Girls.” Those words are catalog labels, not evidence of fit.
Compare the supplied size ranges
The supplied XBikes helmets help answer the question because their available options provide explicit head-circumference ranges. They can be compared with the measurement you have just taken, but the range only identifies a candidate helmet; it does not complete the fit check.
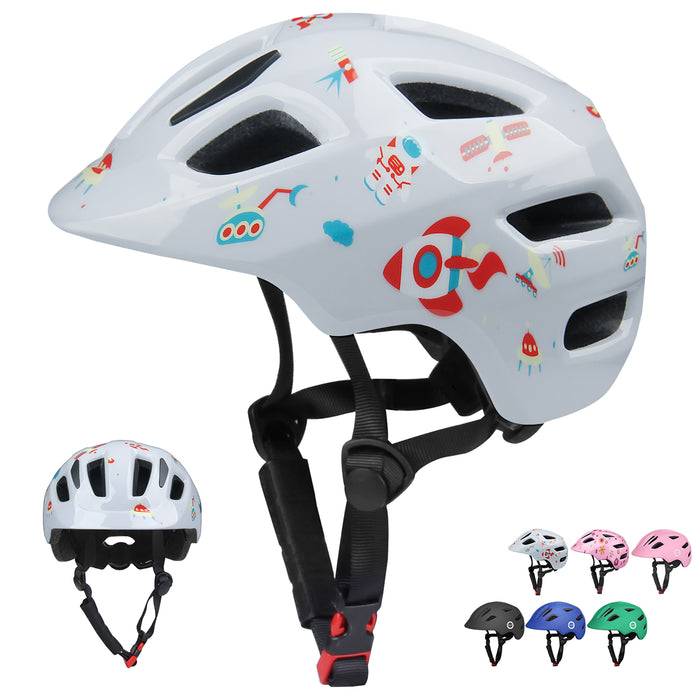 White Astronaut Bike Helmet for Kids by XJD – Toddler to Youth Sizes
Offers S at 46–51 cm and M at 52–56 cm. Its toddler wording is a catalog label; relevance depends on the child’s measured head circumference and a successful try-on.
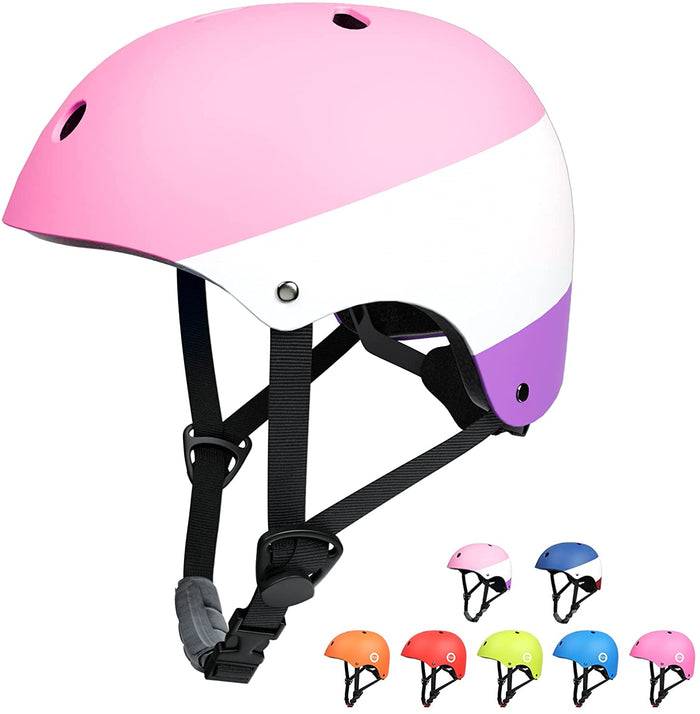 XJD Kids Bike Helmet for Boys & Girls, B White / Pink White
Offers B White and Pink White options in M at 52–56 cm and L at 55–58 cm. Consider only a range containing the measured circumference, then verify fit on the child.
| Catalog option | Available head-size ranges | When it is relevant |
|---|---|---|
| White Astronaut Bike Helmet for Kids by XJD – Toddler to Youth Sizes | S: 46–51 cm (18.11–20.08 in); M: 52–56 cm (20.47–22.05 in) | Consider the exact size whose stated range contains the child’s confirmed measurement. |
| XJD Kids Bike Helmet for Boys & Girls, B White / Pink White | M: 52–56 cm (20.47–22.05 in); L: 55–58 cm (21.65–22.83 in) | Consider M or L only when the measurement falls within that option’s stated range; colour does not determine fit. |
The first helmet supplies the smaller 46–51 cm option, while both products offer a 52–56 cm option. The second also extends to 55–58 cm in both B White and Pink White. Where ranges overlap, the measurement alone cannot decide between them; the child must try on each candidate and complete the checks below.
Check the helmet on the child
Place the candidate helmet on the child’s head and follow that exact product’s instructions for all adjustments. A bicycle helmet should sit level rather than tipped back, with the front positioned to protect the forehead. It should feel comfortably snug around the whole head, without painful pressure points.
- Position: Confirm that the helmet is level and does not expose the forehead by riding high or tipping backward.
- Stability: With adjustments made according to the manufacturer’s instructions, check that normal head movement does not let it slide out of position.
- Straps: Arrange and fasten the straps exactly as the manufacturer directs. They should keep the helmet in its intended position without causing discomfort.
- Child response: Ask about pinching or pressure, and watch whether the child repeatedly pushes the helmet away or changes its position.
If you cannot obtain a level, stable and comfortable fit while following the instructions, reject that helmet or size. Do not improvise padding, strap routing or modifications.
Handle measurements near a boundary
A head measurement can fall into two supplied ranges. For example, 55–56 cm appears within both the second product’s M and L ranges, while 52–56 cm appears on both products. That overlap does not mean the sizes fit identically.
Try each relevant option on the child and compare level position, all-around comfort and resistance to shifting. Choose only the one that fits properly after adjustment. Do not automatically size up for growth: an oversized helmet that moves or tips is not an acceptable current fit.
Separate helmet fit from bicycle size
Bike wheel size does not determine helmet size. XBikes uses wheel-size starting points based on rider age and height, but those figures apply to bicycle selection, not head circumference. A child’s measured height, inseam, reach, ability to operate the brakes and current confidence should take priority over age alone when choosing a bicycle.
Have the child try the bicycle and check stand-over clearance, control and brake reach. Do not buy an oversized bicycle merely for future growth. Then evaluate the helmet independently using the child’s current head measurement and an individual try-on.
Make the final decision
Measure twice, shortlist only catalog sizes containing that number, and try them on. Keep a candidate only if it sits level, remains stable, feels comfortable and can be secured according to its exact instructions. If neither supplied helmet passes every check, choose neither and look for a different stated circumference range; for any adjustment or maintenance detail not provided here, consult the product manual or a qualified bicycle mechanic.
Bikes for your next adventure
-

Kids Bike Helmet by XJD for Boys & Girls – Black, Blue, Green, Pink, Purple
The XJD Kids Bike Helmet covers a wide 2-to-8-year age range thanks to two head-…$59.99
-
White Astronaut Bike Helmet for Kids by XJD – Toddler to Youth Sizes
4 reviews
The XJD White Astronaut kids' bike helmet is made for toddlers through younger e…$59.99
-
XJD Kids Bike Helmet for Boys & Girls, B White / Pink White
The XJD Kids Bike Helmet covers a wide age range — suggested for ages 2 through …$59.99