

How to decide bike size for boys
Decide a boys’ bike size by measuring his height and inseam, then compare his height with the wheel-size chart and confirm the fit on the actual bike.
Measure the rider first
Have the child stand straight against a wall without shoes. Measure from the floor to the top of his head for height. For inseam, measure from the floor to the crotch while he stands with his feet slightly apart. Record both measurements in inches or centimetres.
Height is the starting point for selecting a wheel size. Inseam helps you judge stand-over clearance and whether the child can get on, stop and put his feet down comfortably. Age is only a rough reference because children of the same age can differ substantially in height, proportions and riding ability.
Compare his height with the XBikes size ranges
| Wheel size | Starting age range | Rider height |
|---|---|---|
| 12 Inch | 3–4 | 34–40 in / 86–102 cm |
| 14 Inch | 3–6 | 37–45 in / 94–114 cm |
| 16 Inch | 4–7 | 40–48 in / 102–122 cm |
| 18 Inch | 5–9 | 43–52 in / 109–132 cm |
| 20 Inch | 7–12 | 48–60 in / 122–152 cm |
| 24 Inch | 10–14 | 54–64 in / 137–163 cm |
| 26 Inch | Youth and adults | Over 60 in / 153 cm |
When his height falls inside two ranges, treat both as candidates rather than automatically choosing the larger bike. His inseam, arm reach, brake control and confidence should decide between them. Never select an oversized bicycle merely because he may grow into it.
Perform an individual fit check
The child should try the exact bicycle whenever possible. Use this sequence:
- Check stand-over: ask him to straddle the bicycle with both feet on the ground. He needs usable clearance and should not be forced onto his toes simply to stand over it.
- Check the riding position: seat him on the bike and make sure he can reach the handlebar without stretching, locking his elbows or losing a balanced posture.
- Check the controls: he must be able to reach and operate the brakes confidently with his hands in their normal riding position.
- Check starts and stops: confirm that he can get moving, steer, stop and put a foot down without panic or assistance.
- Check confidence: if the bike feels intimidating or difficult to control, try the smaller overlapping size rather than relying on age.
A size-chart match is not enough when any of these checks fail. Fit can also vary between bicycle designs, so repeat the checks on the actual model instead of assuming that every bike with the same wheel label will feel identical.
When the supplied 12, 14 and 16 Inch bikes are relevant
The catalog options are relevant when the measured rider falls within the 12, 14 or 16 Inch starting ranges and can pass the individual fit check. Black XJD Kids Bike for Boys – 12, 14 & 16 Inch Sizes and XJD Boys 12/14/16" Training Wheel Bike – Blue are both training wheel bikes offered with 12 Inch, 14 Inch and 16 Inch SKU labels, so they let you compare the applicable size labels within the same product category.
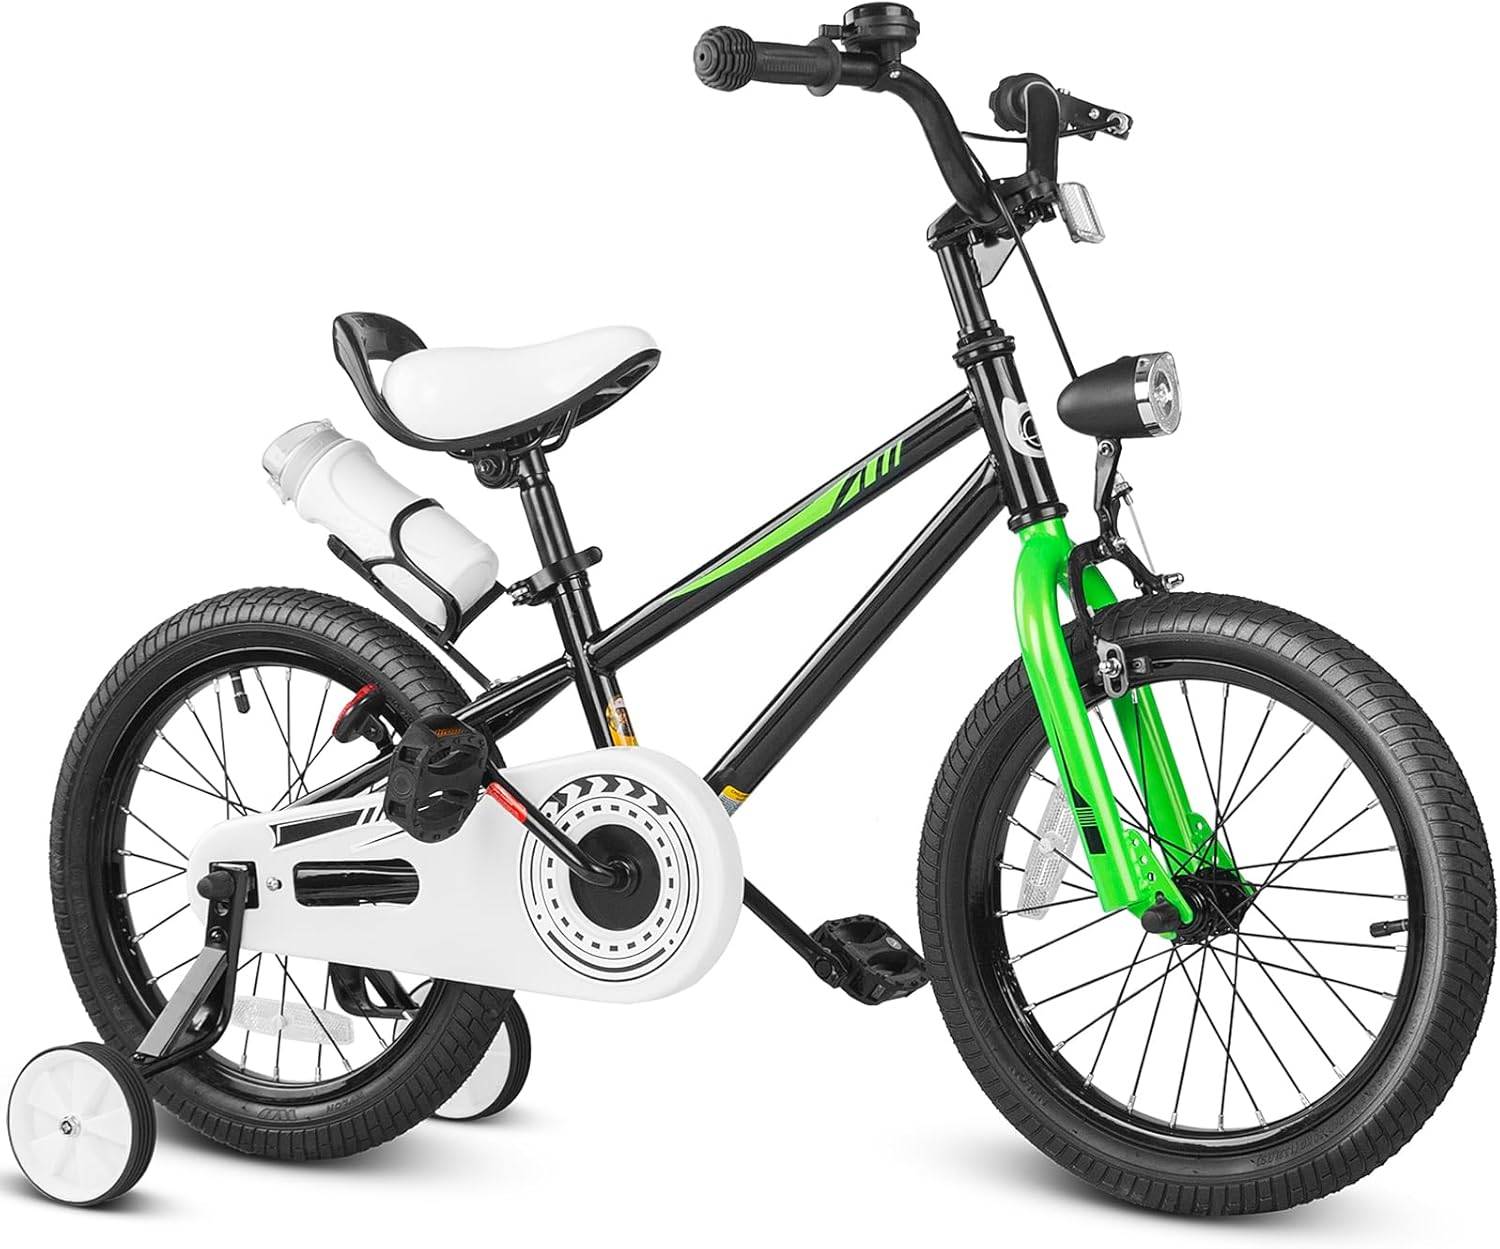 Black XJD Kids Bike for Boys – 12, 14 & 16 Inch Sizes
A training wheel bike offered in 12 Inch, 14 Inch and 16 Inch sizes; relevant when the rider’s measured height fits one of those ranges and the exact bike passes a fit check.
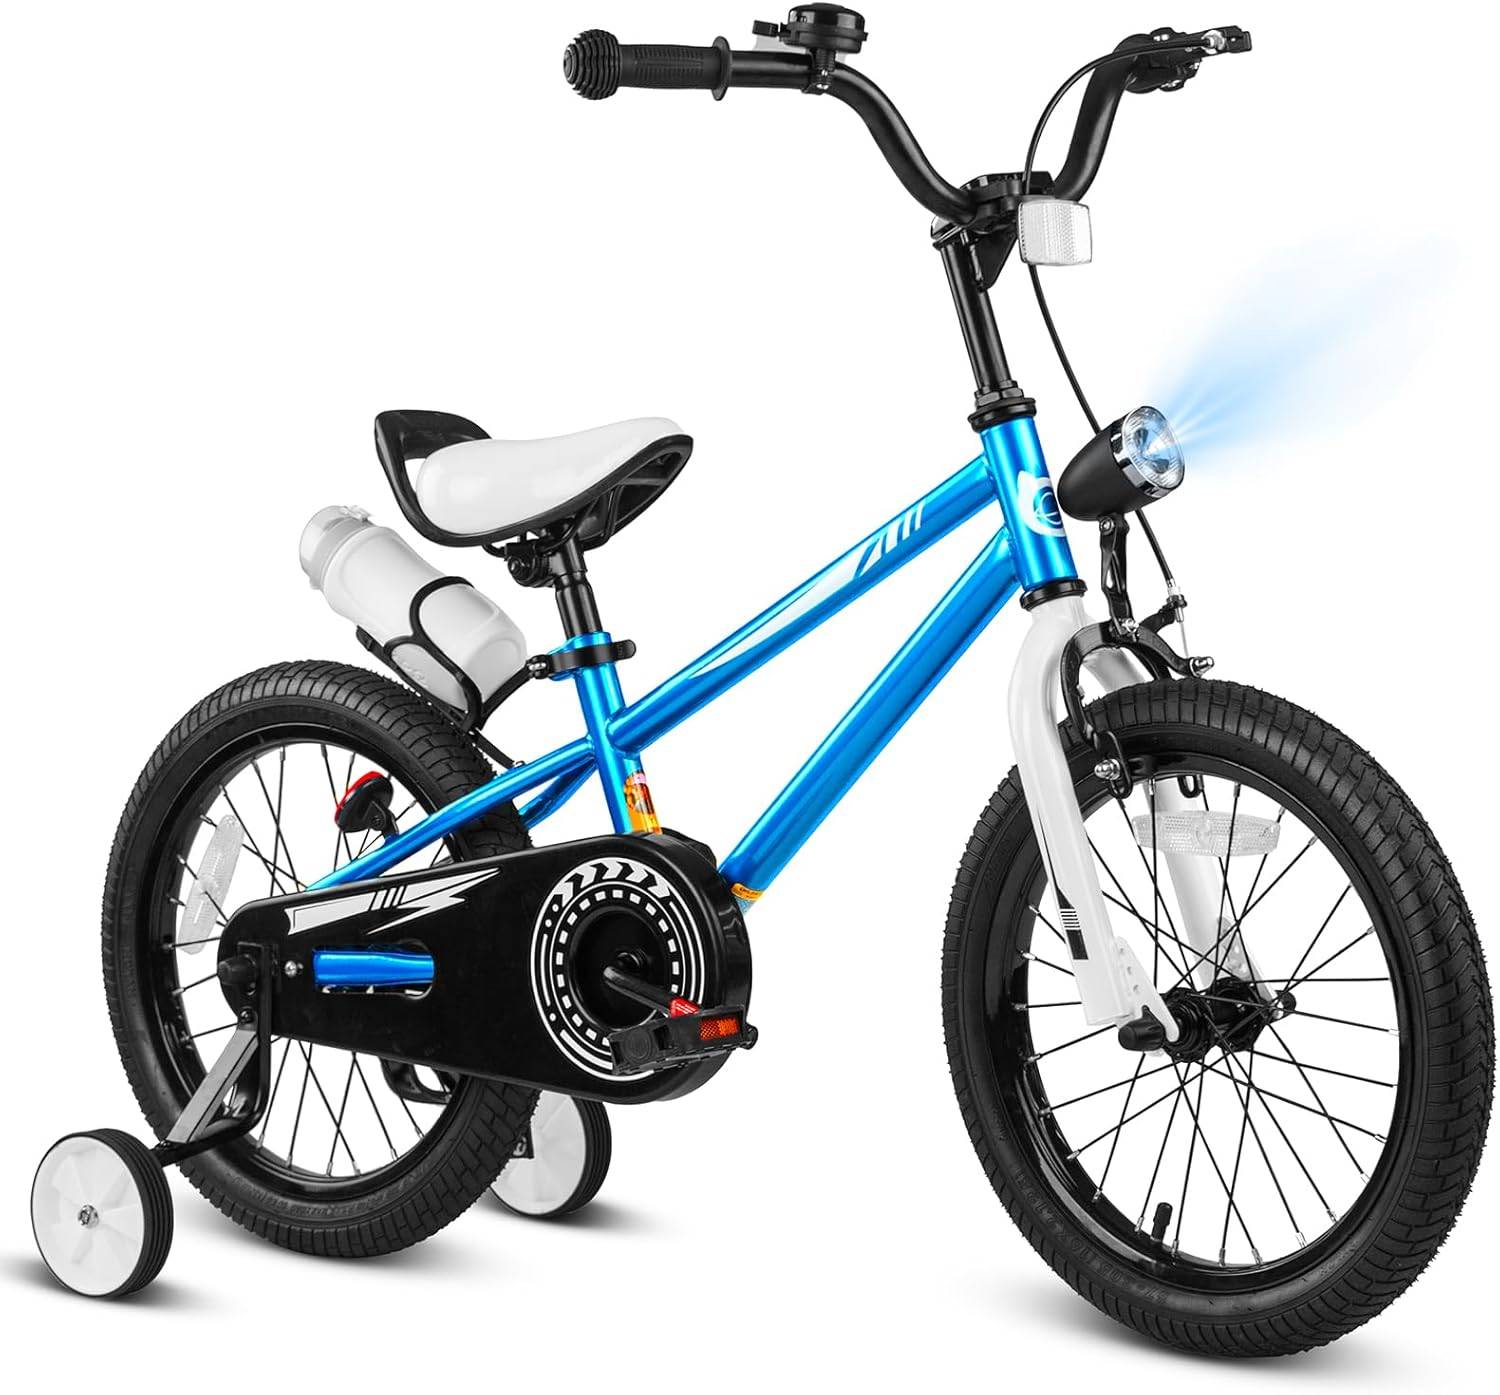 XJD Boys 12/14/16" Training Wheel Bike – Blue
A blue training wheel bike with 12 Inch, 14 Inch and 16 Inch SKU labels; compare the applicable label with the rider’s height, then verify stand-over, reach, braking and control.
These products are not relevant solely because the rider is a boy or because an age seems close. They are also unlikely to be the right candidates if his measured height points to 18 Inch or larger. The supplied catalog facts do not establish dimensions, brake type, adjustability, weight, load limits or compatibility, so do not infer those details from the titles. Consult the exact product manual or a qualified bicycle mechanic where those facts affect fit, assembly or use.
Resolve common borderline cases
If he is 40 inches tall, for example, the chart places him at the upper edge of 12 Inch and within both the 14 Inch and 16 Inch ranges. Do not jump directly to 16 Inch. Try the plausible sizes and choose the one on which stand-over, reach, braking, starts and stops are controlled now.
If height suggests one size but reach or brake operation is poor, the bike does not fit yet. If his height is outside a product’s stated starting range, look at the chart’s more suitable wheel-size candidates before considering appearance or catalog naming.
Make the final size decision
Choose the wheel size that matches his measured height and lets him stand over, reach, brake, steer, start and stop confidently today. Follow the exact bicycle manual for assembly, adjustment, maintenance, load limits and torque, or ask a qualified bicycle mechanic.
Before riding, add a properly fitting bicycle helmet. It should sit level and its straps should be used according to the helmet manufacturer’s instructions. Your final decision is the smallest suitable candidate that passes every current fit-and-control check—not the largest boys’ bike he might eventually grow into.
Bikes for your next adventure
-
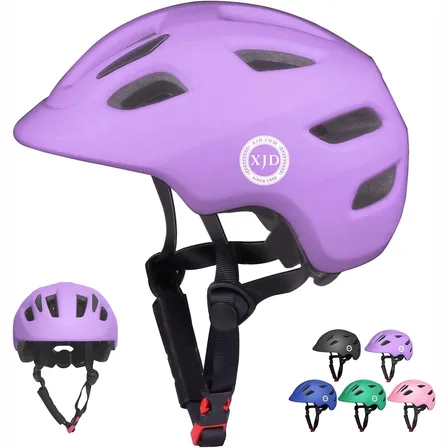
Light Purple XJD Toddler Bike Helmet, Adjustable, Size XS (46–51 cm)
This Light Purple XJD toddler bike helmet is made for the smallest riders — the …$20.39
-
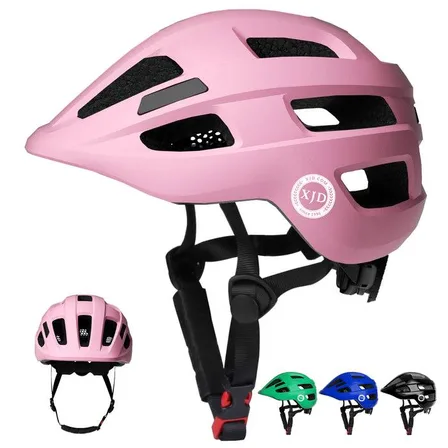
Kids Bike Helmet by XJD for Boys & Girls – Black, Blue, Green, Pink, Purple
The XJD Kids Bike Helmet covers a wide 2-to-8-year age range thanks to two head-…$59.99
-
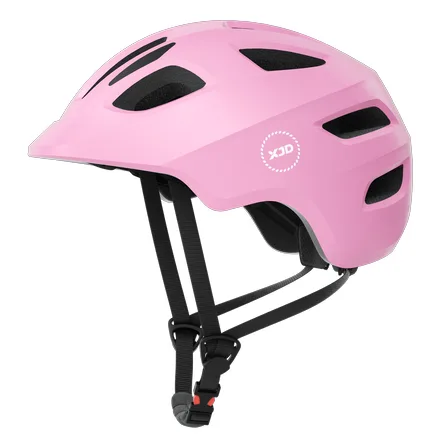
Kids Bike Helmet by XJD for Girls – Pink
The XJD Kids Bike Helmet in Pink is a lightweight multi-sport helmet for girls r…$59.99
$99