

How to determine bike size for boys
Measure the boy’s standing height and inseam, compare height with the XBikes wheel-size chart, then confirm stand-over clearance, reach, brake control and confidence on the actual bike. Age is only a starting point, and an oversized bike should not be bought for future growth.
Take the two measurements that matter first
Measure without shoes on a hard, level floor. For standing height, have the rider stand straight against a wall and measure from the floor to the top of his head.
For inseam, place a firm, thin book between his legs and raise it gently to simulate the bicycle saddle. Keep the book level, then measure from the floor to its top edge. Record both measurements in inches or centimetres.
Height narrows the likely wheel size. Inseam helps you judge whether the rider can straddle the frame comfortably. Because frame shapes differ, an inseam measurement cannot confirm fit by itself.
Compare measured height with wheel size
Start with the rider’s measured height in this XBikes chart. Use the age column only as a secondary reference.
| Wheel size | Starting age | Rider height |
|---|---|---|
| 12 Inch | 3–4 | 34–40 in / 86–102 cm |
| 14 Inch | 3–6 | 37–45 in / 94–114 cm |
| 16 Inch | 4–7 | 40–48 in / 102–122 cm |
| 18 Inch | 5–9 | 43–52 in / 109–132 cm |
| 20 Inch | 7–12 | 48–60 in / 122–152 cm |
| 24 Inch | 10–14 | 54–64 in / 137–163 cm |
| 26 Inch | Youth and adults | Over 60 in / 153 cm |
The ranges overlap intentionally. A boy measuring 40 inches, for example, appears in the 12-, 14- and 16-inch ranges. That does not make all three equally suitable: his inseam, proportions, skill and control decide which candidate fits.
Resolve an overlap with an actual fit check
Have the child try each plausible size. While straddling the bicycle, he should be able to stand securely over the frame rather than being forced onto his toes or against the frame. Check that mounting and getting off look controlled.
Next, observe him in the riding position. He should reach the handlebar without an uncomfortable stretch, turn it without losing balance, and operate the brakes confidently with his hands in a normal position. He should also be able to start, stop and steady the bicycle in a way that matches his current ability.
If the larger option makes any of those actions uncertain, choose the smaller suitable fit rather than expecting him to grow into the bike. If neither option allows comfortable stand-over, reach and control, neither is the right size—even when his age appears in the chart.
When the supplied 12-, 14- and 16-inch bikes are relevant
The supplied catalog options help when the height check points to a 12 Inch, 14 Inch or 16 Inch wheel and the rider needs a training-wheel bicycle or is considering a kids’ BMX catalog option with training wheels. All three listed products offer those three size labels, so the fit check—not wording such as “boys”—should determine the selected size.
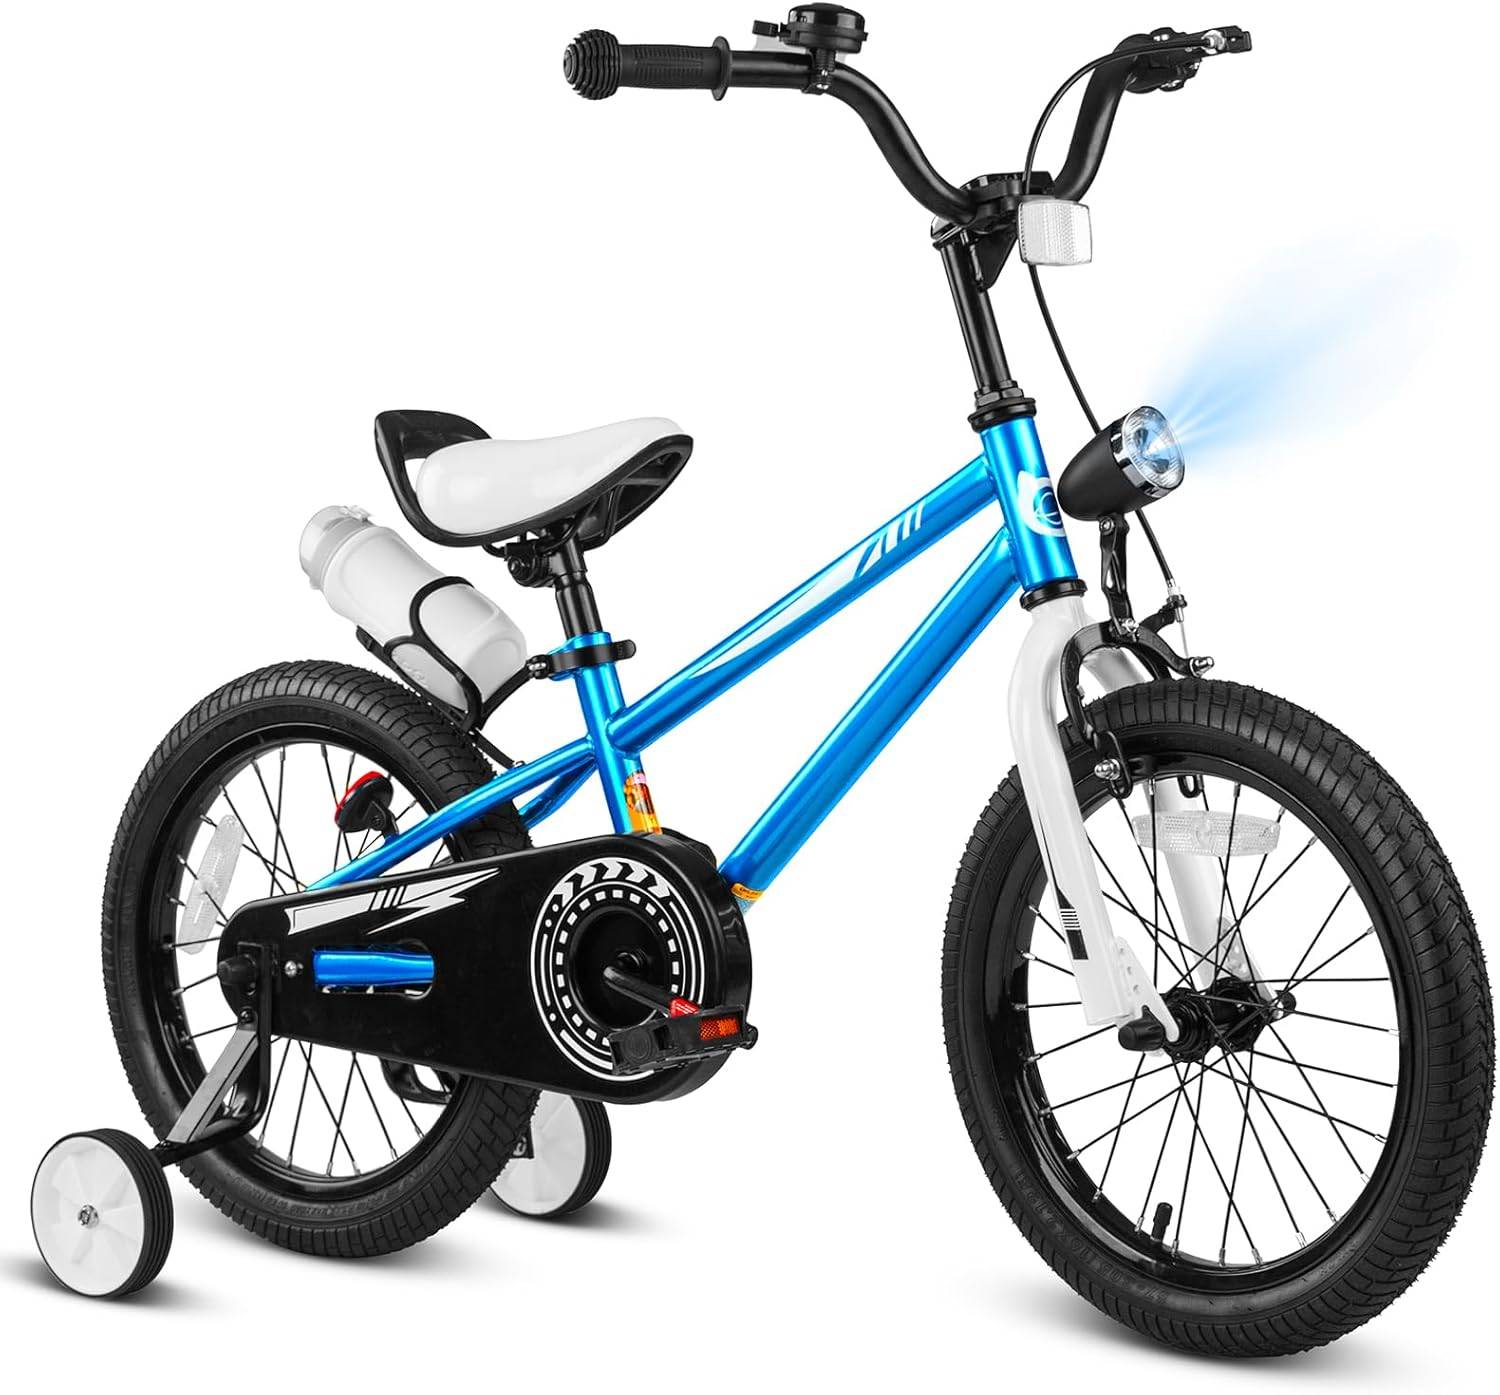 XJD Boys 12/14/16" Training Wheel Bike – Blue
Relevant when an individual fit check supports its available 12 Inch, 14 Inch or 16 Inch label and a boys’ training-wheel bike is wanted.
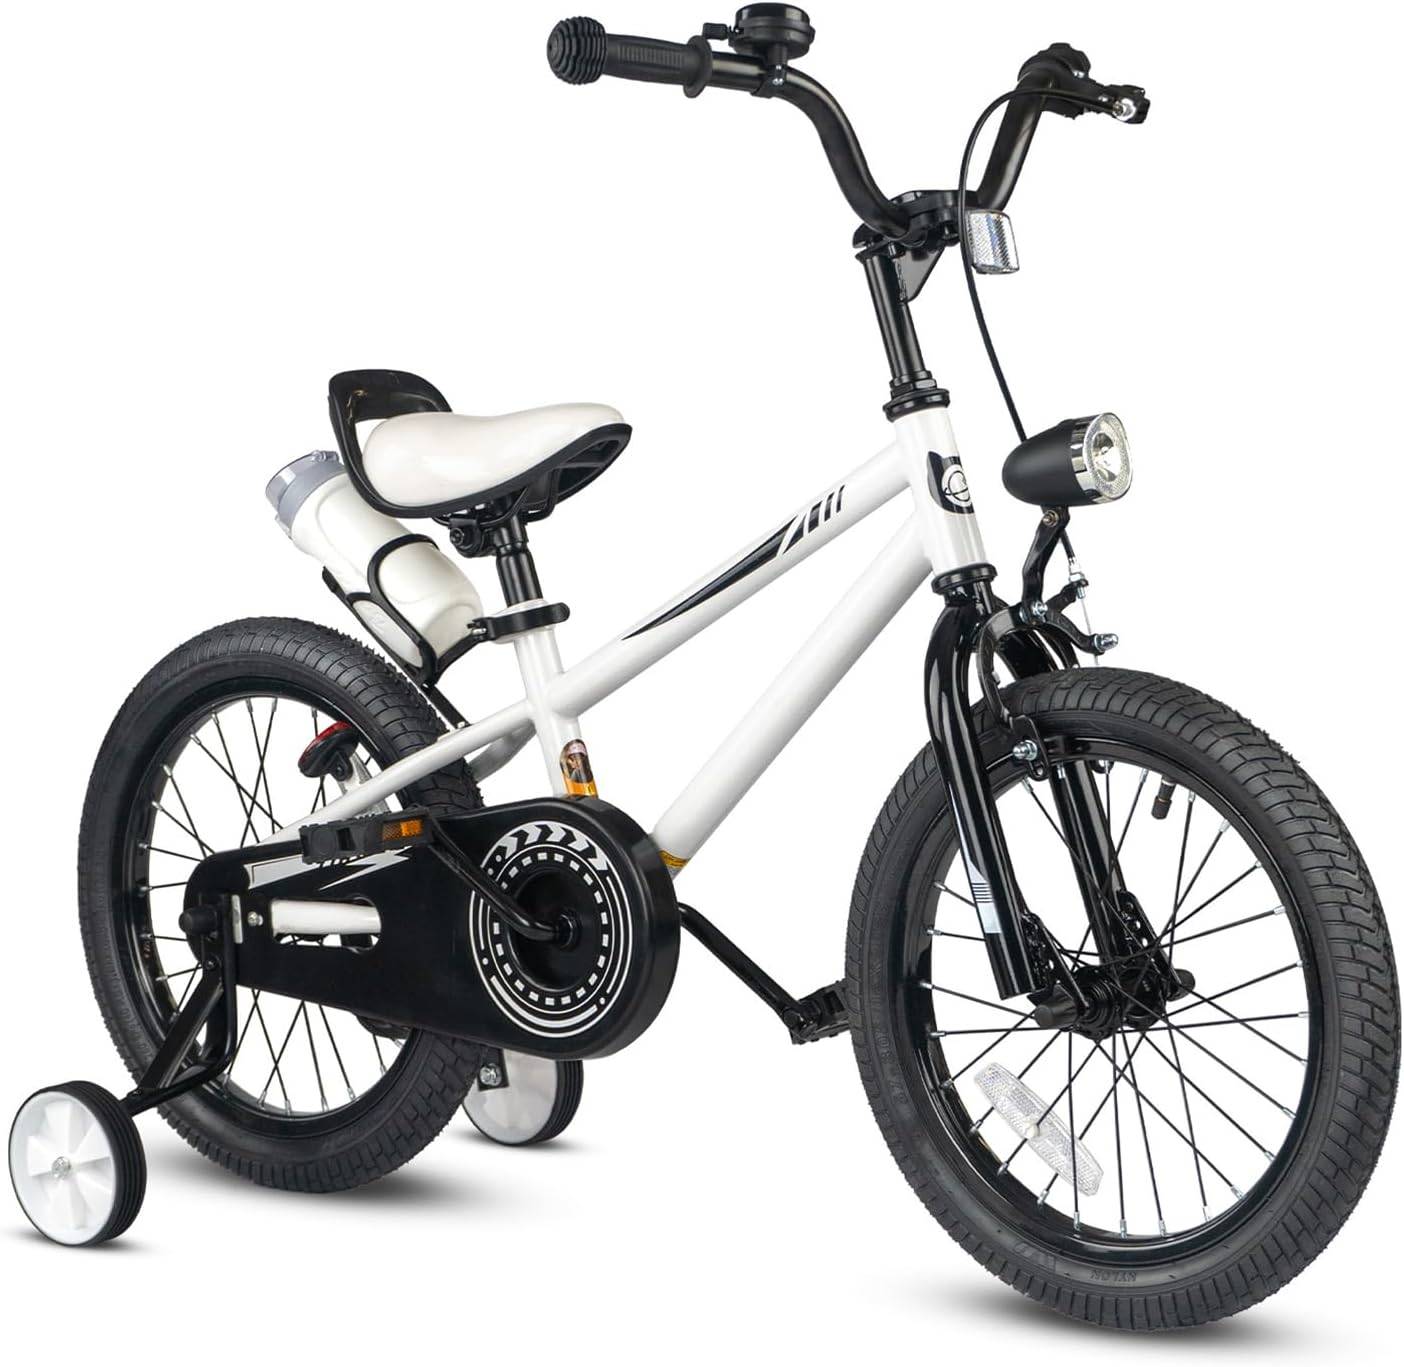 XJD Kids' Training Wheel Bike for Boys & Girls, 12/14/16 Inch – White
A training-wheel bike offered in 12 Inch, 14 Inch and 16 Inch labels; consider it only after height, inseam, reach and control checks support that size.
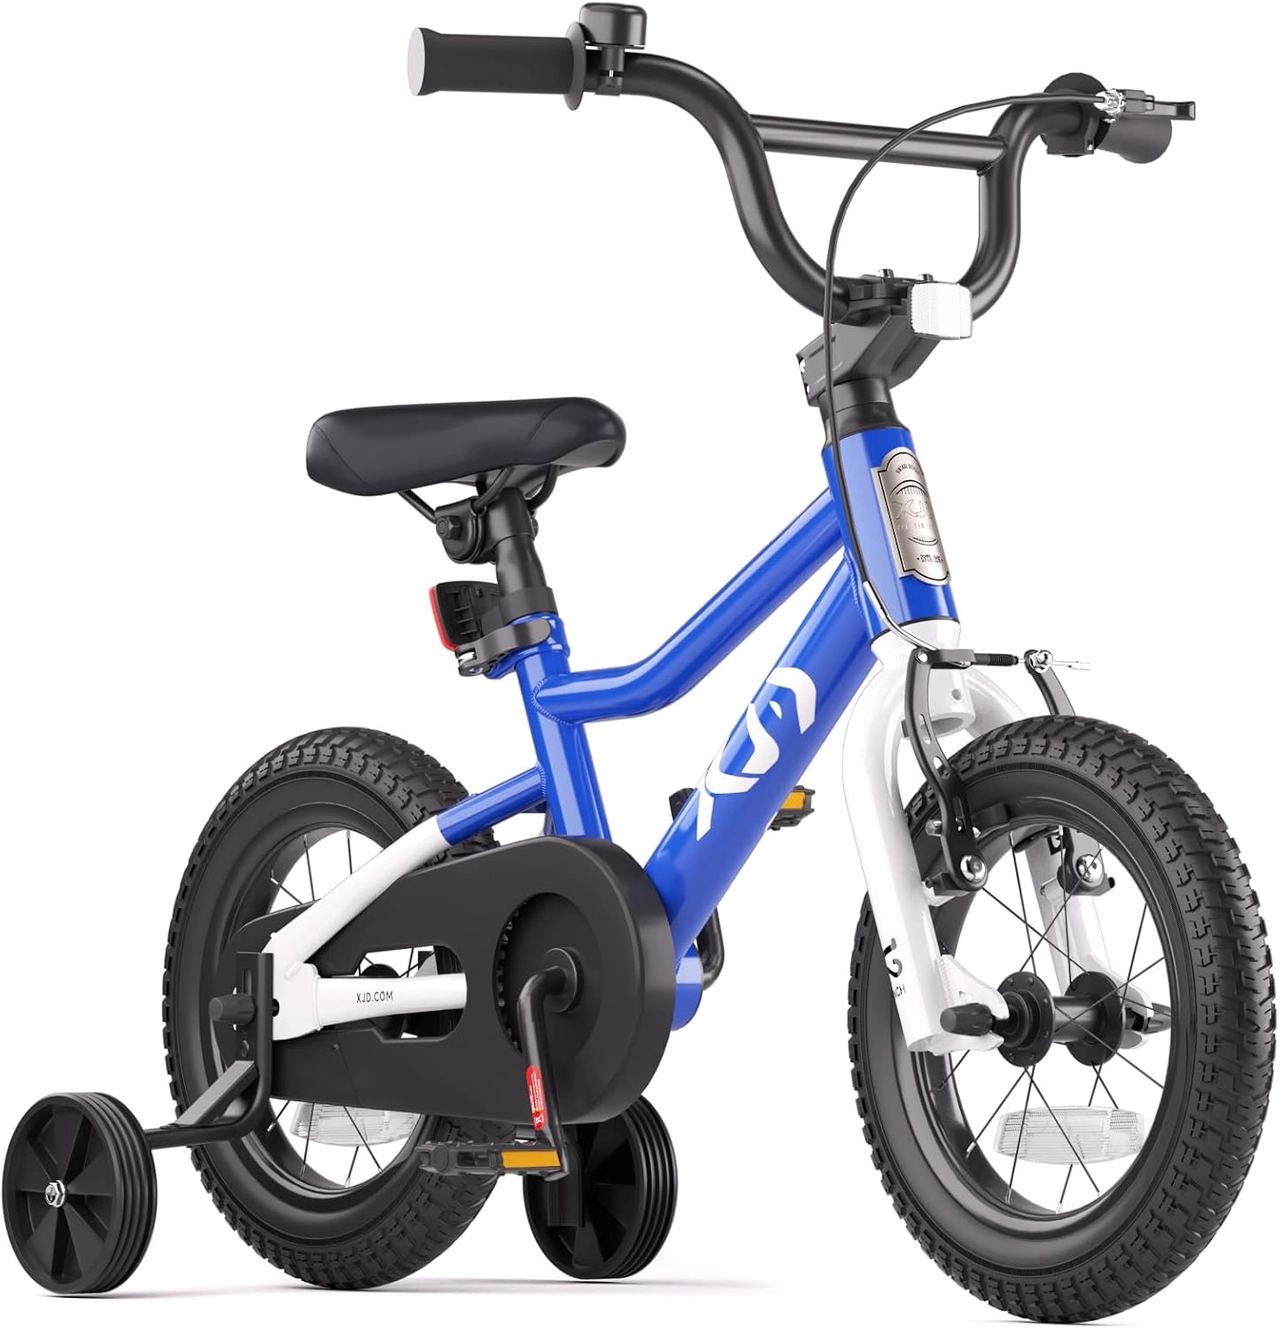 XJD Boys & Girls BMX Bike with Training Wheels, 12/14/16" – Blue
This kids’ BMX bike with training wheels offers 12 Inch, 14 Inch and 16 Inch labels, making it relevant only when one of those sizes passes the rider’s fit check.
The XJD Boys 12/14/16" Training Wheel Bike – Blue is cataloged as a Training Wheel Bike in 12 Inch, 14 Inch and 16 Inch labels. The XJD Kids' Training Wheel Bike for Boys & Girls, 12/14/16 Inch – White has the same supplied size-label choices and category.
The XJD Boys & Girls BMX Bike with Training Wheels, 12/14/16" – Blue is instead cataloged under Kids' BMX Bikes, also with 12 Inch, 14 Inch and 16 Inch labels. The supplied facts do not establish differences in geometry, brakes, weight or components, so do not use those unlisted details to choose among them.
These products are not relevant when the measured height and individual fit point to 18 Inch, 20 Inch, 24 Inch or 26 Inch. A familiar title or preferred color does not make an unavailable wheel size fit.
Check the complete setup before riding
Repeat the stand-over, reach and brake-control checks after assembly and adjustment. Follow the exact product manual for assembly, maintenance, load limits, compatibility and torque; if anything is unclear, use a qualified bicycle mechanic rather than guessing.
Add a properly fitting bicycle helmet. It should sit level and its straps should be adjusted according to the helmet manufacturer’s instructions. A helmet does not correct a bicycle that is too large or difficult to control.
Make the size decision
- Write down the boy’s current height and inseam.
- Use height to identify the likely wheel-size range.
- Try the plausible sizes and compare stand-over, reach, brake operation and overall control.
- Choose the size he can manage confidently now; do not size up solely for growth.
If 12, 14 or 16 inches survives every check, compare the three supplied catalog options within that size. If it does not, leave those products out and look for the wheel size his measurements and real-world fit support.
Bikes for your next adventure
-
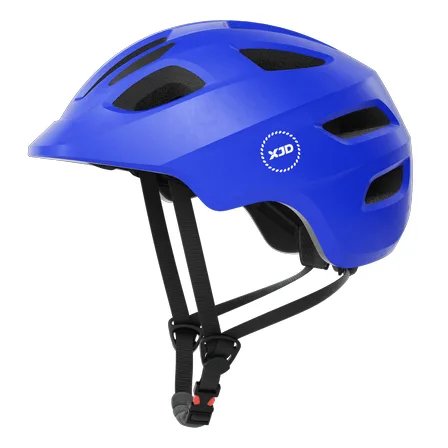
Blue XJD Kids Bike Helmet for Boys & Girls
The Blue XJD Kids Bike Helmet is a lightweight, adjustable multi-sport helmet fo…$59.99
$99 -
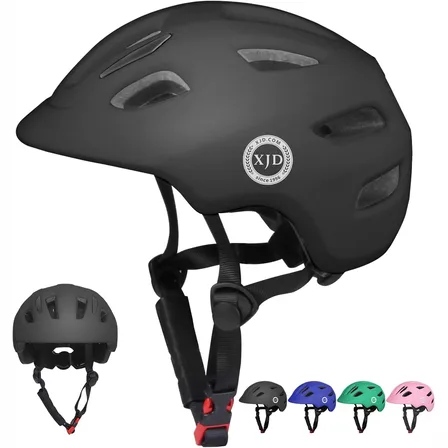
Black XJD Toddler Bike Helmet, Adjustable – Kids' Protective Helmet
The XJD Toddler Bike Helmet in black is an adjustable protective helmet for kids…$20.39
-
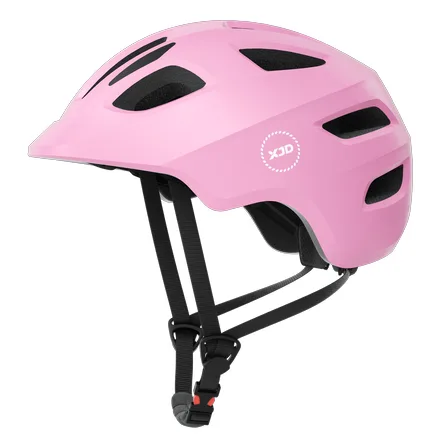
Kids Bike Helmet by XJD for Girls – Pink
The XJD Kids Bike Helmet in Pink is a lightweight multi-sport helmet for girls r…$59.99
$99