

How to size a bike for a boy
To size a bike for a boy, measure his height and inseam, choose a wheel-size starting point, then confirm stand-over room, reach, brake access and control on the actual bike.
Measure the rider first
Use current measurements rather than age or clothing size. Have the child stand straight without shoes, with his back against a wall, and measure from the floor to the top of his head for height.
For inseam, place a book upright between his legs to represent the bike’s saddle area. With the book held firmly but comfortably, measure from the floor to its top edge. Record both measurements in inches or centimetres.
Height helps narrow the wheel-size range. Inseam helps you judge whether he can stand over the bike without the frame pressing into him. Because frame shapes differ, an inseam measurement cannot confirm fit by itself.
Compare height with the XBikes starting points
| Wheel size | Height | Age starting point |
|---|---|---|
| 12 Inch | 34–40 in / 86–102 cm | 3–4 |
| 14 Inch | 37–45 in / 94–114 cm | 3–6 |
| 16 Inch | 40–48 in / 102–122 cm | 4–7 |
| 18 Inch | 43–52 in / 109–132 cm | 5–9 |
| 20 Inch | 48–60 in / 122–152 cm | 7–12 |
| 24 Inch | 54–64 in / 137–163 cm | 10–14 |
| 26 Inch | Over 60 in / 153 cm | Youth and adults |
These ranges identify sizes to try; they do not replace a fit check. Where ranges overlap, start with the child’s measured height, then compare both nearby sizes in person if possible. Age is only a secondary clue because children of the same age can have different proportions and skill levels.
Check the bike with the child on it
Ask him to stand astride the frame with both feet flat on the ground. He should have clear stand-over room and should not need to lean the bicycle sharply just to clear it. Then seat him and check that he can reach the handlebar without stretching, locking his elbows or crowding his knees.
He must also be able to reach and operate the brakes confidently from the riding position. Let him start, steer, stop and put a foot down in a controlled setting. A size is unsuitable if he looks strained, cannot control the bike at low speed or cannot stop reliably, even when the height chart appears to match.
Current confidence matters. A less-confident rider may control the smaller of two plausible sizes more easily, while a capable rider may still fit the larger option—but only if stand-over, reach and braking checks all work. Do not buy an oversized bicycle simply to allow room for growth.
When the supplied 12, 14 and 16 Inch bikes are relevant
The three supplied catalog options are useful when the height comparison points to 12, 14 or 16 Inch wheels and the child passes the individual fit check. Each offers those three size labels, making them relevant to the overlapping lower ranges in the table; they are not candidates when the measurements point to 18 Inch or larger.
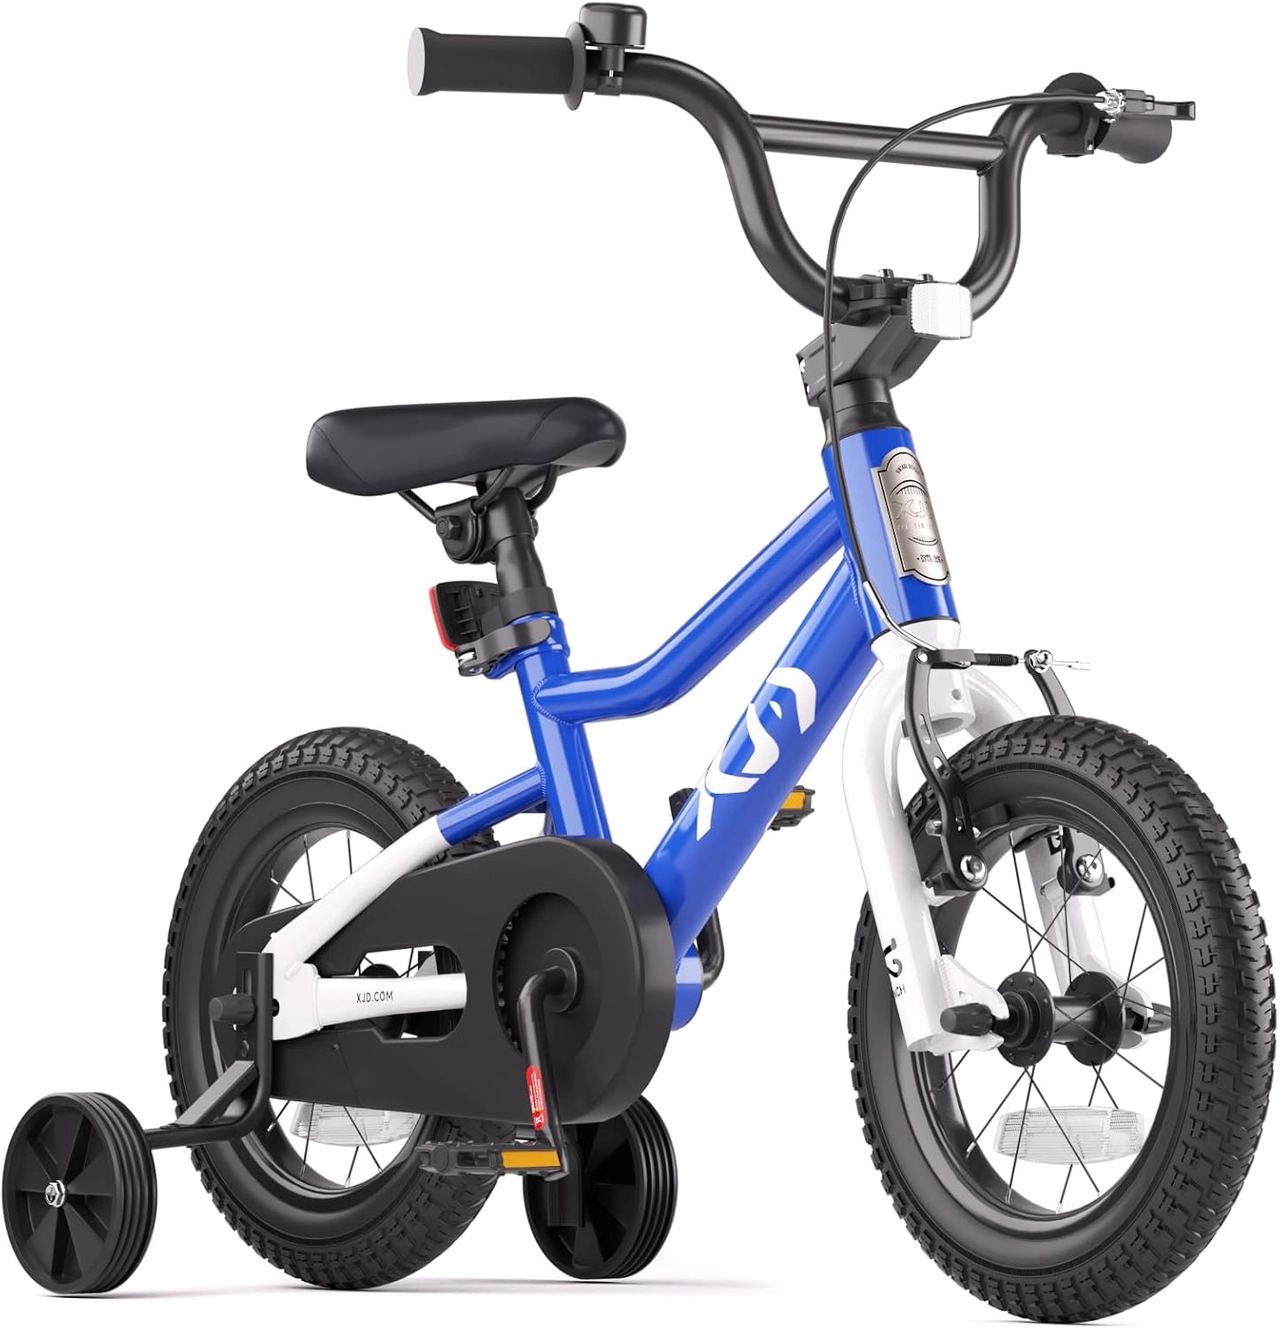 XJD Boys & Girls BMX Bike with Training Wheels, 12/14/16" – Blue
A Kids’ BMX Bikes catalog option with 12 Inch, 14 Inch and 16 Inch size labels. It is relevant only when the rider’s measurements and hands-on fit check support one of those wheel sizes.
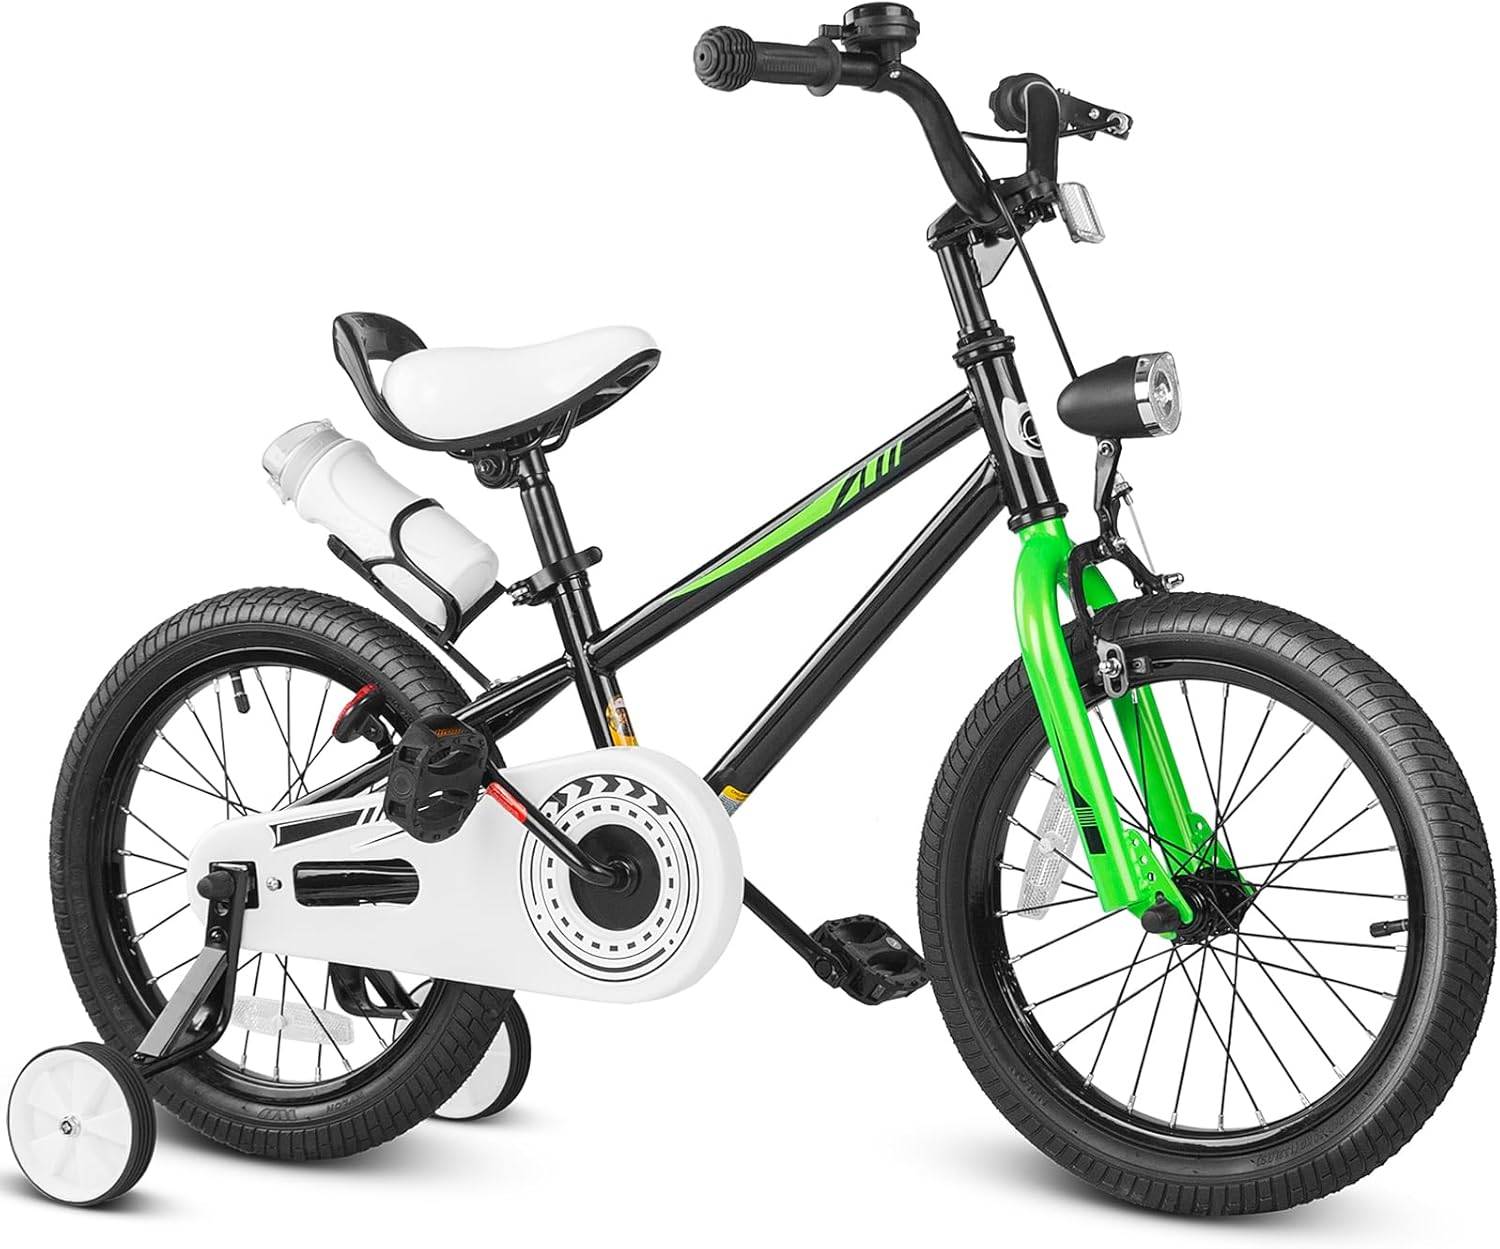 Black XJD Kids Bike for Boys – 12, 14 & 16 Inch Sizes
A Training Wheel Bikes catalog option offered in 12 Inch, 14 Inch and 16 Inch sizes. Compare the rider’s height first, then confirm inseam clearance, reach, brake access and control on the actual bike.
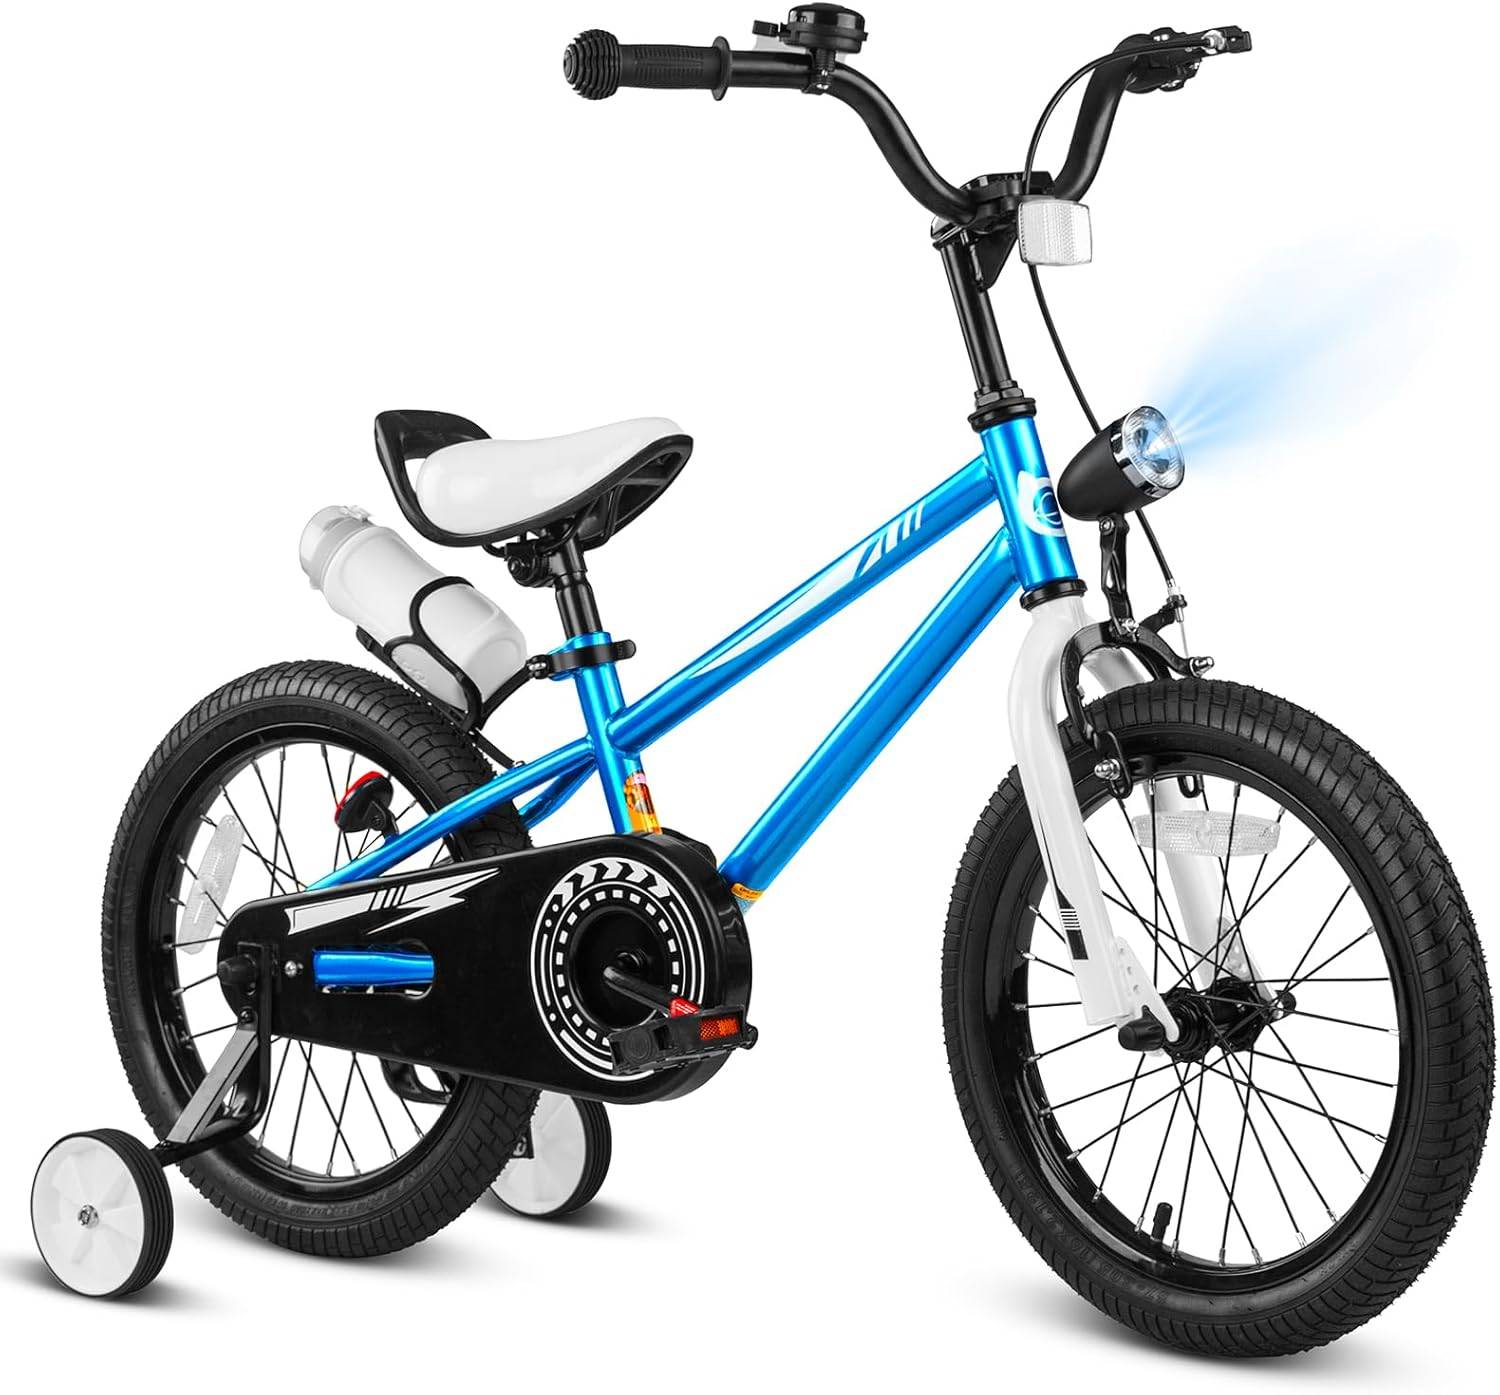 XJD Boys 12/14/16" Training Wheel Bike – Blue
A blue Training Wheel Bikes option with 12 Inch, 14 Inch and 16 Inch labels. Consider it when the XBikes height ranges indicate one of those sizes, subject to an individual fit and control check.
The XJD Boys & Girls BMX Bike with Training Wheels, 12/14/16" – Blue is cataloged under Kids’ BMX Bikes and has 12 Inch, 14 Inch and 16 Inch choices. The Black XJD Kids Bike for Boys – 12, 14 & 16 Inch Sizes and XJD Boys 12/14/16" Training Wheel Bike – Blue are cataloged under Training Wheel Bikes and offer the same three size choices.
Those category differences can help narrow the catalog, but they do not prove fit. The supplied facts do not establish frame dimensions, brake type, weight, load limits or whether a particular setup suits an individual rider. Confirm those details in the exact product manual or with a qualified bicycle mechanic.
Choose between two possible sizes
If his height falls into overlapping ranges, repeat the practical checks on both sizes. Compare which bike lets him stand over comfortably, hold a natural riding posture, turn the handlebar without interference, reach the brakes and stop under control.
- Reject any size that compromises stand-over room or brake reach.
- Prefer the size he can start, steer and stop confidently now.
- Recheck fit after saddle or handlebar adjustments permitted by the product manual.
- Do not use age, future growth or a size printed in a product title to overrule the fit check.
Complete the decision safely
Once the correct bike size is identified, fit a bicycle helmet properly. It should sit level, and its straps should be used according to the helmet manufacturer’s instructions. Follow the exact bicycle manual for assembly, adjustments, maintenance, compatibility and torque information; if anything is unclear, use a qualified bicycle mechanic.
The final decision is simple: choose the wheel size suggested by his measured height only when his inseam, reach, brake control and current confidence also confirm that he can manage that exact bike today.
Bikes for your next adventure
-
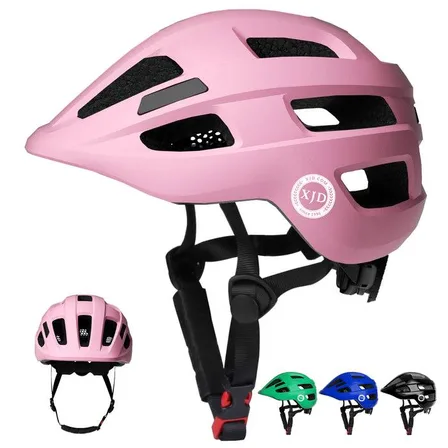
Kids Bike Helmet by XJD for Boys & Girls – Black, Blue, Green, Pink, Purple
The XJD Kids Bike Helmet covers a wide 2-to-8-year age range thanks to two head-…$59.99
-
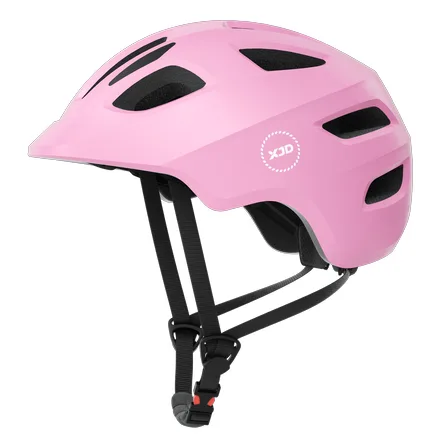
Kids Bike Helmet by XJD for Girls – Pink
The XJD Kids Bike Helmet in Pink is a lightweight multi-sport helmet for girls r…$59.99
$99 -
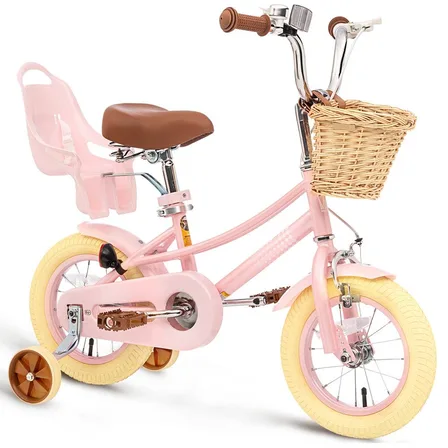
XJD Kids Bike for Girls – Pink, 12/14/16/20 Inch with Training Wheels
The XJD Kids Bike for Girls in Pink is a training-wheel bike built to carry your…$139
$159