

How to size a boys bicycle
To size a boys bicycle, measure the rider’s height and inseam, choose a wheel-size starting point, then confirm stand-over clearance, reach, braking and control on the actual bike. Do not size up merely for future growth.
Measure the rider first
Measure height without shoes, with the child standing straight against a wall. For inseam, have the child stand with feet slightly apart and measure from the floor to the crotch. Record both measurements in inches or centimetres.
Height provides the XBikes wheel-size starting point. Inseam helps with the physical fit check: the rider must be able to straddle the bicycle comfortably rather than being forced onto tiptoes or against the frame. Because frame shapes and adjustment ranges can differ, an inseam measurement should be compared with the exact bicycle during a trial fit.
Use height to select a starting wheel size
Find the rider’s measured height below. Age can help narrow the search, but it cannot determine fit by itself. Where height ranges overlap, assess both candidate sizes and choose according to control, reach and confidence rather than assuming the larger wheel is preferable.
| Wheel size | Starting age | Rider height |
|---|---|---|
| 12 Inch | 3–4 | 34–40 in / 86–102 cm |
| 14 Inch | 3–6 | 37–45 in / 94–114 cm |
| 16 Inch | 4–7 | 40–48 in / 102–122 cm |
| 18 Inch | 5–9 | 43–52 in / 109–132 cm |
| 20 Inch | 7–12 | 48–60 in / 122–152 cm |
| 24 Inch | 10–14 | 54–64 in / 137–163 cm |
| 26 Inch | Youth and adults | Over 60 in / 153 cm |
These ranges are starting points, not guarantees. For example, a 44-inch rider appears in the 14-, 16- and 18-inch height ranges. The right choice is the one that passes the individual checks below while matching the child’s present riding ability.
Check the bicycle with the child aboard
Have the child try the bicycle while a responsible adult keeps it stable. Make only adjustments permitted by the exact product manual. Then check:
- Stand-over: the child can straddle the bicycle comfortably and dismount without the frame obstructing them.
- Starting and stopping: the rider can get into position, begin moving and put a foot down without struggling against the bicycle’s size.
- Reach: hands meet the controls without an exaggerated stretch, locked elbows or loss of a stable seated position.
- Brake control: the child can reach and operate the bicycle’s braking controls confidently. Do not assume a control type that is not specified for the exact model.
- Steering: the rider can turn the handlebar, look ahead and maintain balance without the bicycle feeling unwieldy.
- Confidence: the size supports calm, deliberate control at the child’s current skill level.
If the child cannot satisfy these checks, reject that fit even when age or height falls within the listed range. An oversized bicycle bought for growth can make mounting, stopping and steering harder.
When the supplied 12-, 14- and 16-inch bikes are relevant
The supplied catalog options are useful when the rider’s measured height points toward a 12-, 14- or 16-inch starting size and a training-wheel bicycle suits the rider’s current confidence. Each offers those three SKU labels, so the same fit process can be used to compare the relevant size before selecting a model.
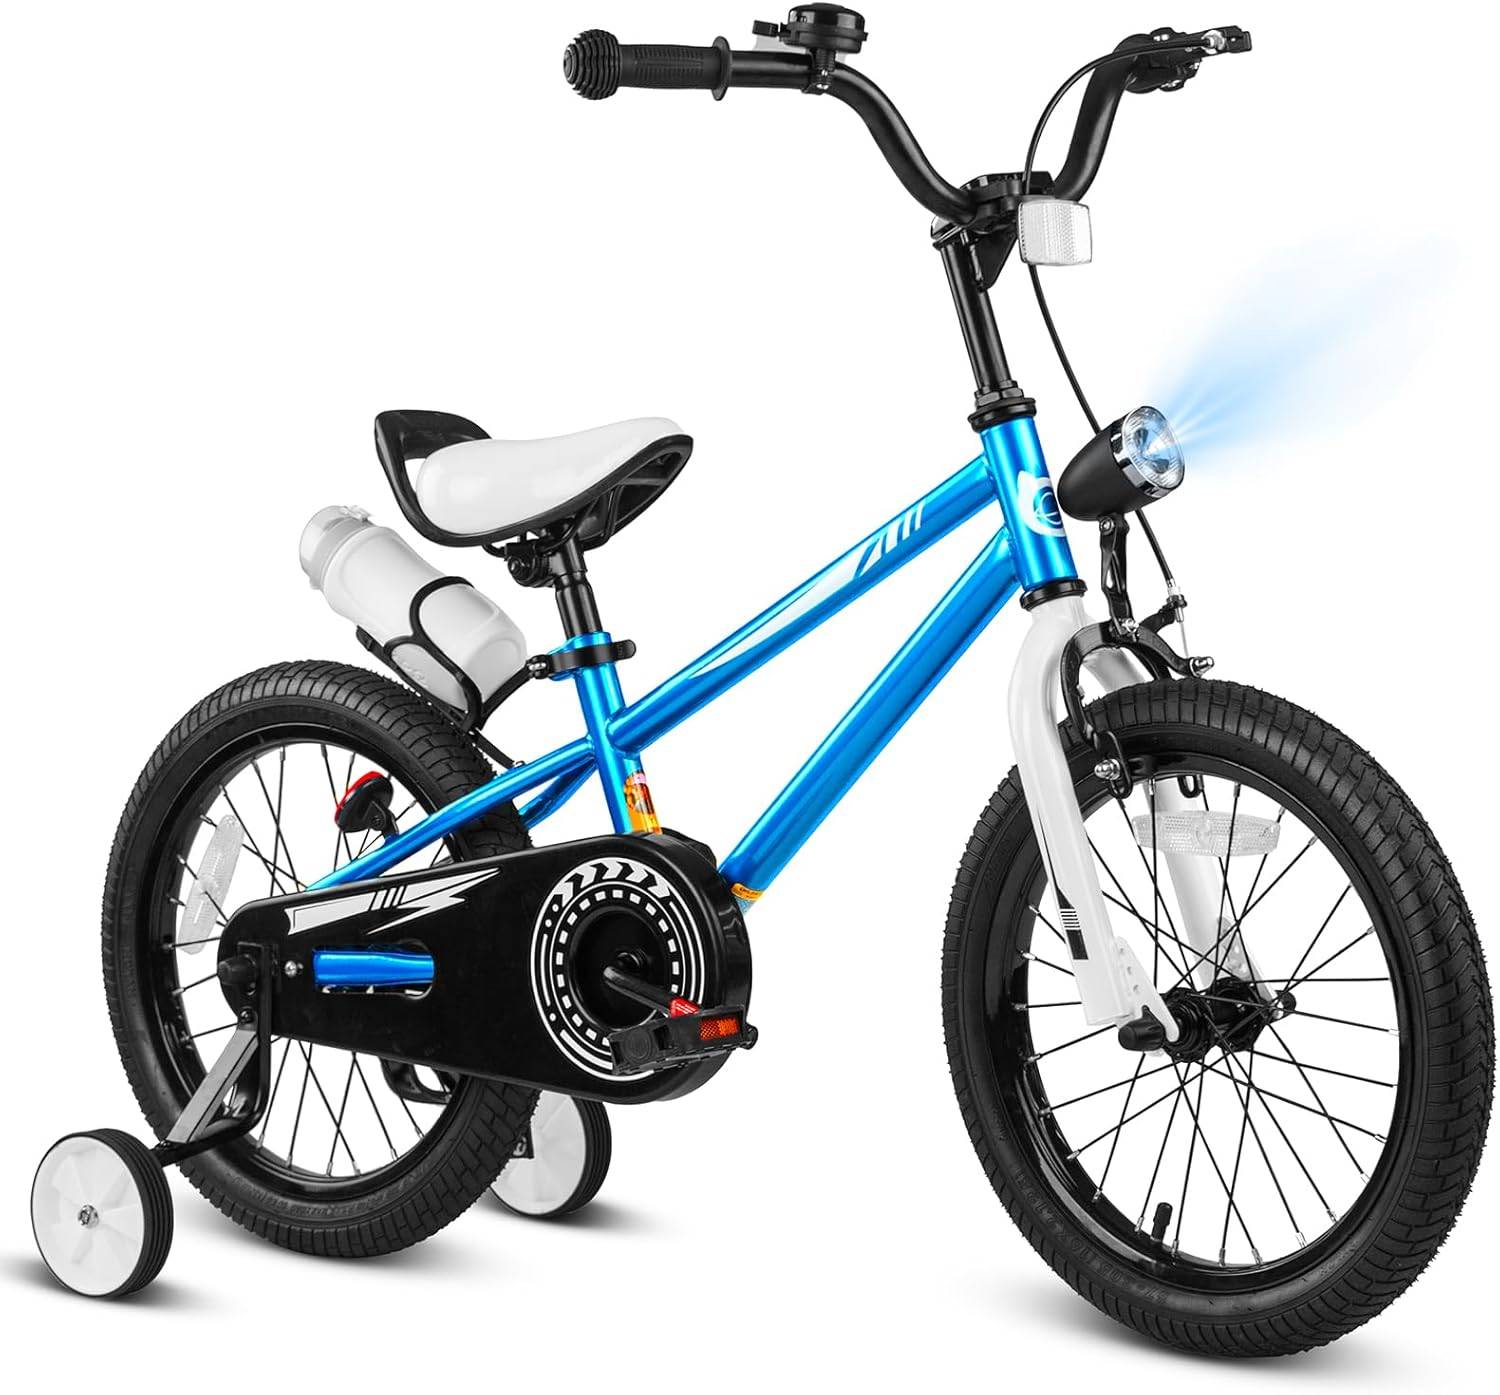 XJD Boys 12/14/16" Training Wheel Bike – Blue
A training-wheel bicycle offered with 12 Inch, 14 Inch and 16 Inch SKU labels; relevant when the rider’s measured height and individual fit check support one of those sizes.
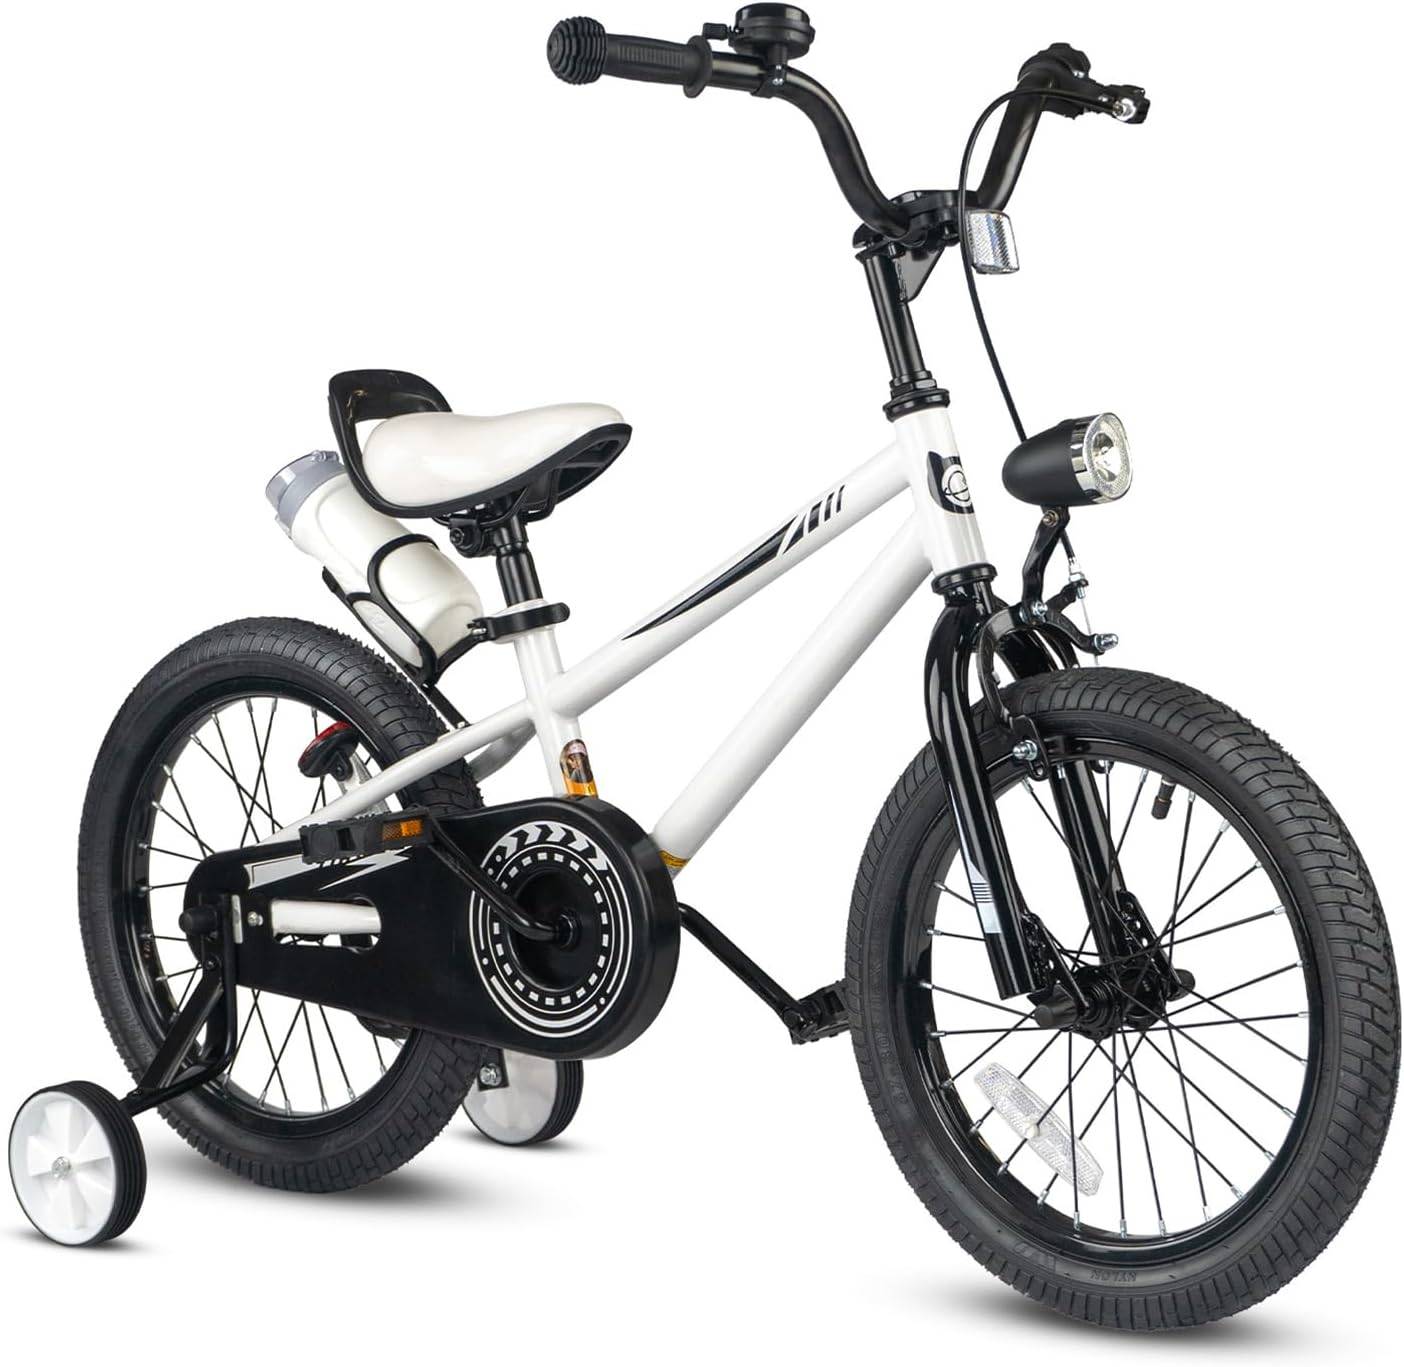 XJD Kids' Training Wheel Bike for Boys & Girls, 12/14/16 Inch – White
A training-wheel bicycle for boys and girls with 12 Inch, 14 Inch and 16 Inch SKU labels; compare the appropriate label only after measuring height and checking reach, control and confidence.
XJD Boys 12/14/16" Training Wheel Bike – Blue is categorized as a Training Wheel Bike and has 12 Inch, 14 Inch and 16 Inch SKU labels. XJD Kids' Training Wheel Bike for Boys & Girls, 12/14/16 Inch – White is also categorized as a Training Wheel Bike with the same three available size labels.
Based on the supplied facts, the fit-related difference is not wheel-size coverage: both list 12, 14 and 16 Inch options. Choose between them only after choosing the correct size label and confirming the child’s fit on the exact bicycle. The catalog facts do not establish differences in materials, weight, brakes, adjustment range or other components.
Neither supplied product is relevant if the rider’s measured height and trial fit point to 18, 20, 24 or 26 Inch, because those sizes are not among their supplied SKU labels. They may also be unsuitable when a training-wheel model does not match the rider’s present needs.
Complete the fit and safety check
- Start with measured height, then identify every overlapping wheel-size range.
- Use inseam and stand-over comfort to remove sizes the child cannot straddle easily.
- Compare reach, braking, starting, stopping and steering on the actual bicycle.
- Select for present control and confidence, not extra growing room.
- Fit a bicycle helmet so it sits level and secure the straps according to the helmet manufacturer’s instructions.
Follow the exact product manual for assembly, maintenance, load limits, compatibility and torque. If the manual is unavailable or the fit or setup remains uncertain, use a qualified bicycle mechanic.
Make the size decision
Measure height and inseam now, shortlist only the matching wheel sizes, and arrange an individual fit check. Buy the boys bicycle only when the child can straddle it comfortably, reach and operate its controls, start, stop and steer with confidence today.
Bikes for your next adventure
-
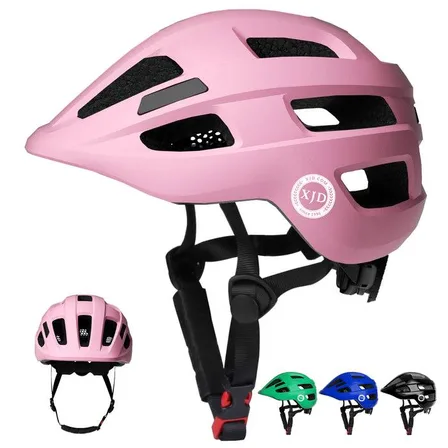
Kids Bike Helmet by XJD for Boys & Girls – Black, Blue, Green, Pink, Purple
The XJD Kids Bike Helmet covers a wide 2-to-8-year age range thanks to two head-…$59.99
-
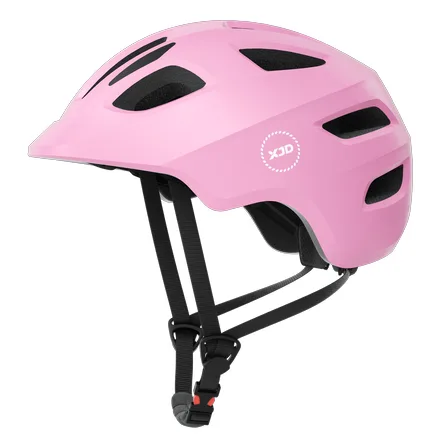
Kids Bike Helmet by XJD for Girls – Pink
The XJD Kids Bike Helmet in Pink is a lightweight multi-sport helmet for girls r…$59.99
$99 -
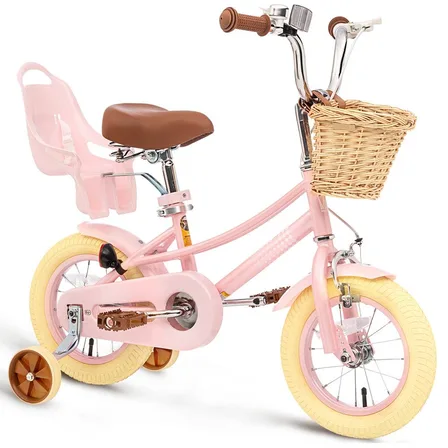
XJD Kids Bike for Girls – Pink, 12/14/16/20 Inch with Training Wheels
The XJD Kids Bike for Girls in Pink is a training-wheel bike built to carry your…$139
$159