

Why do boys bikes have a bar
Boys’ bikes have a bar because traditional diamond-frame bicycles use a top tube to connect and brace the frame. It is a frame design choice, not something boys need.
What the bar actually does
The bar usually meant by this question is the top tube, running between the front and seat areas of the frame. In a traditional diamond-shaped frame, it helps form a rigid structure that resists flex while the bicycle is ridden.
Historically, bicycles marketed to boys often copied this shape, while bicycles marketed to girls more often used a lower or sloping tube to make stepping through easier. That labeling convention continues on some children’s bikes, but frame shape does not determine who can ride a bicycle. A child of any gender can use a high-bar, low-bar or step-through design if the bicycle fits and the rider can control it confidently.
Is a high bar better or safer?
Not automatically. A high top tube may contribute to the structure of that particular frame, but it does not make the whole bicycle inherently better or safer than a differently designed frame. Modern frames can use different shapes to achieve their intended structure.
For a child, the practical issue is clearance and control. When standing over the bicycle, the rider should be able to straddle the frame without the bar pressing uncomfortably into the body. There is no universal clearance number supplied here, so assess the actual child on the actual bicycle rather than relying on a label.
A lower bar can make mounting, dismounting and putting a foot down feel easier, particularly for a new or cautious rider. A higher bar may be perfectly suitable when there is comfortable stand-over clearance and the controls are within easy reach.
What parents should measure and compare
Measure the child’s height and inseam in the shoes normally worn for riding. Height gives a wheel-size starting point; inseam helps you judge stand-over clearance. Then have the child try the bicycle and compare these points:
- Stand-over: Can the child straddle the top tube comfortably with feet planted?
- Reach: Can the rider hold the handlebar without stretching, locking the elbows or leaning excessively?
- Brake control: If hand controls are present, can the child reach and operate them while maintaining a secure grip?
- Starting and stopping: Can the child mount, start, steer, stop and get a foot down without panic?
- Confidence: Does the frame shape feel manageable now, rather than something the child is expected to grow into?
Do not buy an oversized bicycle solely for future growth. The child should try it, and present fit and control should take priority over age or anticipated growth.
Use wheel size only as a starting point
| Wheel size | XBikes age starting point | Rider-height starting point |
|---|---|---|
| 12 Inch | Ages 3–4 | 34–40 in / 86–102 cm |
| 14 Inch | Ages 3–6 | 37–45 in / 94–114 cm |
| 16 Inch | Ages 4–7 | 40–48 in / 102–122 cm |
| 18 Inch | Ages 5–9 | 43–52 in / 109–132 cm |
| 20 Inch | Ages 7–12 | 48–60 in / 122–152 cm |
| 24 Inch | Ages 10–14 | 54–64 in / 137–163 cm |
| 26 Inch | Youth and adults | Over 60 in / 153 cm |
These ranges narrow the search; they do not prove fit. Where ranges overlap, compare the child’s measured height, inseam, reach, brake control and current confidence on each candidate. Age alone should never decide the size.
How the supplied bike helps with the comparison
The Black XJD Kids Bike for Boys – 12, 14 & 16 Inch Sizes is a training wheel bike offered in the three stated wheel-size labels. Those options provide useful comparison points for riders whose measured height falls within the corresponding XBikes starting ranges. Its “for Boys” wording is a catalog title, not fit evidence and not a rule about who may ride it.
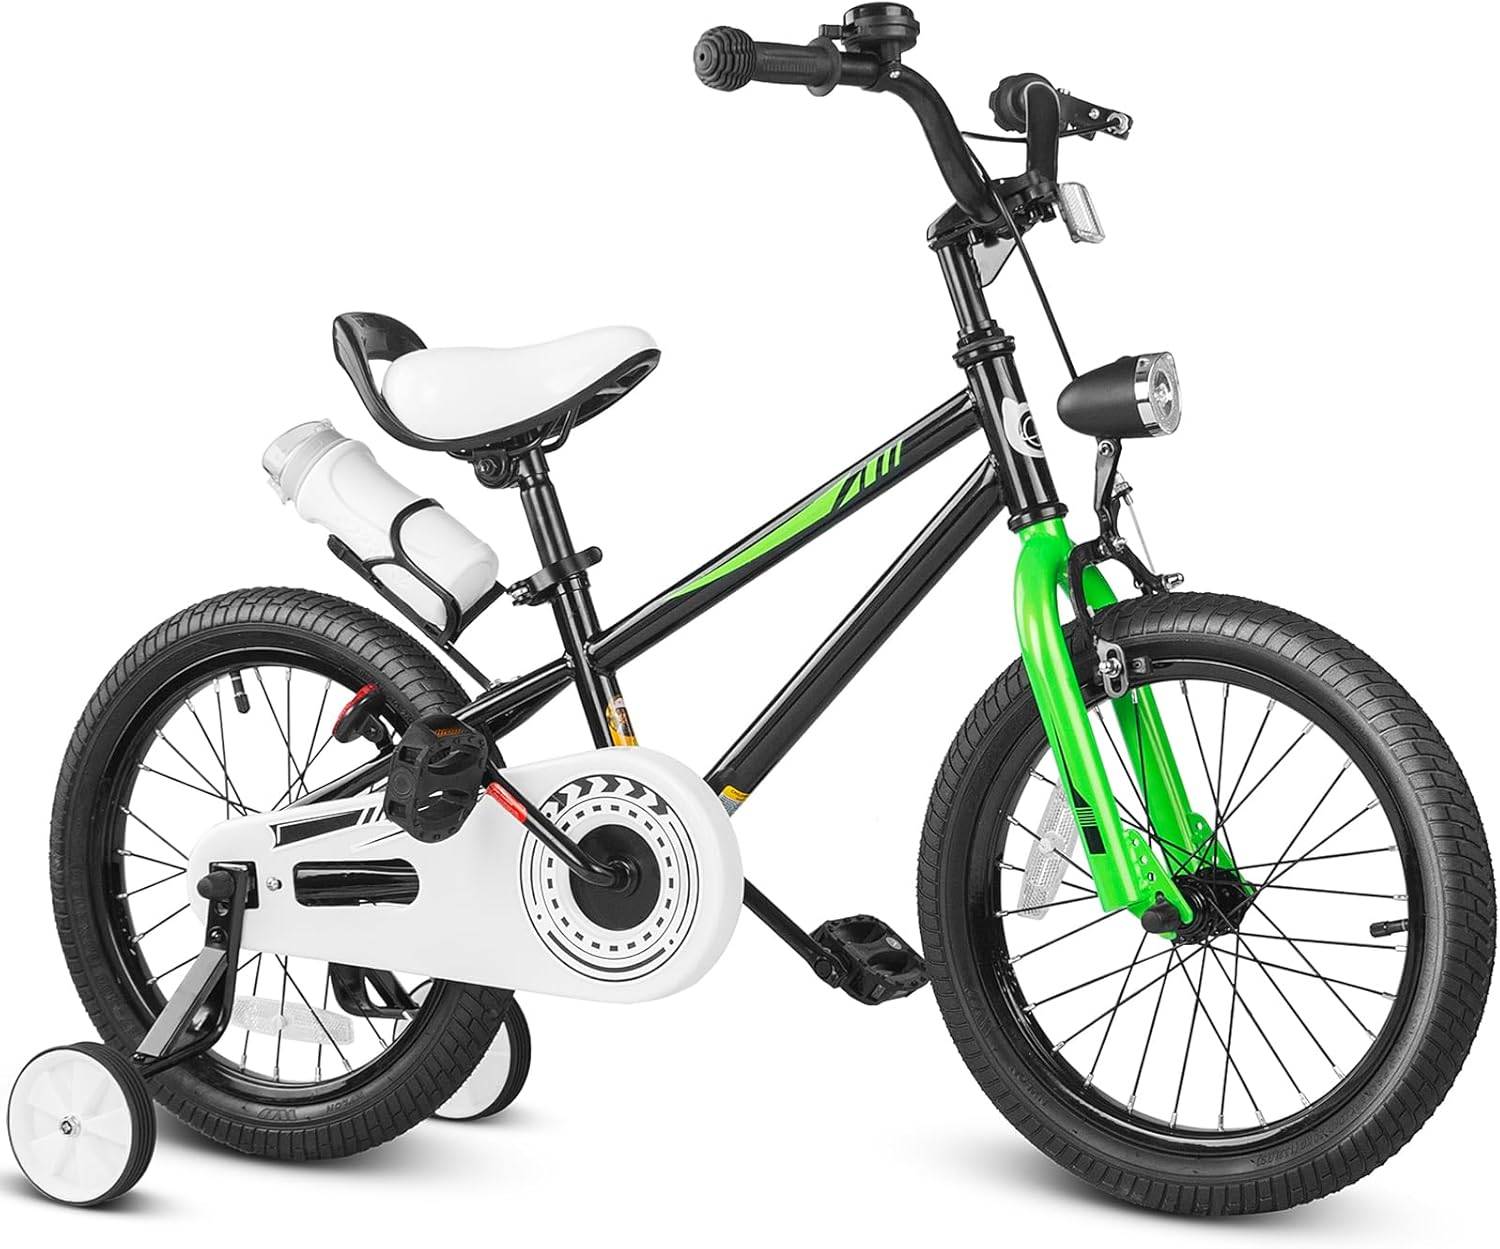
Use the displayed options to identify a likely wheel size, then confirm the actual frame’s top-bar clearance and the child’s reach and control. The supplied catalog facts do not specify frame geometry, brake type, assembly details, load limits or component compatibility. Check the exact product manual for those matters, or ask a qualified bicycle mechanic.
What to do before the first ride
- Measure height and inseam, then select a wheel-size starting range.
- Have the child try the bicycle rather than ordering a larger size for growth.
- Check stand-over clearance, handlebar reach, brake access, starting and stopping.
- Follow the exact manual for assembly, adjustment, maintenance and any torque requirements.
- Use a properly fitting bicycle helmet. It should sit level, with straps adjusted according to the helmet manufacturer’s instructions.
The decision is simple: ignore the “boys’ bar” tradition and choose the frame the child can comfortably straddle, reach, stop and control today.
Bikes for your next adventure
-
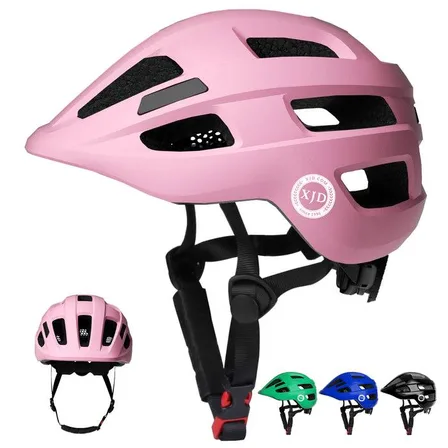
Kids Bike Helmet by XJD for Boys & Girls – Black, Blue, Green, Pink, Purple
The XJD Kids Bike Helmet covers a wide 2-to-8-year age range thanks to two head-…$59.99
-
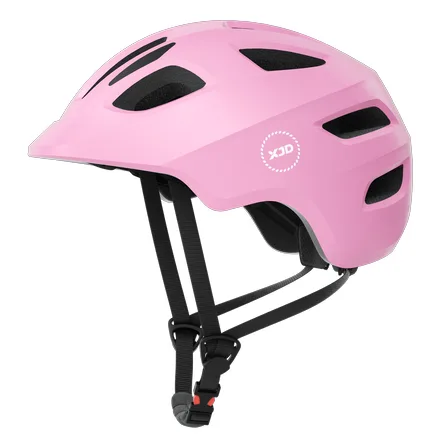
Kids Bike Helmet by XJD for Girls – Pink
The XJD Kids Bike Helmet in Pink is a lightweight multi-sport helmet for girls r…$59.99
$99 -
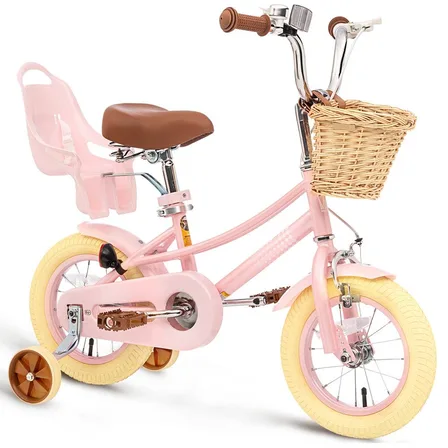
XJD Kids Bike for Girls – Pink, 12/14/16/20 Inch with Training Wheels
The XJD Kids Bike for Girls in Pink is a training-wheel bike built to carry your…$139
$159