

How do you teach a kid to ride a bike
Teach a kid to ride a bike by choosing a bike they can control, fitting a helmet, practicing balance first, then adding pedaling, braking and turning.
Measure before the first lesson
Measure the child’s height and inseam while they wear the shoes they will ride in. Use height to identify a starting wheel size, then have the child try the actual bicycle. Age is only a rough reference.
| Wheel size | Starting age | Rider height |
|---|---|---|
| 12 Inch | 3–4 | 34–40 in / 86–102 cm |
| 14 Inch | 3–6 | 37–45 in / 94–114 cm |
| 16 Inch | 4–7 | 40–48 in / 102–122 cm |
| 18 Inch | 5–9 | 43–52 in / 109–132 cm |
| 20 Inch | 7–12 | 48–60 in / 122–152 cm |
| 24 Inch | 10–14 | 54–64 in / 137–163 cm |
| 26 Inch | Youth and adults | Over 60 in / 153 cm |
These are starting points, not a substitute for a fit check. Do not buy an oversized bicycle for the child to grow into. Check that the child can stand over it comfortably, reach the handlebar without stretching, steer without strain and operate the brakes confidently. Inseam, reach, brake control and current confidence matter more than age alone.
Prepare the bike, rider and practice area
Use a flat, open area away from vehicles, steep slopes and obstacles. Fit a bicycle helmet so it sits level and secure the straps according to the helmet manufacturer’s instructions. Closed-toe shoes and practical clothing help the child move without loose fabric getting caught.
Before riding, confirm that the bicycle is assembled and functioning as its exact manual specifies. If anything about assembly, adjustment, compatibility, maintenance or tightening instructions is uncertain, use a qualified bicycle mechanic rather than improvising.
Teach balance before pedaling
Set up the bike so the learner can put their feet down comfortably, provided the bicycle’s manual permits the needed adjustment. Have them sit, look ahead and move the bike forward with short walking steps. Progress to longer pushes and brief glides with both feet lifted only when they feel ready.
- Ask the child to look toward where they want to go, not down at the front wheel.
- Practice starting, gliding and placing both feet down to stop.
- Let the child repeat short runs until balancing feels predictable.
- Avoid holding the handlebar; unexpected steering corrections can make balance harder to learn.
An adult may walk alongside and offer reassurance. If physical support is needed, keep it light and release it gradually. Stop before fatigue or frustration turns practice into a struggle.
Add pedaling and controlled stops
Once the child can glide steadily, place one pedal in a strong starting position. The learner pushes that pedal, brings the second foot up and looks ahead. Keep the first attempts short, with a clear stopping point.
Teach stopping alongside starting. In a stationary check, make sure the child understands which control operates each brake and can reach and use the controls without losing their grip. Then practice gentle stops at low speed. The goal is a smooth slowdown, a complete stop and feet down under control. Follow the bicycle manual for its specific braking operation and adjustment.
Introduce steering in small steps
Begin with a straight path, then use wide turns around clearly visible markers. Ask the child to slow before the turn, look through it and steer smoothly. Add tighter turns only after wide ones are consistent.
A useful session is several short, successful repetitions rather than one long ride. Move to more complex surroundings only when the child can start, ride a line, turn both ways, stop on request and respond calmly to a wobble.
When the supplied cruiser options are relevant
The supplied catalog choices help only when a learner is genuinely within the relevant 24- or 26-inch starting range and passes an individual fit check. They are useful comparison points for older or taller beginners, not evidence that a child should move up early.
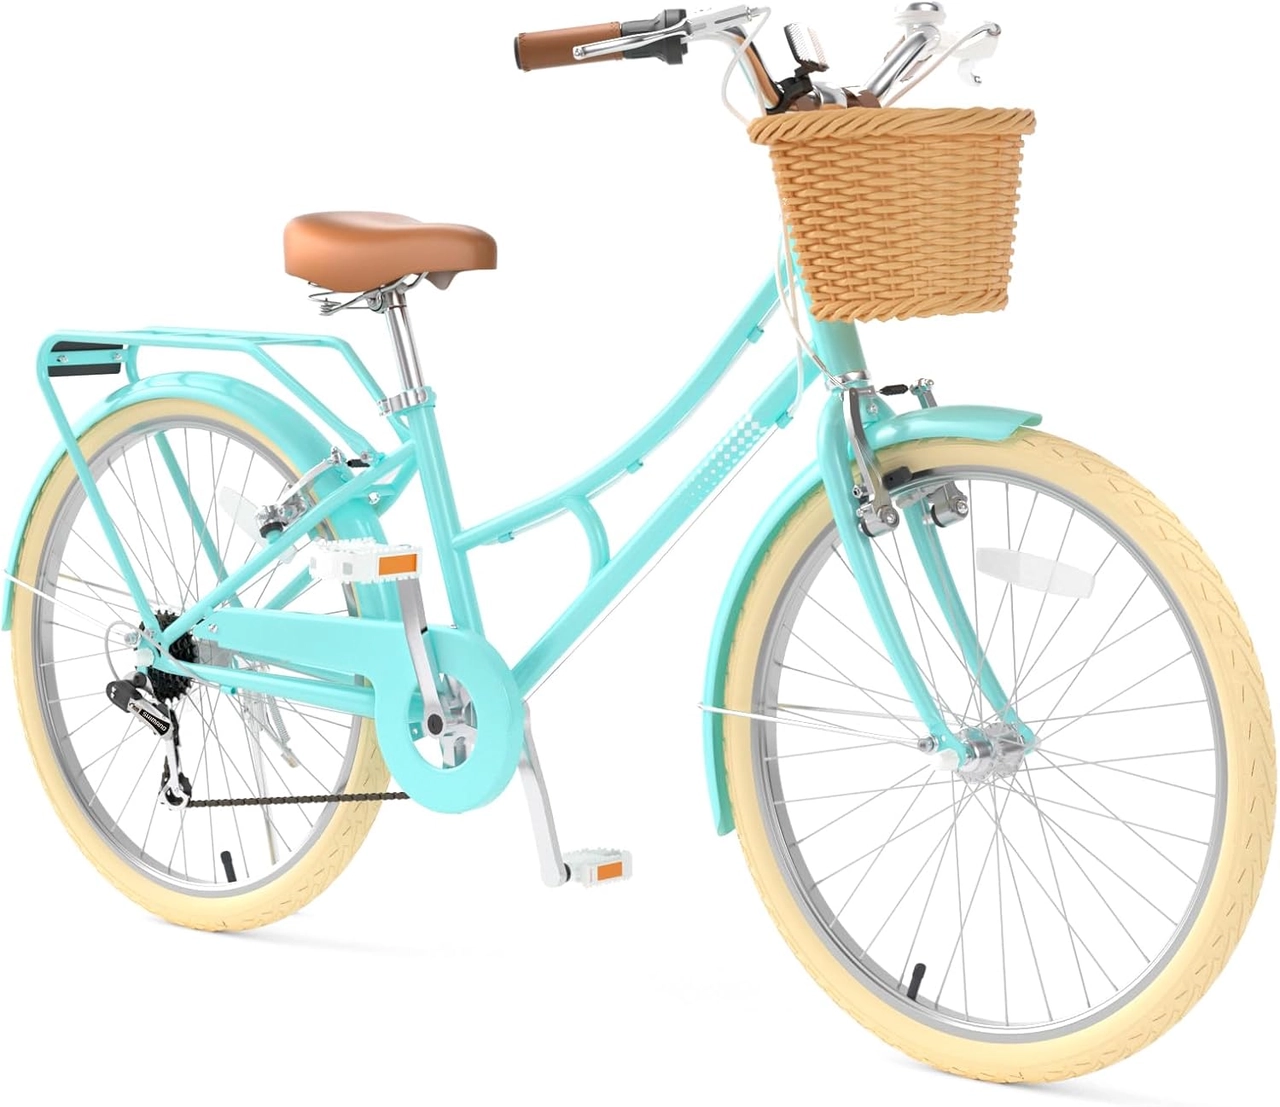 XJD 24-Inch Green Beach Cruiser Bike with U-Brake
A 24- or 26-inch cruiser comparison for learners whose measured height matches the relevant starting range and who can comfortably manage stand-over, reach, steering and brake operation.
 Pink XJD Beach Cruiser Bike, 24"/26", U-Brake
Available in 24 Inch and 26 Inch variants, this cruiser is relevant for older or taller beginners only after measured height and an individual control-focused fit check support that size.
The XJD 24-Inch Green Beach Cruiser Bike with U-Brake is listed in Green / 24 Inch, Pink / 24 Inch and Pink / 26 Inch variants. The Pink XJD Beach Cruiser Bike, 24"/26", U-Brake is listed in 24 Inch and 26 Inch variants. Compare the child’s measured height with the table first, then assess stand-over room, reach, steering control and brake operation on the chosen variant.
A 24-inch option starts as a comparison for riders measuring 54–64 inches / 137–163 cm; a 26-inch option starts as a comparison for youth and adults over 60 inches / 153 cm. Overlap does not make the sizes interchangeable. If neither can be controlled comfortably, choose an appropriately smaller bicycle instead.
Know what to do next
For the next lesson, measure the child, verify the bike fits now, fit the helmet, and practice gliding before pedaling. Advance only when the child can start, steer and stop without adult correction; otherwise repeat the last comfortable step or reassess the bicycle fit.
Bikes for your next adventure
-

Kids Bike Helmet by XJD for Boys & Girls – Black, Blue, Green, Pink, Purple
The XJD Kids Bike Helmet covers a wide 2-to-8-year age range thanks to two head-…$59.99
-

Kids Bike Helmet by XJD for Girls – Pink
The XJD Kids Bike Helmet in Pink is a lightweight multi-sport helmet for girls r…$59.99
$99 -

XJD Kids Bike for Girls – Pink, 12/14/16/20 Inch with Training Wheels
The XJD Kids Bike for Girls in Pink is a training-wheel bike built to carry your…$139
$159