

How to buy a bicycle for a kid
Buy a kid’s bicycle by measuring the child’s height and inseam, choosing a likely wheel size, and then checking stand-over clearance, reach, steering and brake control on the actual bike. Do not buy an oversized bicycle for future growth.
Measure the rider before comparing bikes
Measure the child without shoes, standing straight against a wall, to get current height. Then measure inseam from the floor to the top of the inside leg. These measurements are more useful than age because children of the same age can have very different proportions and confidence levels.
Use height to identify one or two possible wheel sizes in the XBikes starting points below. Inseam helps with the next step: checking whether the child can stand over the bicycle comfortably. A wheel-size label does not establish fit by itself.
| Wheel size | Starting age | Rider height |
|---|---|---|
| 12 Inch | 3–4 | 34–40 in / 86–102 cm |
| 14 Inch | 3–6 | 37–45 in / 94–114 cm |
| 16 Inch | 4–7 | 40–48 in / 102–122 cm |
| 18 Inch | 5–9 | 43–52 in / 109–132 cm |
| 20 Inch | 7–12 | 48–60 in / 122–152 cm |
| 24 Inch | 10–14 | 54–64 in / 137–163 cm |
| 26 Inch | Youth and adults | Over 60 in / 153 cm |
Check the fit on the actual bicycle
Have the child try the bicycle rather than ordering solely from an age or wheel-size label. With the child standing over the frame, confirm there is comfortable clearance and no need to balance awkwardly. Seated, the rider should reach the handlebar without stretching, leaning excessively or locking the elbows.
Ask the child to hold the bicycle upright, turn the handlebar both ways and operate each brake control. The controls should be reachable and usable with the child’s hands while maintaining a secure grip. Also consider current confidence: a size that technically matches height may still feel difficult to control.
If the child falls between two starting ranges, compare both sizes in person when possible. Choose the bicycle the child can control now, not the larger one expected to last longer. This follows pediatric guidance to avoid buying an oversized bicycle for growth.
Decide whether training wheels are relevant
Training wheels may be relevant when a child is not yet ready to balance independently and the family specifically wants that format. They are not a substitute for correct frame fit, manageable reach or brake control. A confident rider who already starts, balances, turns and stops independently may not need a training-wheel bicycle.
The three supplied catalog options are all categorized as Training Wheel Bikes, so they help narrow the decision only for families seeking that type. Their verified differences here are their exact titles and available wheel-size labels; fit must still be confirmed for the individual rider.
 Light Pink XJD Girls' Bicycle with Basket & Training Wheels
A training-wheel option with 12, 14, 16 and 20 Inch labels. It is relevant when those starting sizes match the child’s measured height and a hands-on fit check confirms control.
 Blue XJD Girls Bike with Training Wheels – 12/14/16 Inch
A blue training-wheel bicycle offered with 12, 14 and 16 Inch labels. Consider it only after matching the rider’s measured height to a starting size and confirming individual fit.
 XJD Boys 12/14/16" Training Wheel Bike – Blue
A blue training-wheel bicycle with 12, 14 and 16 Inch labels. Its catalog title should not determine fit; use the child’s measurements, reach, brake control and confidence.
Compare the supplied XBikes options
Light Pink XJD Girls' Bicycle with Basket & Training Wheels has 12 Inch, 14 Inch, 16 Inch and 20 Inch SKU labels. It is the only supplied option with a 20 Inch label and the only title that mentions a basket.
Blue XJD Girls Bike with Training Wheels – 12/14/16 Inch has 12 Inch, 14 Inch and 16 Inch SKU labels. XJD Boys 12/14/16" Training Wheel Bike – Blue offers the same three supplied size labels. Compare those labels with the measured-height ranges, then verify physical fit rather than treating “Girls” or “Boys” in a catalog title as a sizing rule.
None of these supplied products covers an 18 Inch or 24 Inch label. If the child’s measurements and trial fit point to either size, these particular options may not be relevant. Likewise, the 20 Inch label on the light pink model does not make it suitable automatically; the child must still demonstrate comfortable stand-over, reach and control.
Complete the safety and setup checks
- Choose a bicycle helmet that fits properly, sits level and has straps adjusted according to its manufacturer’s instructions.
- Confirm that the child can mount, start, steer, stop and dismount in a controlled setting with close adult supervision.
- Inspect the bicycle before riding and follow the exact product manual for assembly, adjustment, maintenance, load limits, compatibility and torque instructions.
- If setup instructions are missing, unclear or beyond your experience, use a qualified bicycle mechanic.
Make the purchase decision
Write down the child’s height and inseam, shortlist the matching wheel sizes, and have the child try those sizes. Buy only when the rider can stand over the frame comfortably, reach the handlebar and brakes, steer confidently and control the bicycle now. Select one of the supplied models only if training wheels are wanted and its available size passes that individual fit check.
Bikes for your next adventure
-

Kids Bike Helmet by XJD for Boys & Girls – Black, Blue, Green, Pink, Purple
The XJD Kids Bike Helmet covers a wide 2-to-8-year age range thanks to two head-…$59.99
-
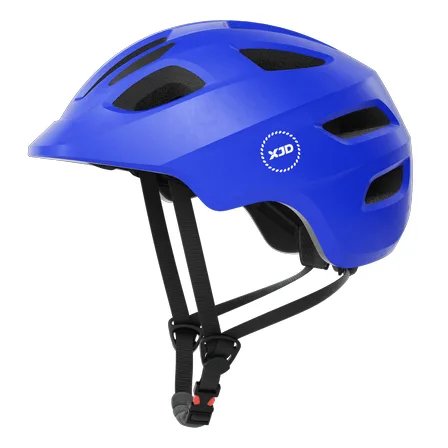
Blue XJD Kids Bike Helmet for Boys & Girls
The Blue XJD Kids Bike Helmet is a lightweight, adjustable multi-sport helmet fo…$59.99
$99 -
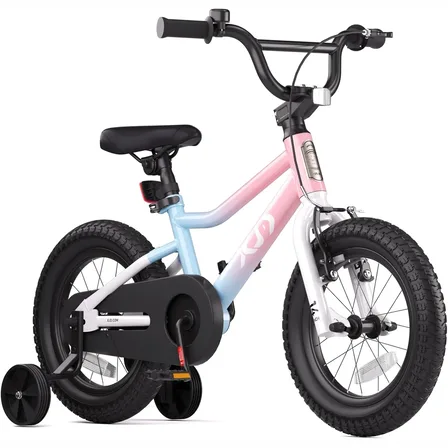
XJD Girls BMX Bike 12/14/16 Inch with Training Wheels – Pink Blue
The XJD Girls BMX Bike in Pink/Blue is built as a first pedal bike for kids roug…$99.99
$119.99