

How to choose a child bike trailer
Choose a child bike trailer by measuring the child and checking fit, load limits, hitch compatibility, bicycle compatibility and route conditions before buying.
Measure the child and the intended load
Start with the child seated naturally. Measure seated height, shoulder width and the space needed around the helmet. Compare those measurements with the trailer manufacturer’s fit instructions rather than relying on an age label. The child must fit in the specified seating position without being cramped or interfering with the enclosure.
Also list everything the trailer may carry: each child, helmets, bags and other permitted cargo. Add their current weights, then compare the total with the exact manual’s passenger and load limits. Leave room for growth, but never exceed a stated limit or put a child in a compartment that does not fit now.
Check the bicycle and hitch as one system
A trailer must be compatible with the towing bicycle, not merely capable of attaching somehow. Identify the bicycle’s exact make, model, wheel configuration, axle or mounting arrangement and any accessories near the attachment area. Then confirm that combination in the trailer or hitch documentation.
Do not improvise adapters, attachment hardware or tightening values. Use only parts and procedures specified for the exact products. If compatibility or assembly remains uncertain, have a qualified bicycle mechanic inspect the bicycle, hitch and trailer together.
Compare the features that affect everyday use
Evaluate candidates against the trips your family will actually make. A useful comparison should cover:
- Fit adjustment: Can the seating and restraint system be adjusted according to the manual for the child’s present measurements?
- Entry and loading: Can an adult place the child and approved cargo inside without losing control of the trailer?
- Route suitability: Will the full combination fit through gates, storage areas and the spaces used on the planned route?
- Weather and ventilation: Does the documented configuration suit expected conditions while maintaining the required airflow?
- Storage and transport: Can it be stored or folded using the manufacturer’s procedure without removing or misplacing essential hardware?
- Maintenance: Are inspection points, replacement parts and service instructions clearly covered by the exact manual?
Compare documented capabilities, not appearance alone. For maintenance intervals, tire pressure, assembly, load limits and torque, follow the exact product manual; where instructions are missing or unclear, use a qualified bicycle mechanic.
Confirm that the child can ride safely in it
Before the first trip, complete every fit and restraint check required by the trailer manufacturer. A bicycle helmet must fit properly, sit level and have its straps adjusted according to the helmet maker’s instructions. Check that the helmet and child remain within the trailer’s specified fit space.
Practice attaching, checking and handling the empty trailer before carrying a child. Then choose a controlled setting for the first occupied outing and reassess the full combination’s width, turning, stopping and clearance. Follow local rules governing child passengers, helmets and where trailers may be used.
Decide whether a trailer or a child’s bicycle meets the need
A trailer is relevant when an adult intends to tow a passenger and can verify the child, load, hitch, bicycle and route against the trailer documentation. A training-wheel bicycle serves a different purpose: it supports the child riding a separate bicycle. It is not a trailer and cannot substitute for one.
The supplied catalog contains no child bike trailers. The XJD Kids Bike for Girls – Pink, 12/14/16/20 Inch with Training Wheels offers 12, 14, 16 and 20 Inch SKU labels, while the XJD Pink Girls' Bike – Kids 12/14/16 Inch Training Wheel Bicycle offers 12, 14 and 16 Inch labels. These particular catalog options help only when the family is comparing trailer transport with independent riding; they are comparison points, not substitutes for the requested trailer.
 XJD Kids Bike for Girls – Pink, 12/14/16/20 Inch with Training Wheels
A training-wheel bicycle offered in 12, 14, 16 and 20 Inch labels. It is relevant only for comparing independent riding with trailer transport and is not a child bike trailer.
 XJD Pink Girls' Bike – Kids 12/14/16 Inch Training Wheel Bicycle
A training-wheel bicycle available with 12, 14 and 16 Inch labels. Use it only as an independent-riding comparison point; it does not replace a compatible child bike trailer.
If independent riding is the alternative, check fit separately
For the listed bicycles, XBikes uses these starting points: 12 Inch for 34–40 in / 86–102 cm, 14 Inch for 37–45 in / 94–114 cm, 16 Inch for 40–48 in / 102–122 cm, and 20 Inch for 48–60 in / 122–152 cm. The corresponding starting ages are 3–4, 3–6, 4–7 and 7–12.
Those ranges are only starting points. Measure the rider’s height and inseam, then have the child try the bicycle. Check stand-over clearance, reach, brake control and current confidence. Do not buy an oversized bicycle merely for growth, and treat wording in a catalog title as a label rather than fit evidence.
Next, record the child’s seated measurements and total intended load, identify the towing bicycle’s exact attachment setup, and eliminate every trailer whose manual does not explicitly confirm fit, capacity and compatibility.
Bikes for your next adventure
-

Kids Bike Helmet by XJD for Girls – Pink
The XJD Kids Bike Helmet in Pink is a lightweight multi-sport helmet for girls r…$59.99
$99 -
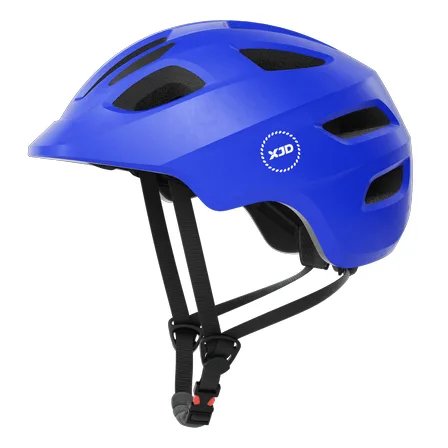
Blue XJD Kids Bike Helmet for Boys & Girls
The Blue XJD Kids Bike Helmet is a lightweight, adjustable multi-sport helmet fo…$59.99
$99 -
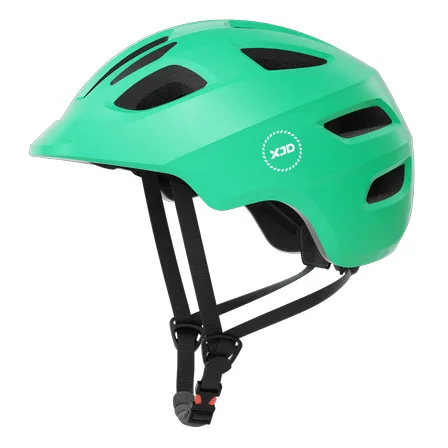
Green XJD Kids Bike Helmet for Boys & Girls
The Green XJD Kids Bike Helmet is a lightweight multi-sport helmet for toddlers …$59.99
$99