

How to connect a rear kids bike brake
To connect a rear kids bike brake, first identify the brake type, confirm every part matches the bike, then follow its exact manual for cable routing, attachment, adjustment and torque. If anything is missing, damaged or unclear, stop and use a qualified bicycle mechanic.
Identify the rear brake before connecting it
Look at the mechanism beside the rear wheel and compare it with the illustrations and parts list in the bicycle manual. The manual must match the bicycle and brake model; instructions for a different brake can place the cable, housing or hardware incorrectly.
Confirm that the brake lever, cable and housing, frame stops or guides, brake arms, pads, fasteners and any required small fittings are present. Do not improvise with similar-looking hardware. A frayed cable, cracked housing, bent component, damaged mounting point or missing fastener needs replacement or mechanic inspection before the bicycle is ridden.
Measure and compare the controls
Before assembly, measure the rider’s height and inseam, then have the child try the bicycle. Check that the child can stand over it, steer without stretching, and comfortably wrap their fingers around the rear-brake lever while maintaining control of the handlebar. Brake reach and current confidence matter more than age alone; do not choose an oversized bicycle merely for future growth.
| Wheel size | XBikes starting point |
|---|---|
| 12 Inch | Ages 3–4; 34–40 in / 86–102 cm |
| 14 Inch | Ages 3–6; 37–45 in / 94–114 cm |
| 16 Inch | Ages 4–7; 40–48 in / 102–122 cm |
| 18 Inch | Ages 5–9; 43–52 in / 109–132 cm |
| 20 Inch | Ages 7–12; 48–60 in / 122–152 cm |
| 24 Inch | Ages 10–14; 54–64 in / 137–163 cm |
| 26 Inch | Youth and adults over 60 in / 153 cm |
These figures are starting points, not a substitute for an individual fit check. If the rider cannot reach and operate the lever decisively, connecting the brake does not make that bicycle an appropriate fit.
Connect it in the correct sequence
- Stabilize the bicycle. Keep it from rolling or tipping, and ensure the rear wheel is correctly installed according to the bicycle manual.
- Trace the complete control path. Starting at the rear-brake lever, follow the manual’s diagram for the cable and housing through every specified frame guide to the rear brake. The handlebar must be able to turn normally without pulling, sharply bending or trapping the housing.
- Seat each component. Check that housing ends sit fully in their intended stops and that the cable follows the brake manufacturer’s specified path. Keep the cable away from the tire, spokes, chain and other moving parts.
- Attach and adjust the brake. Use only the connection point, sequence and torque stated in the exact manual. Do not guess cable tension or fastener tightness.
- Align and test. Follow the manual to position the pads on the intended braking surface, center the mechanism and set lever travel. The wheel should rotate freely when released, and braking surfaces must stay clean.
If the manual is absent or does not clearly identify the parts and settings, a qualified bicycle mechanic should complete the connection.
Check operation before a child rides
With the bicycle stationary, repeatedly operate the rear-brake lever and watch the brake engage and release. Verify that nothing slips, the housing remains seated, the mechanism returns as the manual describes, and the tire or spokes do not contact brake parts. Recheck the installation exactly as directed by the product manual.
Then perform the manual’s prescribed low-speed check in a clear, controlled area. The child should demonstrate that they can apply and release the rear brake without losing their grip or steering control. Do not permit riding if braking feels inconsistent, the lever reaches an unusable position, parts rub or loosen, or the result is uncertain. Have a mechanic inspect it instead.
How the supplied bikes help with comparison
The catalog options show why the brake must be identified rather than treated as universal. The 24-Inch Purple XJD Beach Cruiser Bike with U-Brake and XJD 24-Inch Green Beach Cruiser Bike with U-Brake are 24-inch U-brake reference points. The 26-Inch XJD Beach Cruiser Bike for Girls – Purple, V-Brake is a 26-inch V-brake reference point, with catalog SKU labels also listing 20-, 24- and 26-inch choices in specified colors. These products help compare wheel-size labels and named brake types, but they do not establish compatibility with another child’s bicycle.
 24-Inch Purple XJD Beach Cruiser Bike with U-Brake
A 24-inch beach cruiser catalog option identified with a U-brake, useful as a brake-type and wheel-size comparison point rather than proof of compatibility with another bike.
 26-Inch XJD Beach Cruiser Bike for Girls – Purple, V-Brake
A 26-inch purple beach cruiser title identified with a V-brake; its SKU labels also include selected 20-, 24- and 26-inch color choices for size-label comparison.
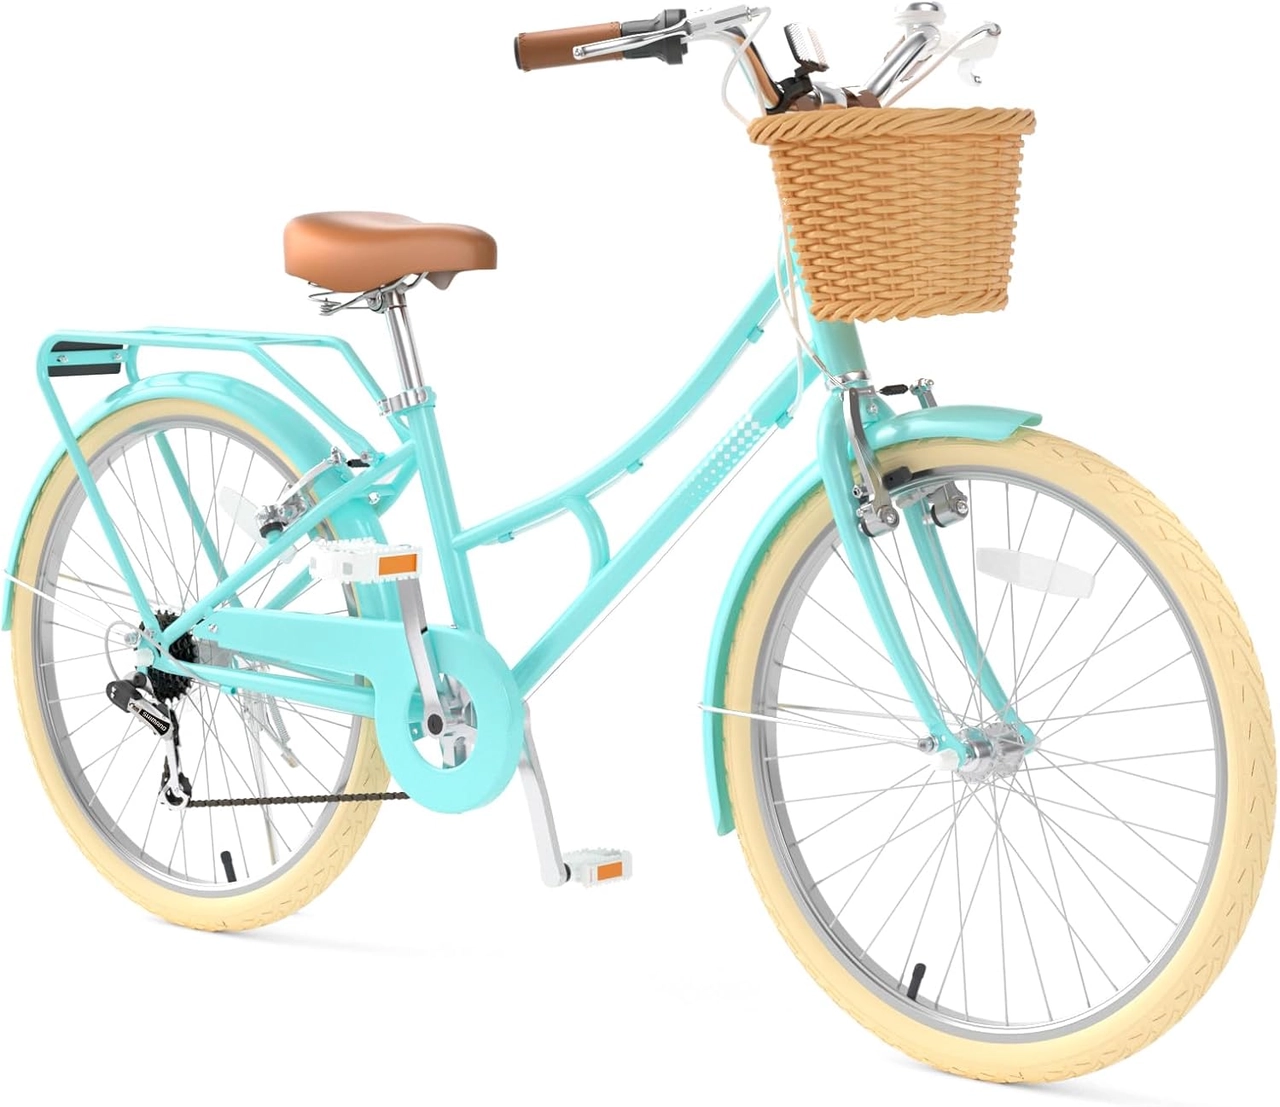 XJD 24-Inch Green Beach Cruiser Bike with U-Brake
A 24-inch green beach cruiser catalog option identified with a U-brake, relevant when distinguishing U-brake examples from V-brake instructions and checking wheel-size fit separately.
No single wheel size is requested in the title, so choose by the child’s measurements and control rather than assuming one of these sizes fits. A U-brake example is not a substitute for V-brake instructions, or vice versa. Use the manual for the exact bicycle and brake.
The final go-or-stop decision
Proceed only when the bicycle fits the rider, every required part matches, the rear brake connects exactly as its manual specifies, and all stationary and low-speed checks pass. Before riding, provide a properly fitting bicycle helmet that sits level and has its straps used according to the helmet manufacturer’s instructions. If any connection, adjustment, fit or brake response remains doubtful, keep the bike unridden and take it to a qualified bicycle mechanic.
Bikes for your next adventure
-

Kids Bike Helmet by XJD for Boys & Girls – Black, Blue, Green, Pink, Purple
The XJD Kids Bike Helmet covers a wide 2-to-8-year age range thanks to two head-…$59.99
-

Kids Bike Helmet by XJD for Girls – Pink
The XJD Kids Bike Helmet in Pink is a lightweight multi-sport helmet for girls r…$59.99
$99 -

XJD Kids Bike for Girls – Pink, 12/14/16/20 Inch with Training Wheels
The XJD Kids Bike for Girls in Pink is a training-wheel bike built to carry your…$139
$159