

How to help a child to ride a bike
Help a child ride a bike by choosing a size they can control, fitting a helmet correctly, and teaching balance, braking, steering and pedalling in small steps.
Measure the child before choosing the bike
Measure the child’s height without shoes. Also measure inseam from the floor to the crotch while the child stands straight. Height gives you a wheel-size starting point; inseam helps you judge whether the child can stand over the bicycle comfortably.
Use the XBikes ranges below for an initial comparison, never as a substitute for trying the bicycle:
| Wheel size | Starting age | Rider height |
|---|---|---|
| 12 Inch | 3–4 | 34–40 in / 86–102 cm |
| 14 Inch | 3–6 | 37–45 in / 94–114 cm |
| 16 Inch | 4–7 | 40–48 in / 102–122 cm |
| 18 Inch | 5–9 | 43–52 in / 109–132 cm |
| 20 Inch | 7–12 | 48–60 in / 122–152 cm |
| 24 Inch | 10–14 | 54–64 in / 137–163 cm |
| 26 Inch | Youth and adults | Over 60 in / 153 cm |
Where ranges overlap, prioritize measured height, inseam, reach, brake control and current confidence—not age. Do not buy an oversized bicycle merely for the child to grow into.
Check control before the first lesson
Have the child try the bicycle. They should be able to stand over it comfortably, reach the handlebar without stretching, turn it while staying balanced and operate the brakes confidently. If they cannot control the bicycle or reach its braking controls, choose a different fit even when their age or height falls inside a listed range.
Fit a bicycle helmet before riding. It must be the correct size, sit level on the head and have its straps adjusted according to the helmet manufacturer’s instructions. Clothing and shoelaces should be kept clear of moving parts.
Confirm that the bicycle is correctly assembled and ready to ride. For assembly, maintenance, fastener torque, load limits or component compatibility, follow the exact product manual or ask a qualified bicycle mechanic; those details cannot be inferred from wheel size.
Teach the skills in a calm sequence
- Start with stopping. In a flat, open area away from traffic, let the child practise using the brakes while stationary and then at walking pace.
- Build balance. Support the child lightly rather than holding the handlebar rigidly. Let them look ahead, move slowly and experience keeping the bicycle upright.
- Add steering. Set two nearby visual targets and ask the child to ride toward them with gentle turns.
- Add pedalling. Position a pedal for a strong first push, then encourage the child to look forward and keep pedalling rather than watching their feet.
- Combine and repeat. Practise starting, riding straight, turning and stopping in short sessions. End before fatigue or frustration reduces control.
If training wheels are used, they can support early pedalling practice, but the child still needs separate opportunities to learn balance. Progress based on demonstrated control and confidence, not a deadline.
Compare the supplied catalog options
These catalog options help because they provide wheel-size comparison points from 12 through 26 inches, including a training-wheel category for early practice and larger beach-cruiser categories for taller riders. The correct next step still depends on the individual fit checks above.
 Pink 12/14/16/20" XJD Girls Bike with Training Wheels & Basket
A Training Wheel Bike offered with 12, 14, 16 and 20 Inch SKU labels, making it relevant for comparing several early wheel-size starting points after measuring the rider.
 26-Inch XJD Beach Cruiser Bike for Girls – Purple, V-Brake
A Beach Cruiser Bike with supplied 20, 24 and 26 Inch size-and-color labels. It is relevant for taller riders only when measurements, reach and brake control confirm the fit.
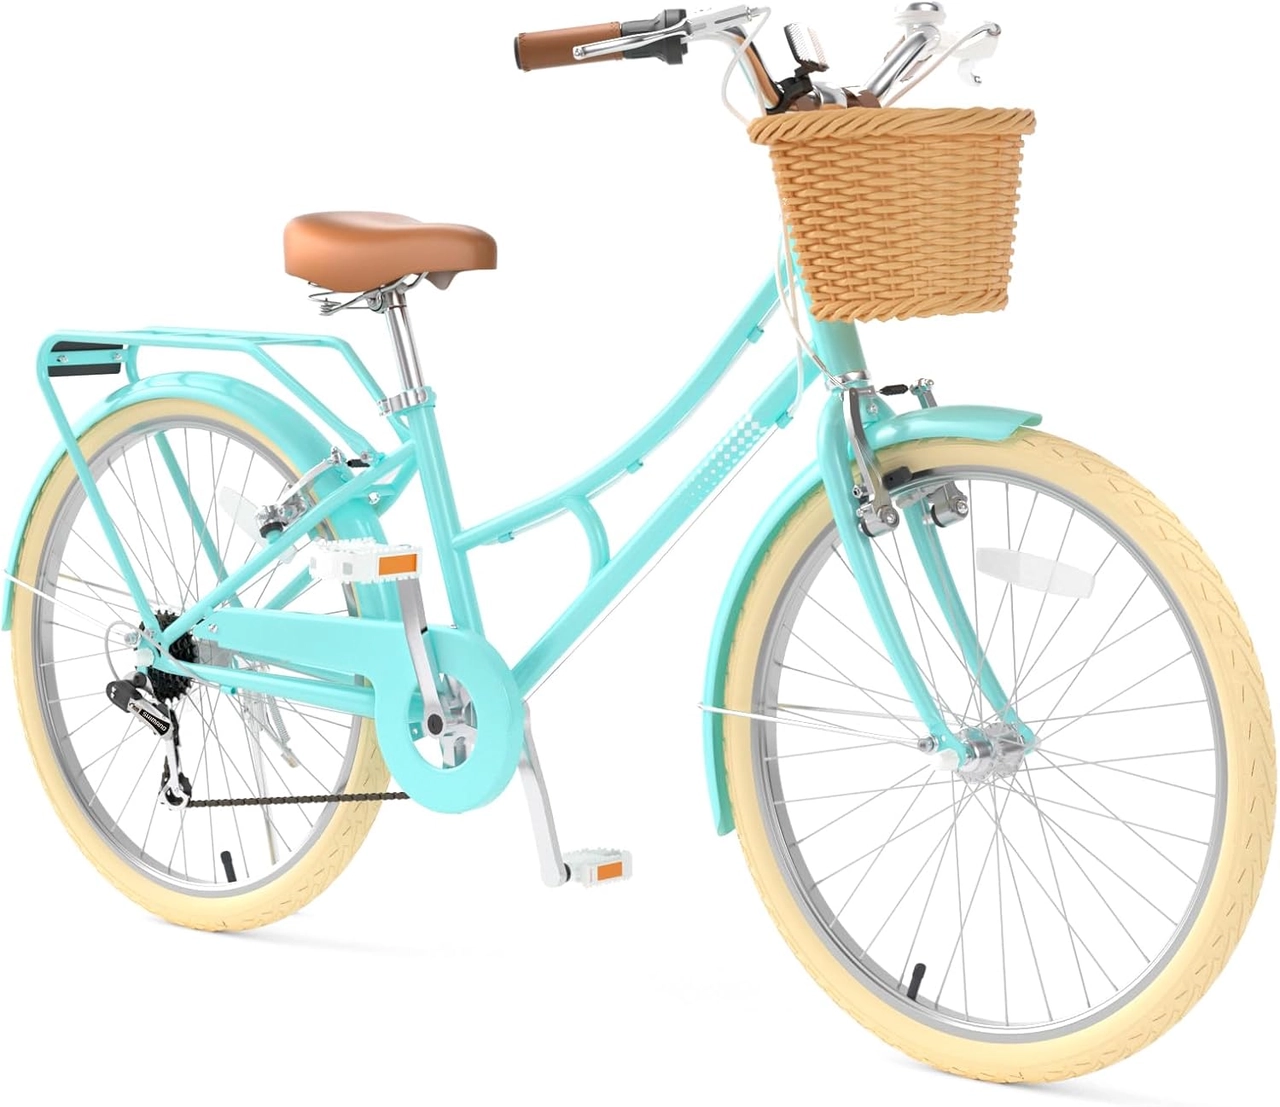 XJD 24-Inch Green Beach Cruiser Bike with U-Brake
A Beach Cruiser Bike supplied in 24 Inch and 26 Inch size-and-color choices. Use it as a larger-wheel comparison point, subject to an individual hands-on fit check.
Smaller starting points
Pink 12/14/16/20" XJD Girls Bike with Training Wheels & Basket is categorized as a Training Wheel Bike and has 12 Inch, 14 Inch, 16 Inch and 20 Inch SKU labels. Compare the child’s measured height with the relevant row, then verify stand-over room, reach and brake operation on the chosen size. It does not provide an 18-inch option.
Larger comparison points
26-Inch XJD Beach Cruiser Bike for Girls – Purple, V-Brake is categorized as a Beach Cruiser Bike. Its supplied labels cover 20, 24 and 26 inches in specified colors. Those sizes span different fit ranges and are not interchangeable; use the label matching the measured-height starting point and confirm actual control.
XJD 24-Inch Green Beach Cruiser Bike with U-Brake is also categorized as a Beach Cruiser Bike. Its supplied choices are Green / 24 Inch, Pink / 24 Inch and Pink / 26 Inch. It is relevant only when the rider’s measurements and hands-on fit support one of those wheel sizes.
If the child needs an 18-inch wheel, none of these supplied products is an exact match. The listed 16- and 20-inch options are nearest-size comparison points, not substitutes for 18 inches.
Decide what to do next
Record height and inseam, identify the starting wheel-size range, and have the child try that size. Proceed only when they can stand over the bike, reach comfortably, steer and operate the brakes. Fit the helmet, confirm assembly from the manual, then practise stopping, balance, steering and pedalling in that order. If any control check fails, change the fit before continuing the lesson.
Bikes for your next adventure
-

Kids Bike Helmet by XJD for Boys & Girls – Black, Blue, Green, Pink, Purple
The XJD Kids Bike Helmet covers a wide 2-to-8-year age range thanks to two head-…$59.99
-

Kids Bike Helmet by XJD for Girls – Pink
The XJD Kids Bike Helmet in Pink is a lightweight multi-sport helmet for girls r…$59.99
$99 -

XJD Kids Bike for Girls – Pink, 12/14/16/20 Inch with Training Wheels
The XJD Kids Bike for Girls in Pink is a training-wheel bike built to carry your…$139
$159