

How to help a kid ride a bike
Help a kid ride a bike by choosing a size they can control, fitting a helmet correctly, and practicing balance, braking and starts in a quiet open area.
Measure the rider before choosing a bike
Start with the child’s height and inseam rather than age. Measure height without shoes, standing straight against a wall. For inseam, have the child stand with feet slightly apart and measure from the floor to the crotch. Use those measurements to narrow the options, then have the child try the actual bicycle.
Age is only a starting point because children of the same age can differ in proportions, coordination and confidence. XBikes uses these wheel-size starting points:
| Wheel size | Age starting point | Rider height |
|---|---|---|
| 12 Inch | 3–4 | 34–40 in / 86–102 cm |
| 14 Inch | 3–6 | 37–45 in / 94–114 cm |
| 16 Inch | 4–7 | 40–48 in / 102–122 cm |
| 18 Inch | 5–9 | 43–52 in / 109–132 cm |
| 20 Inch | 7–12 | 48–60 in / 122–152 cm |
| 24 Inch | 10–14 | 54–64 in / 137–163 cm |
| 26 Inch | Youth and adults | Over 60 in / 153 cm |
Do not choose an oversized bike merely to allow room for growth. A bike that fits now gives the rider a better chance to stop, steer and recover from a wobble.
Check control on the actual bicycle
Ask the child to stand over the bike and confirm that they can support themselves confidently. Next, seat them on it and watch their reach to the handlebar: they should not need to stretch, lock their elbows or twist forward to steer.
Have them place their hands in the normal riding position and operate the brakes. They need to reach and use the controls without shifting their hands into an unstable position. Also notice whether they can put a foot down promptly when stopping. If stand-over, reach or brake control is doubtful, compare a different size or design.
Prepare the bike and helmet
Before practice, check that the bicycle is assembled and adjusted for its rider. Follow the exact product manual for assembly, maintenance, compatibility and any torque or load limits. If anything is unclear, loose or difficult to adjust, use a qualified bicycle mechanic.
A bicycle helmet must fit properly, sit level on the child’s head and have its straps arranged according to the helmet manufacturer’s instructions. Replace guesswork with a fit check every time the helmet or hairstyle changes.
Teach balance, braking and starts in that order
Choose a quiet, open, level area away from traffic, parked cars and obstacles. Keep sessions short enough that frustration and fatigue do not take over.
- Balance: Let the child practice looking ahead, moving in a straight line and putting a foot down deliberately. Give light support only when needed; avoid pulling the handlebar because that interferes with steering.
- Braking: While moving slowly, have the rider practice applying the available brakes smoothly and stopping at a chosen marker. Confirm that they can stop without panic before adding speed.
- Starting: Position a pedal for a strong first push, have the child look forward, and encourage one committed pedal stroke followed by steady pedaling.
- Turning: Add wide turns only after straight starts and controlled stops are repeatable. Progress to tighter turns gradually.
Stand close enough to assist, but reduce support as balance improves. Describe one correction at a time, such as “look ahead” or “brake smoothly,” so the child has a clear next action.
Use the catalog options as fit comparisons
The supplied catalog option helps families compare 20-, 24- and 26-inch starting points when the rider is tall enough for those ranges. It does not replace measuring height, checking inseam, or testing stand-over, reach and brake control on the actual bike.
The 26-Inch XJD Beach Cruiser Bike for Girls – Purple, V-Brake is listed with Mint Green options in 20, 24 and 26 Inch, Pink options in 20, 24 and 26 Inch, and Purple in 26 Inch. Those labels make it useful for comparing relevant wheel sizes, while color does not establish fit. The exact product title identifies the Purple 26-inch version and V-Brake; it provides no evidence that every child can reach or operate that brake comfortably.
These particular catalog options help answer the sizing part of the question because they span three wheel-size starting points. Consider 20 Inch for a measured rider 48–60 in / 122–152 cm, 24 Inch for 54–64 in / 137–163 cm, and 26 Inch only for a youth or adult over 60 in / 153 cm, followed in every case by an individual fit check.

Decide what to do next
Measure the child today, select the corresponding wheel-size starting point, and arrange an actual try-on. Proceed only when the rider can stand over the bike, reach the handlebar and brakes, steer, stop and put a foot down with current confidence. Then fit the helmet and begin with balance and braking before practicing independent starts.
Bikes for your next adventure
-
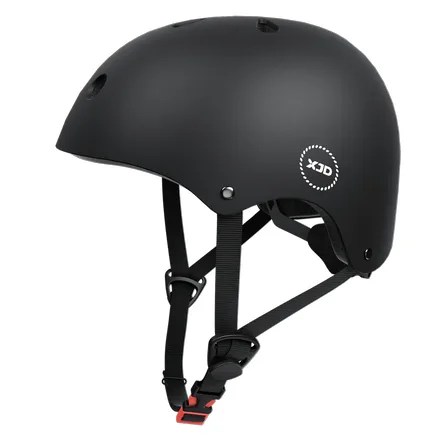
7-in-1 Kids Helmet & Protective Gear Set from XJD – Black or Blue
If you're outfitting one kid (or a couple of siblings) for biking, scootering, o…$59.99
-
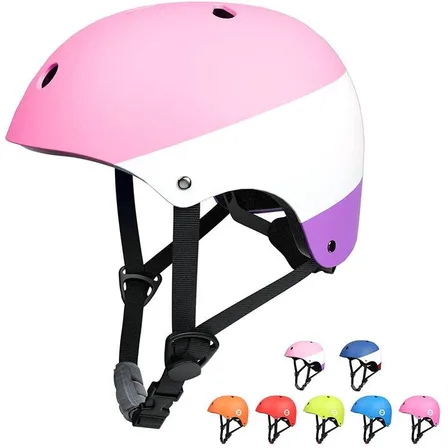
XJD Kids Bike Helmet for Boys & Girls, B White / Pink White
The XJD Kids Bike Helmet covers a wide age range — suggested for ages 2 through …$59.99
-

Blue XJD Girls Bike with Training Wheels – 12/14/16 Inch
If you're shopping for a first pedal bike for a daughter roughly 3 to 8 years ol…$149
$169