

How to help a kid ride their bike
Help a kid ride their bike by checking fit first, choosing a quiet practice area, teaching one skill at a time, and staying close without steering for them.
Measure the rider before the first ride
Measure the child’s standing height, then check inseam against the actual bicycle rather than choosing by age alone. With shoes on, have the child straddle the frame. They need comfortable stand-over clearance and must be able to mount, stop and step off without the bicycle trapping or intimidating them.
Next, watch the seated position. The child should reach the handlebar without stretching, twisting or locking their arms. Check that they can operate each brake control with their hands in a stable riding position. If they cannot reach or control the brakes confidently, the bicycle does not fit for independent riding.
Do not buy an oversized bicycle for the child to grow into. A child who is worried about balance, reach or stopping will struggle to practise the movements that build confidence.
Use wheel size only as a starting point
| Wheel size | Age starting point | Rider-height starting point |
|---|---|---|
| 12 Inch | Ages 3–4 | 34–40 in / 86–102 cm |
| 14 Inch | Ages 3–6 | 37–45 in / 94–114 cm |
| 16 Inch | Ages 4–7 | 40–48 in / 102–122 cm |
| 18 Inch | Ages 5–9 | 43–52 in / 109–132 cm |
| 20 Inch | Ages 7–12 | 48–60 in / 122–152 cm |
| 24 Inch | Ages 10–14 | 54–64 in / 137–163 cm |
| 26 Inch | Youth and adults | Over 60 in / 153 cm |
These ranges narrow the search; they do not prove that a bicycle fits. Prioritize measured height, inseam, reach, brake control and the child’s current confidence. Compare the child with the actual bicycle before deciding.
Prepare the bike, helmet and practice space
Before practice, confirm that the bicycle is assembled and maintained according to its exact product manual. If anything is loose, damaged, unfamiliar or difficult to adjust, use a qualified bicycle mechanic rather than guessing about procedures, compatibility or torque.
A bicycle helmet must fit properly, sit level and have its straps arranged according to the helmet manufacturer’s instructions. Choose a quiet, open, level area away from traffic, parked vehicles, steep slopes and avoidable obstacles. The child should wear secure footwear and clothing that will not interfere with moving parts.
Teach control in a useful order
- Mount and stop: Let the child practise getting on, holding the handlebar, using the brakes and stepping down. Stopping should feel predictable before speed is added.
- Balance and look ahead: Encourage a relaxed grip and eyes toward the intended path rather than fixed on the front wheel. Walk beside the child if reassurance is needed.
- Start moving: Have the child set off when ready. Give brief cues, then allow time to respond instead of issuing several instructions at once.
- Steer gently: Use wide turns and a clear target. Avoid grabbing the handlebar, which can take control away just as the child is learning it.
- Repeat starts and controlled stops: Short, successful attempts are more useful than continuing after fatigue or frustration appears.
If you provide physical support, steady the child or bicycle lightly and explain before letting go. The goal is to reduce assistance gradually while preserving the child’s control of steering and braking.
Know whether these catalog options are relevant
The supplied catalog choices help families compare 24 Inch and 26 Inch beach cruiser options once measurements point to those sizes. They are not substitutes for a smaller learning bike, and their catalog names do not establish an individual fit.
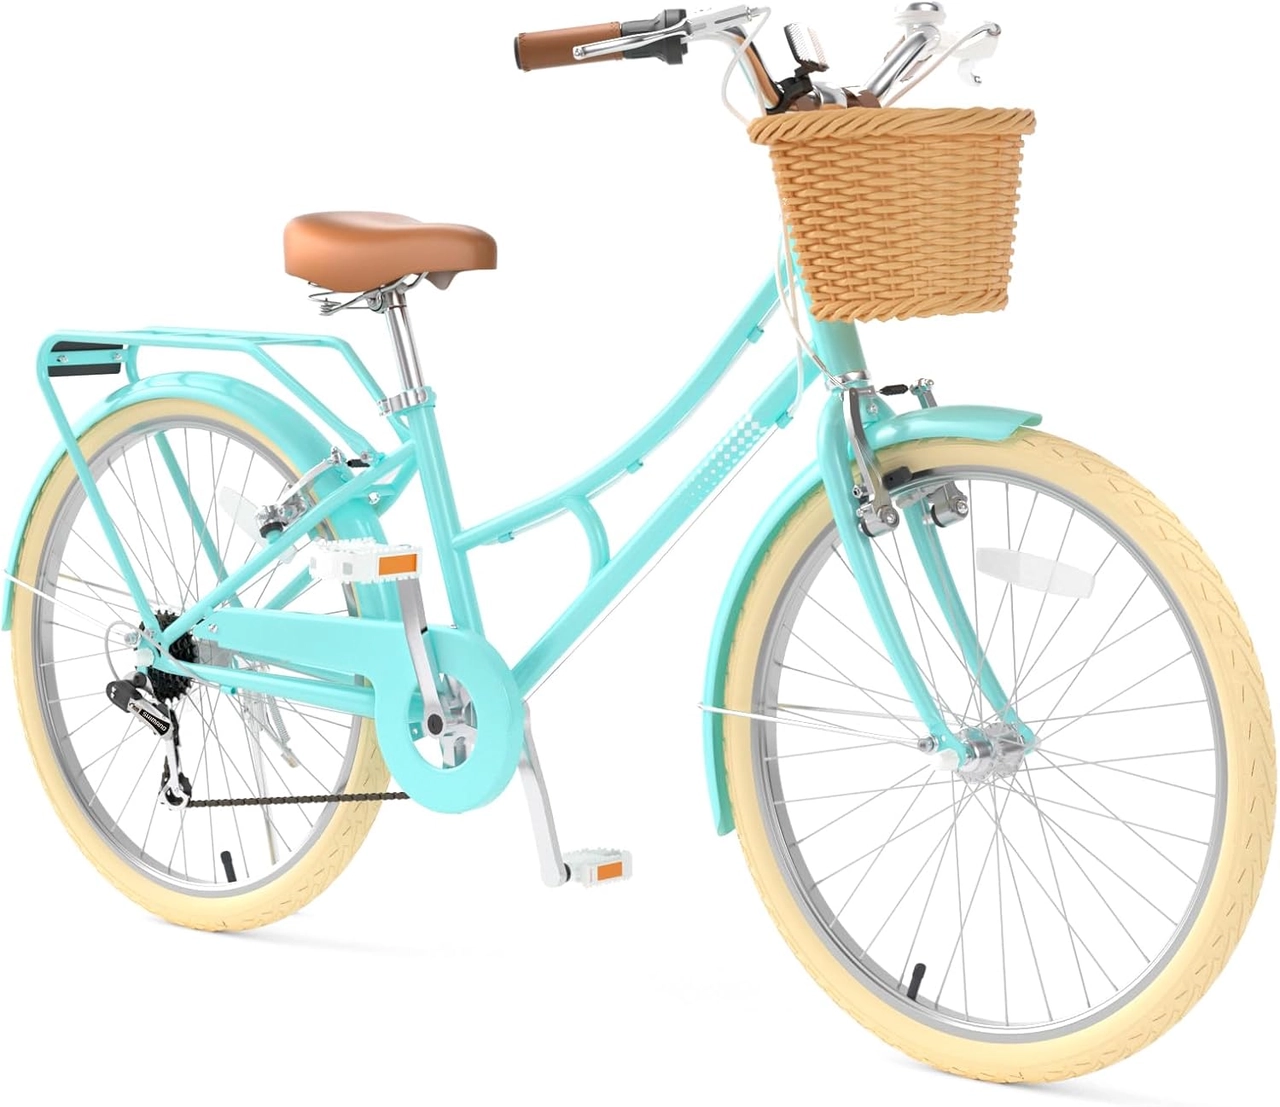 XJD 24-Inch Green Beach Cruiser Bike with U-Brake
A 24 Inch or 26 Inch beach cruiser comparison option, depending on SKU. Use the rider’s measured height and an individual check of stand-over, reach, brake control and confidence before choosing.
 Pink XJD Beach Cruiser Bike, 24"/26", U-Brake
This beach cruiser is available in 24 Inch and 26 Inch sizes. It is relevant only when the rider’s measurements indicate one of those starting points and the exact bicycle passes an individual fit check.
The XJD 24-Inch Green Beach Cruiser Bike with U-Brake is listed with Green / 24 Inch, Pink / 24 Inch and Pink / 26 Inch SKU labels. The Pink XJD Beach Cruiser Bike, 24"/26", U-Brake is listed in 24 Inch and 26 Inch sizes.
For a rider measuring 54–64 in / 137–163 cm, a 24 Inch version is a starting comparison point. For youth and adults over 60 in / 153 cm, a 26 Inch version is a starting point. Color can be chosen after fit; it does not change the need to compare stand-over clearance, reach, brake control and confidence on the exact bicycle.
If the rider’s measurements indicate 12, 14, 16, 18 or 20 Inch wheels, neither supplied product provides that exact wheel size. Treat the catalog bikes only as larger-size comparison points, not equivalent replacements.
Decide what to do next
Measure the child, identify the wheel-size starting point, and arrange an individual fit check. Proceed only when the child can straddle, reach, steer and operate the brakes confidently. Then practise mounting, balancing, starting and stopping in a calm space; if those controls remain difficult, pause and reassess fit before the next ride.
Bikes for your next adventure
-
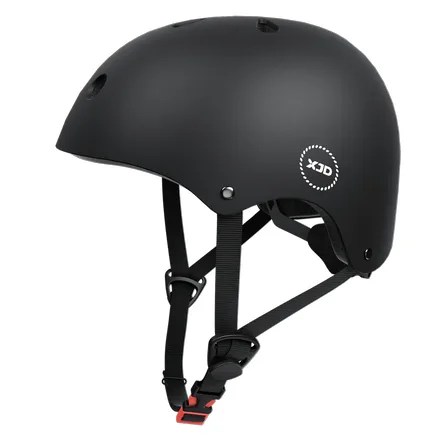
7-in-1 Kids Helmet & Protective Gear Set from XJD – Black or Blue
If you're outfitting one kid (or a couple of siblings) for biking, scootering, o…$59.99
-
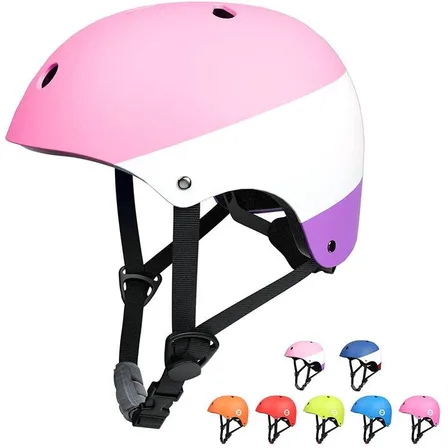
XJD Kids Bike Helmet for Boys & Girls, B White / Pink White
The XJD Kids Bike Helmet covers a wide age range — suggested for ages 2 through …$59.99
-

Blue XJD Girls Bike with Training Wheels – 12/14/16 Inch
If you're shopping for a first pedal bike for a daughter roughly 3 to 8 years ol…$149
$169