

How to make own infant seat for your bike trailer
Do not make your own infant seat for a bike trailer. Use only an infant-support system explicitly approved for that exact trailer, and follow both the trailer and support manuals.
Why a homemade seat is the wrong next step
An improvised insert, cushion, sling or repurposed child seat may change harness positioning, head support and how the trailer carries its load. Without instructions from the trailer manufacturer, you cannot verify that a homemade arrangement is compatible with the frame, harness or intended passenger use.
First identify the trailer’s exact brand, model and model year. Read its manual for the minimum passenger requirements, approved accessories, seating configuration and any restrictions on cycling versus strolling. If the manual does not approve an infant-support accessory for use while cycling, do not create a substitute or assume that a stroller accessory is suitable on a bike ride.
What to measure and record
Measure the child rather than relying on age wording alone. Record seated height, shoulder height, hip width and current weight, then compare those measurements with the trailer and approved accessory manuals. The manuals—not a general chart—must determine passenger eligibility and load limits.
- Check whether the child can maintain the posture required by the manufacturer for the intended activity.
- Confirm that the harness lies in the positions shown in the manual and can be adjusted without adding padding behind the child.
- Check clearance around the head and helmet while the child is seated as instructed.
- Confirm that no insert interferes with buckles, straps, ventilation, the enclosure or another passenger position.
Do not invent attachment points, drill the trailer, tie an insert to its frame or use unapproved adapters. For missing compatibility, assembly, load-limit or torque information, consult the exact product manual or a qualified bicycle mechanic.
Compare the only appropriate options
Your comparison should be between the trailer manufacturer’s approved infant-support products, not between homemade designs. Match the exact trailer model and year, the accessory part or model number, the permitted activity, the child requirements and the prescribed harness arrangement. A similar-looking accessory from another trailer is not automatically equivalent.
If no approved option matches, the practical decision is to postpone towing the child by bicycle. Contact the manufacturer for written compatibility information or use a different age-appropriate transport method. A snug fit by itself does not establish compatibility.
Why the supplied bicycles are only later-stage references
The supplied XBikes products do not include an infant trailer seat or an infant-support accessory. They are relevant only as later-stage wheel-size comparison points for a child who is ready to ride a bicycle; they cannot replace the trailer manufacturer’s approved seating system or passenger requirements.
 XJD Boys & Girls BMX Bike with Training Wheels, 12/14/16" – Blue
A later-stage comparison only: this kids' BMX bike has 12 Inch, 14 Inch and 16 Inch options, but it is not an infant seat or trailer accessory.
 XJD Pink Beach Cruiser for Girls – Rear Rack & V-Brake
Its 20 Inch, 24 Inch and 26 Inch options may inform future bicycle sizing after an individual fit check; it has no supplied relevance to infant trailer seating.
 Girls' Training Wheel Bike by XJD with Basket – Purple
This training-wheel bike offers 14 Inch, 16 Inch and 20 Inch options for later rider-fit comparison, not as a substitute for an approved trailer infant-support system.
XJD Boys & Girls BMX Bike with Training Wheels, 12/14/16" – Blue is offered in 12 Inch, 14 Inch and 16 Inch labels. These sizes provide starting points for a future individual bike fit, not evidence that an infant is ready for a trailer or bicycle.
Girls' Training Wheel Bike by XJD with Basket – Purple is offered in 14 Inch, 16 Inch and 20 Inch labels. XJD Pink Beach Cruiser for Girls – Rear Rack & V-Brake is offered in 20 Inch, 24 Inch and 26 Inch labels. Neither product is a trailer-seat solution, and no listed size is equivalent to infant support.
Use wheel size only when the child is ready for a bicycle
For later bicycle shopping, use measured height as the starting point: 12 Inch corresponds to 34–40 in (86–102 cm); 14 Inch to 37–45 in (94–114 cm); 16 Inch to 40–48 in (102–122 cm); 20 Inch to 48–60 in (122–152 cm); 24 Inch to 54–64 in (137–163 cm); and 26 Inch to heights over 60 in (153 cm). These ranges are not trailer-seat standards.
Always have the rider try the bicycle. Prioritize measured height, inseam, stand-over clearance, reach, brake control and present confidence; never choose an oversized bicycle merely for growth. Product-title wording is a catalog label, not proof of fit.
Final checks before any family ride
- Locate the exact trailer manual and confirm that cycling with a passenger meeting the child’s measurements and abilities is permitted.
- Use only the specified seating and harness configuration, with an approved compatible accessory if one is required.
- Have a qualified bicycle mechanic inspect uncertainties involving the hitch, bicycle compatibility or assembly.
- Use a properly fitting bicycle helmet that sits level, with straps adjusted according to its manufacturer’s instructions, whenever the applicable product instructions require one.
If you cannot document approval for the exact trailer, accessory and cycling use, do not build an infant seat: wait or choose another transport method.
Bikes for your next adventure
-

Kids Bike Helmet by XJD for Girls – Pink
The XJD Kids Bike Helmet in Pink is a lightweight multi-sport helmet for girls r…$59.99
$99 -
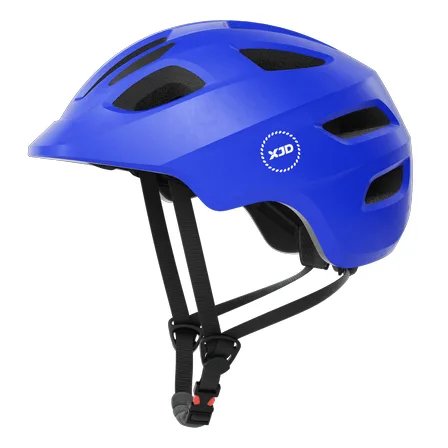
Blue XJD Kids Bike Helmet for Boys & Girls
The Blue XJD Kids Bike Helmet is a lightweight, adjustable multi-sport helmet fo…$59.99
$99 -
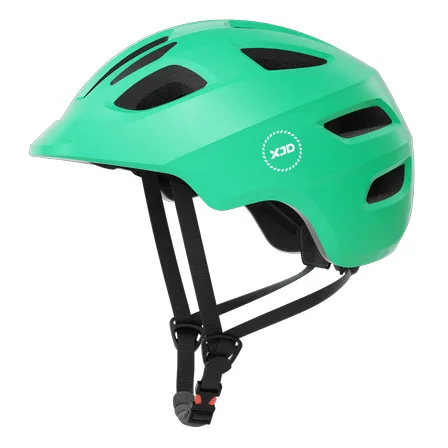
Green XJD Kids Bike Helmet for Boys & Girls
The Green XJD Kids Bike Helmet is a lightweight multi-sport helmet for toddlers …$59.99
$99