

How to measure a 16 inch bike
To measure a 16 inch bike, measure the wheel across its widest point through the axle, then confirm the size label on the tire or in the product manual. For rider fit, measure the child’s standing height and inseam, then check stand-over clearance, reach, brake control and confidence on the actual bicycle.
Measure the wheel size correctly
A “16 inch bike” is named for its wheel size, not its frame height or the child’s inseam. Place the bicycle upright on level ground. Measure across one wheel from one outer tire edge to the opposite outer tire edge, keeping the measuring line straight through the center of the axle.
Do not measure around the tire, diagonally across the wheel, or from the ground to the top of the tire and assume that is the wheel size. Tire shape and measuring position can affect the result. Treat your measurement as a practical check, then confirm the labeled size on the tire or consult the exact bicycle manual. If the measurement and label appear inconsistent, ask a qualified bicycle mechanic before choosing parts or deciding the bicycle’s size.
Measure the child, not just the bicycle
Have the child stand without shoes, upright against a wall. Measure from the floor to the top of the head for standing height. For inseam, measure from the floor straight up to the crotch while the child stands naturally. Use a book held level between the legs if that makes the upper measuring point easier to identify.
XBikes uses 16 Inch as a starting point for ages 4–7 and rider heights of 40–48 in / 102–122 cm. Height is more useful than age, but neither measurement proves fit. Children with the same height can have different leg length, arm reach and riding confidence.
Compare measurements with nearby wheel sizes
| Wheel size | XBikes age starting point | XBikes rider-height starting point |
|---|---|---|
| 14 Inch | Ages 3–6 | 37–45 in / 94–114 cm |
| 16 Inch | Ages 4–7 | 40–48 in / 102–122 cm |
| 18 Inch | Ages 5–9 | 43–52 in / 109–132 cm |
| 20 Inch | Ages 7–12 | 48–60 in / 122–152 cm |
Overlapping ranges are intentional starting points, not permission to choose by height alone. A child near a boundary should try the relevant sizes. Do not buy an oversized bicycle merely to allow room for growth; the child must be able to stand over, steer, stop and control the bicycle now.
Perform an individual fit check
Have the child try the assembled bicycle with close adult supervision. Check these points before accepting a 16 Inch model:
- Stand-over: The child can straddle the bicycle without the frame preventing a stable stance.
- Reach: The child can hold the handlebar and steer without stretching, locking the arms or losing a balanced posture.
- Brake control: The child can reach and operate the bicycle’s braking controls reliably. The exact control design varies, so follow the product manual.
- Starting and stopping: The child can get underway, stop and regain a secure stance without the bicycle overwhelming them.
- Confidence: The child remains attentive and in control rather than appearing fearful or unstable.
If any check fails, adjustment may or may not solve it. Follow the exact product manual for permitted adjustments, assembly and maintenance; use a qualified bicycle mechanic when instructions are missing or the setup is uncertain.
How the supplied 16 Inch options are relevant
The XJD Girls' Bike with Training Wheels, 12/14/16/20 Inch – Purple and the XJD Kids Bike for Girls – Pink, 12/14/16/20 Inch with Training Wheels both include catalog-labeled 16 Inch options. They therefore provide direct 16 Inch choices, while their 12 Inch, 14 Inch and 20 Inch variants are different sizes and must not be treated as equivalent. These particular options help because a parent can select the 16 Inch label after completing the measurement and fit checks above.
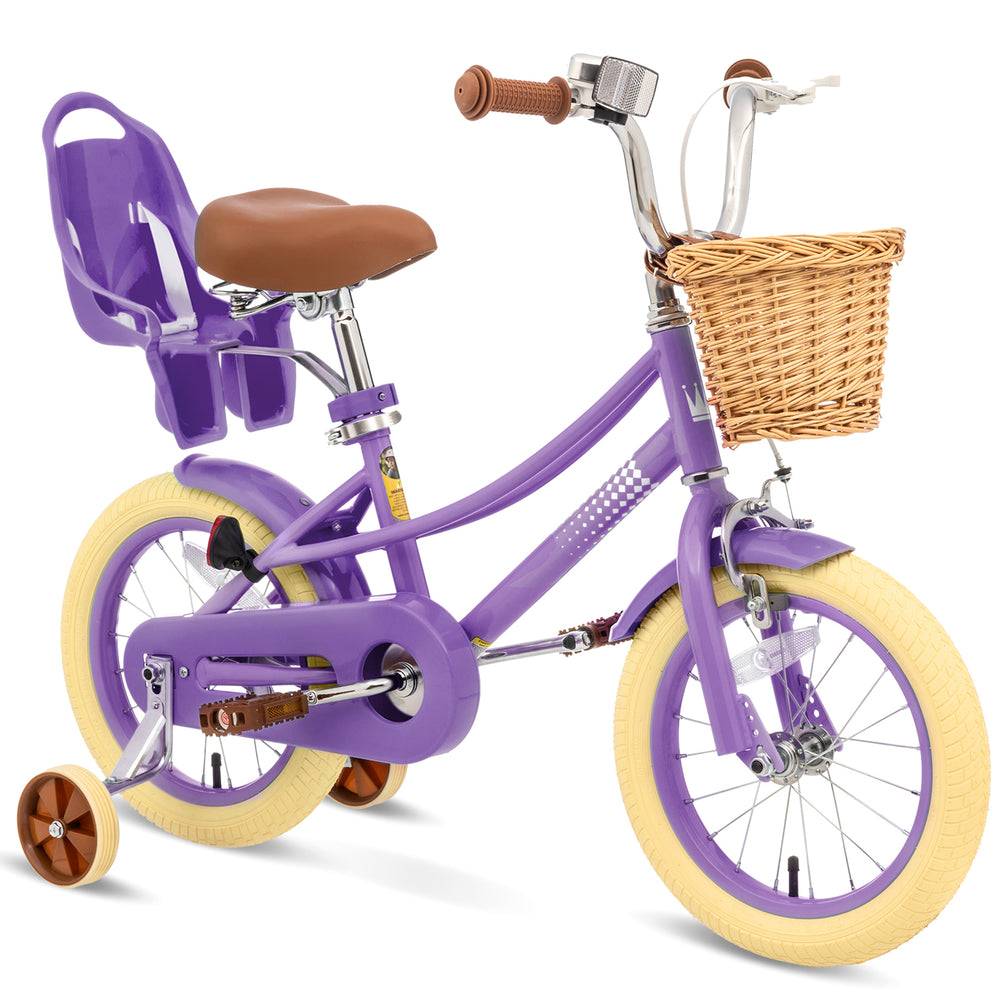 XJD Girls' Bike with Training Wheels, 12/14/16/20 Inch – Purple
Available with a catalog-labeled 16 Inch SKU, plus distinct 12 Inch, 14 Inch and 20 Inch options. Its training-wheel category is relevant, but individual stand-over, reach, brake control and confidence still require checking.
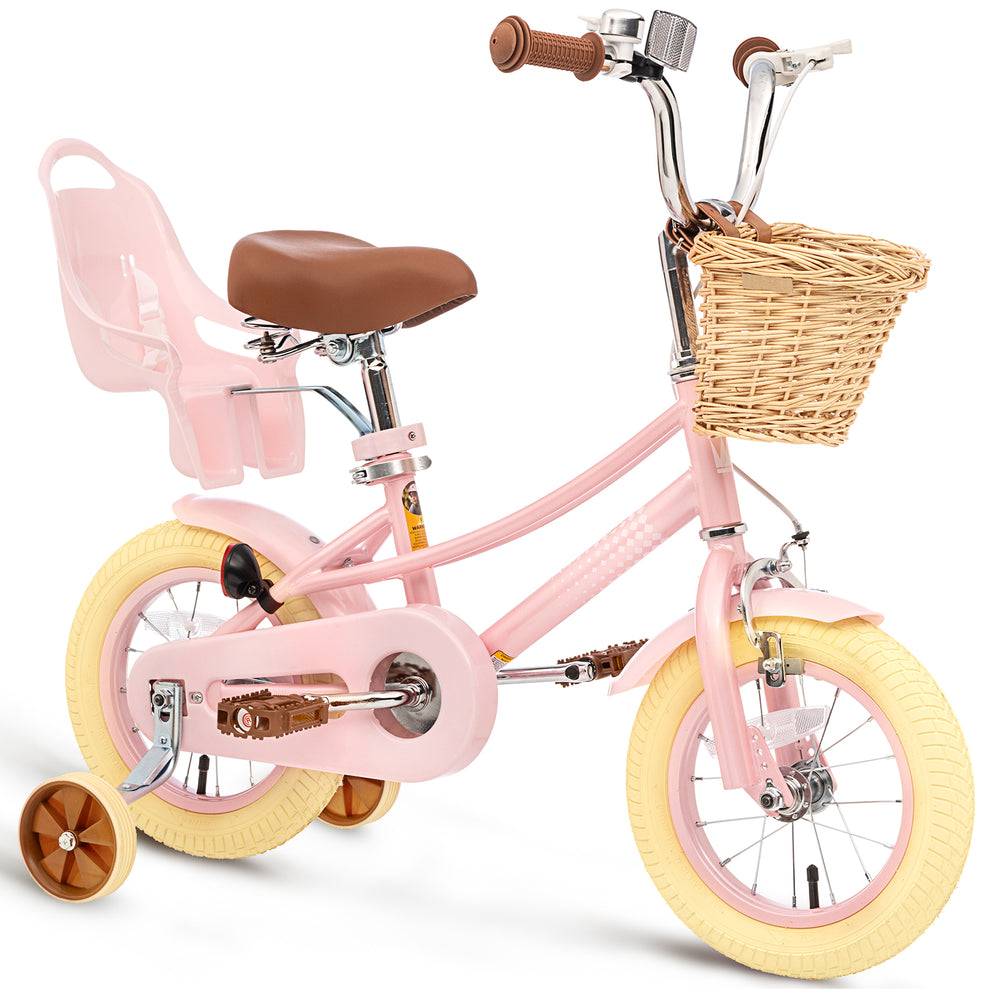 XJD Kids Bike for Girls – Pink, 12/14/16/20 Inch with Training Wheels
Offers a catalog-labeled 16 Inch SKU alongside separate 12 Inch, 14 Inch and 20 Inch sizes. Select by the exact SKU label, then confirm the child’s measurements and control of the actual bicycle.
Both supplied products are categorized as Training Wheel Bikes. That fact does not establish fit, brake reach, assembly details or whether training wheels suit the child’s current ability. Compare the exact selected SKU label and consult its product manual rather than inferring specifications from the title.
Finish the decision safely
Once the wheel label and child measurements point toward 16 Inch, repeat the fit check on the exact bicycle. If the child cannot stand over it comfortably, reach the controls, brake reliably and remain confident, do not choose it solely because the age or height range appears to match.
Complete the setup with a properly fitting bicycle helmet. It should sit level and its straps should be used according to the helmet manufacturer’s instructions. Your final decision is simple: choose the catalog-labeled 16 Inch version only when the measured child can control that exact bicycle today; otherwise try another size and reassess.
Bikes for your next adventure
-
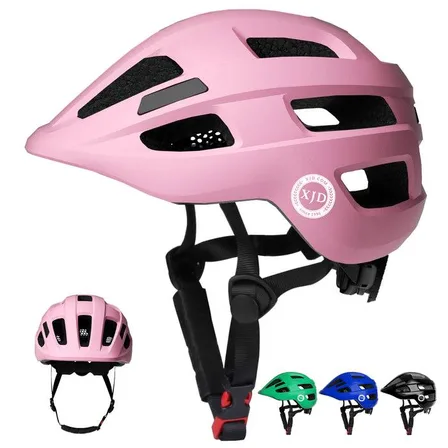
Kids Bike Helmet by XJD for Boys & Girls – Black, Blue, Green, Pink, Purple
The XJD Kids Bike Helmet covers a wide 2-to-8-year age range thanks to two head-…$59.99
-
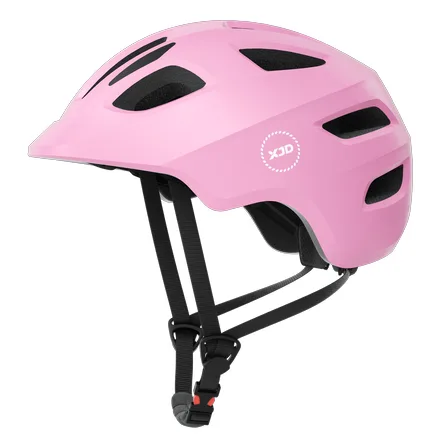
Kids Bike Helmet by XJD for Girls – Pink
The XJD Kids Bike Helmet in Pink is a lightweight multi-sport helmet for girls r…$59.99
$99 -
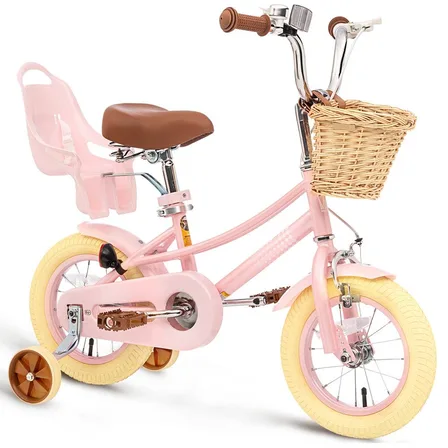
XJD Kids Bike for Girls – Pink, 12/14/16/20 Inch with Training Wheels
The XJD Kids Bike for Girls in Pink is a training-wheel bike built to carry your…$139
$159