

How to teach a teen to ride a bike
To teach a teen to ride a bike, begin with an individual fit check, practise balance before pedalling, then add starting, braking, turning and independent riding in a quiet traffic-free area.
Measure the rider before choosing the bike
Measure the teen’s height and inseam while they wear the shoes they will ride in. Compare the measured height with the XBikes starting points below, but do not choose by age or wheel label alone.
| Wheel size | Starting age | Rider height |
|---|---|---|
| 20 Inch | 7–12 | 48–60 in / 122–152 cm |
| 24 Inch | 10–14 | 54–64 in / 137–163 cm |
| 26 Inch | Youth and adults | Over 60 in / 153 cm |
These ranges overlap, so the correct next step is to have the teen try the bicycle. Do not buy an oversized bike for future growth. Check that they can stand over it comfortably, reach the handlebar without stretching, turn it with control and operate the brakes confidently. Follow the exact bicycle manual or ask a qualified bicycle mechanic about setup, assembly, adjustments, compatibility and torque.
Set up a low-pressure first session
Choose a wide, level, traffic-free paved area with plenty of stopping room. Avoid steep slopes, crowds, parked cars and other obstacles. A properly fitting bicycle helmet should sit level and be secured with its straps according to the helmet manufacturer’s instructions.
Before moving, show the teen how the bicycle’s controls work. Have them demonstrate that they can reach and apply the brakes while seated in a controlled position. If brake reach, stand-over clearance or steering feels uncertain, stop and correct the fit rather than trying to teach around the problem.
Teach balance before pedalling
Start with the saddle configured so the teen can put their feet down securely during balance practice, provided the bicycle manual permits the required adjustment. The goal is not speed: it is to feel the bike lean slightly and steer beneath the body.
- Ask the rider to move forward using short foot pushes.
- Progress to longer glides with both feet briefly lifted.
- Practise looking ahead rather than down at the front wheel.
- Add gentle steering toward a visible point, followed by a controlled stop.
Stand nearby without gripping the handlebar. If physical support is needed, keep it light and tell the rider before releasing it. Repeat short attempts and pause before fatigue or frustration begins to disrupt control.
Add pedalling, starts and stops
Once the teen can glide and steer consistently, introduce the pedals. Have them position one pedal for a strong first push, look ahead, press down and bring the second foot onto its pedal. A few metres of controlled travel is enough for the first success.
Next, alternate deliberate starts with planned stops. The rider should reduce speed smoothly, keep the bicycle straight and put a foot down only as the bike finishes stopping. Then practise broad turns in both directions before narrowing them. Move on only when the teen can start, ride, turn and stop without being held.
Know whether these catalog bikes are relevant
The supplied catalog choices help mainly as smaller training-wheel size comparisons. They show 12-, 14-, 16- and 20-inch options, while XBikes’ teen starting points commonly lead to a measured comparison with 24 or 26 inches. They are not substitutes for a larger required size, and most teens should not be moved onto a smaller bicycle merely because training wheels are listed.
 Girls' Training Wheel Bike by XJD with Basket – Purple
Available in 14, 16 and 20 Inch labels. The 20 Inch option is the closest teen-relevant comparison, but measured height, inseam, reach, brake control and confidence must determine fit.
 Flower Pink XJD Girls Bike with Doll Seat & Basket
Available in 12, 14 and 16 Inch labels. These are generally smaller child-size comparison points, not substitutes when a teen’s measurements indicate a 20, 24 or 26 Inch starting point.
Girls' Training Wheel Bike by XJD with Basket – Purple is listed in 14 Inch, 16 Inch and 20 Inch sizes. Only its 20-inch option approaches the teen-height comparison range, which begins at 48–60 in / 122–152 cm, and it still requires a complete individual fit check.
Flower Pink XJD Girls Bike with Doll Seat & Basket is listed in 12 Inch, 14 Inch and 16 Inch sizes. Under the XBikes starting points, those sizes correspond to shorter child-height ranges, so this is generally a comparison point rather than a likely teen fit. The title’s wording is a catalog label, not fit evidence.
Training wheels may also divert attention from the balance-first sequence. Consider either catalog bike only if its supplied wheel size matches the teen’s measured starting range and the rider can pass every stand-over, reach, steering and brake-control check.
Decide when the teen is ready to progress
Continue in the practice area until the rider can look ahead, hold a predictable line, start without assistance, turn both ways and stop at a chosen point. Traffic riding requires additional observation, signalling and road-rule skills; basic balance alone is not enough.
Your next action is simple: measure height and inseam, compare 20, 24 and 26 inches as applicable, arrange an actual fit check, and begin with gliding only after the teen can comfortably control the chosen bicycle and its brakes.
Bikes for your next adventure
-
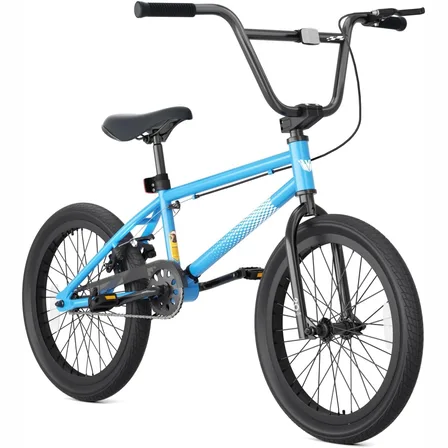
Blue XJD Freestyle BMX Bike, 20-Inch – No Pegs
The XJD 20-Inch Blue Freestyle BMX is an entry-level BMX bike for boys and girls…$189.99
-
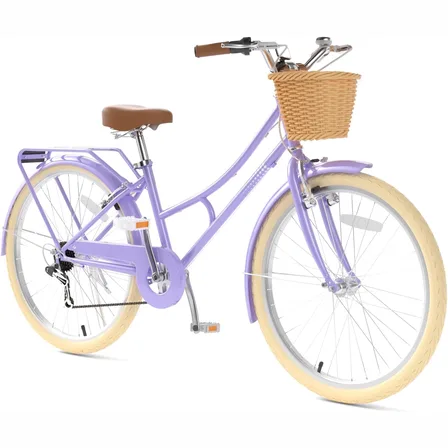
26-Inch XJD Beach Cruiser Bike for Girls – Purple, V-Brake
This XJD 26-inch purple beach cruiser is sized for big kids and teens — suggeste…$218.49
$229.99 -

Kids Bike Helmet by XJD for Boys & Girls – Black, Blue, Green, Pink, Purple
The XJD Kids Bike Helmet covers a wide 2-to-8-year age range thanks to two head-…$59.99