

How to teach an anxious child to ride a bike
Teach an anxious child to ride a bike by lowering the seat for confident foot contact, practising one skill at a time, and letting the child control the pace.
Measure before the first lesson
Measure the child’s height and inseam while they wear the shoes they will ride in. Use height to identify a starting wheel size, then have the child try the bicycle. Age is only a rough reference; confidence, reach and control matter more.
| Wheel size | XBikes starting point |
|---|---|
| 12 Inch | Ages 3–4; 34–40 in / 86–102 cm |
| 14 Inch | Ages 3–6; 37–45 in / 94–114 cm |
| 16 Inch | Ages 4–7; 40–48 in / 102–122 cm |
| 18 Inch | Ages 5–9; 43–52 in / 109–132 cm |
| 20 Inch | Ages 7–12; 48–60 in / 122–152 cm |
| 24 Inch | Ages 10–14; 54–64 in / 137–163 cm |
| 26 Inch | Youth and adults over 60 in / 153 cm |
On the actual bike, check that the child can stand over it comfortably, reach the handlebar without stretching and operate the brake controls reliably. Do not buy an oversized bicycle for future growth. If the child cannot control it now, a larger size can intensify anxiety rather than solve it.
Prepare a calm practice space
Choose a flat, open area away from traffic, crowds and obstacles. Avoid beginning on a steep slope. Fit the child’s bicycle helmet so it sits level, fits properly and uses its straps exactly as the helmet manufacturer directs. Secure loose clothing and check the bicycle according to its manual; ask a qualified bicycle mechanic about assembly, maintenance or adjustments you cannot verify.
Agree on a simple stop signal before moving. Tell the child what will happen during that session, such as “We will practise pushing and stopping for ten minutes.” A short, predictable session is easier to face than an open-ended demand to ride.
Teach control before pedalling
- Start stationary. Let the child mount, dismount, hold the handlebar and practise using the brakes while you keep the bike still.
- Walk the bike. Ask them to push it while standing beside it, steer around wide markers and stop on command.
- Scoot with feet available. Set the saddle only as appropriate for this learning stage and the bicycle’s instructions, so the child can make reassuring foot contact. Have them sit, push along with both feet and stop deliberately.
- Add brief glides. When scooting looks relaxed, invite the child to lift both feet for a moment. Increase glide time gradually without chasing distance.
- Introduce pedals last. Once steering, balance and stopping are consistent, practise placing a pedal in a useful starting position, pushing off and making a few turns.
Stay close enough to assist, but ask permission before holding the child or bicycle. If support is wanted, avoid sudden grabs that steer for them. Give one cue at a time: “look ahead,” “slow down,” or “use the brake.”
Respond to fear without making it the test
Use observable goals instead of “Be brave.” A successful lesson might be three controlled stops or one relaxed glide. Let the child choose between two manageable tasks, and finish after a small success when possible.
If shoulders rise, steering becomes erratic, or the child repeatedly asks to stop, pause. Name the specific difficulty and reduce it: return from pedalling to gliding, shorten the course, or remove an audience. Persistent inability to reach the controls or put a foot down confidently signals a fit problem, not a motivation problem.
Compare the supplied bikes only when size is relevant
The two supplied beach cruiser options are useful only for a taller learner whose measurements place them near a 24- or 26-inch starting point. Comparing their listed wheel sizes and brake label can help narrow what to try in person, but neither replaces stand-over, reach, brake-control and confidence checks.
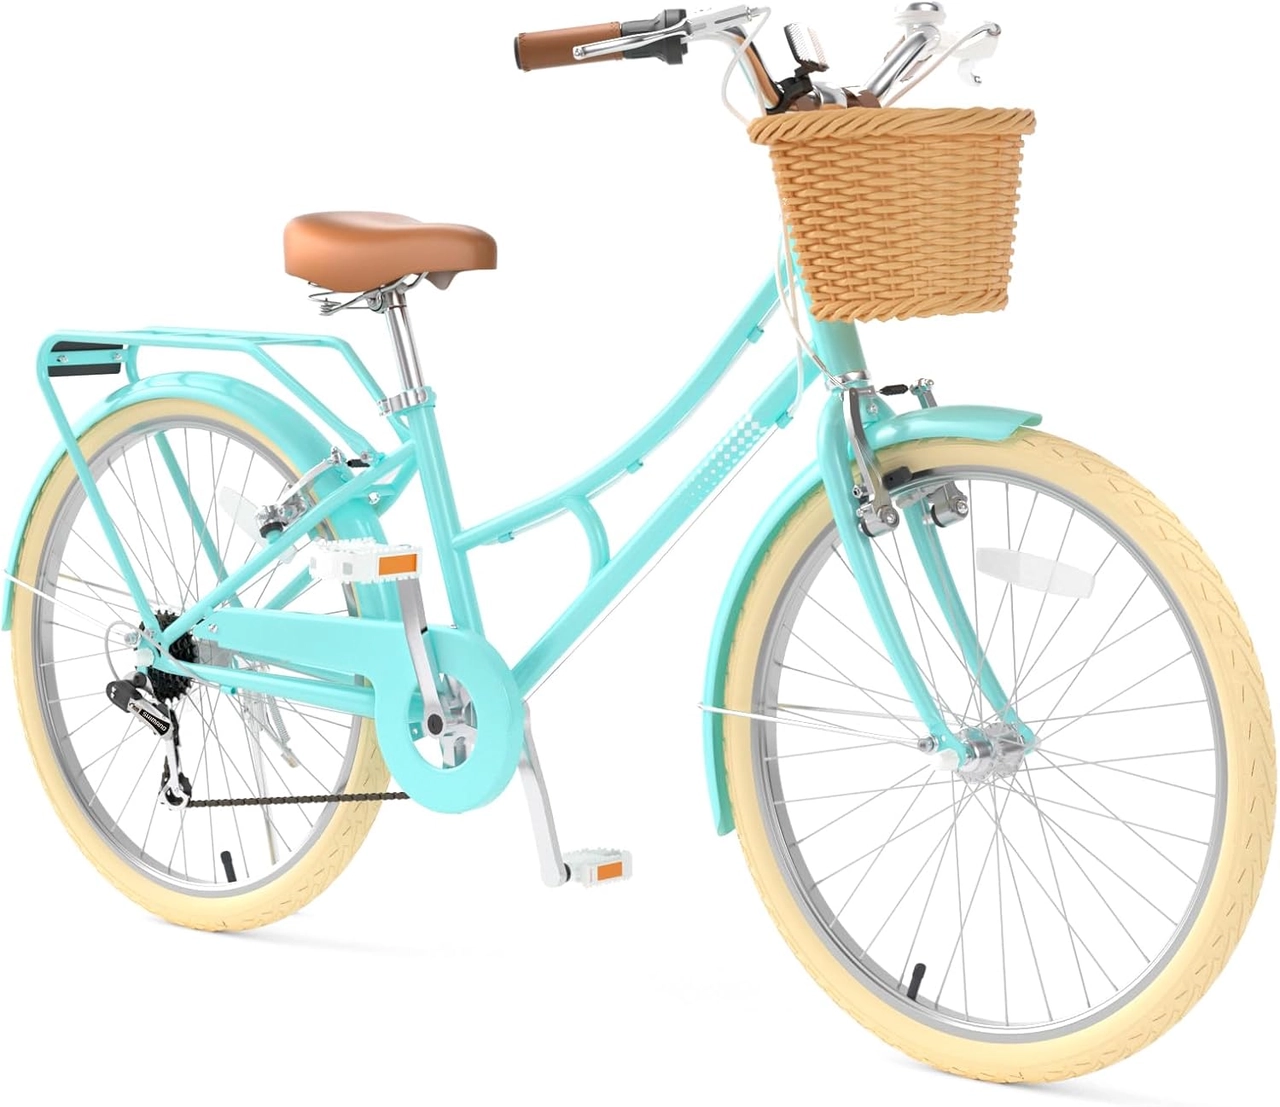 XJD 24-Inch Green Beach Cruiser Bike with U-Brake
A 24- or 26-inch beach cruiser comparison point with Green and Pink SKU labels and a U-Brake named in the catalog title; individual fit and confident brake control remain essential.
 Pink XJD Beach Cruiser Bike, 24"/26", U-Brake
This Pink XJD beach cruiser offers listed 24 Inch and 26 Inch variants and identifies a U-Brake in its title, making it relevant only when the learner’s measurements support those sizes.
XJD 24-Inch Green Beach Cruiser Bike with U-Brake is listed in Green / 24 Inch, Pink / 24 Inch and Pink / 26 Inch variants. Pink XJD Beach Cruiser Bike, 24"/26", U-Brake is listed in 24 Inch and 26 Inch variants. Both therefore offer 24- and 26-inch comparison points and identify a U-Brake in their catalog titles.
Under the XBikes starting points, 24 Inch corresponds to ages 10–14 and heights of 54–64 in / 137–163 cm; 26 Inch begins above 60 in / 153 cm for youth and adults. These ranges overlap, so height alone does not settle the choice. Have the learner try the exact variant and compare stand-over room, seated reach, steering control and whether they can use the brake confidently. If the child needs 12-, 14-, 16-, 18- or 20-inch wheels, these catalog products are larger comparison points, not equal substitutes.
Decide what to do next
Before the next session, record the child’s height and inseam, select a starting size from the table, and arrange an individual fit check. Then practise mounting, scooting and deliberate stops before adding pedals. Continue only while control and confidence are improving; if fit or braking remains uncertain, stop and have a qualified bicycle mechanic inspect the exact bike.
Bikes for your next adventure
-

Kids Bike Helmet by XJD for Boys & Girls – Black, Blue, Green, Pink, Purple
The XJD Kids Bike Helmet covers a wide 2-to-8-year age range thanks to two head-…$59.99
-

Kids Bike Helmet by XJD for Girls – Pink
The XJD Kids Bike Helmet in Pink is a lightweight multi-sport helmet for girls r…$59.99
$99 -

XJD Kids Bike for Girls – Pink, 12/14/16/20 Inch with Training Wheels
The XJD Kids Bike for Girls in Pink is a training-wheel bike built to carry your…$139
$159