

How to train a kid to ride a bicycle
Teach a child to ride by checking bicycle fit first, then practicing balance, braking, steering and pedaling in a quiet, level area.
Measure the child before practicing
Measure the child’s height and inseam while they are wearing the shoes they will ride in. Age is only a starting point. The decisive checks are whether the rider can stand over the bicycle, reach the handlebar without straining, operate the brakes, and control the bicycle confidently.
Use these XBikes wheel-size starting points, then have the child try the actual bicycle:
| Wheel size | Starting age | Rider height |
|---|---|---|
| 12 Inch | 3–4 | 34–40 in / 86–102 cm |
| 14 Inch | 3–6 | 37–45 in / 94–114 cm |
| 16 Inch | 4–7 | 40–48 in / 102–122 cm |
| 18 Inch | 5–9 | 43–52 in / 109–132 cm |
| 20 Inch | 7–12 | 48–60 in / 122–152 cm |
| 24 Inch | 10–14 | 54–64 in / 137–163 cm |
| 26 Inch | Youth and adults | Over 60 in / 153 cm |
Do not choose an oversized bicycle merely to allow room for growth. If the child cannot mount, stop, turn or reach the brake controls comfortably, select a different fit even when the age column appears suitable.
Set up a safe first session
Choose a broad, level space away from traffic, parked cars, steep slopes and obstacles. The child should wear closed-toe shoes and a bicycle helmet that fits properly. Place the helmet level on the head and adjust its straps according to the helmet manufacturer’s instructions.
Before riding, check that the bicycle is assembled and operating as its exact manual specifies. Because assembly procedures, torque values, load limits and maintenance details are not supplied here, consult that manual or ask a qualified bicycle mechanic when anything is uncertain.
Teach balance before pedaling
Begin with the child seated and able to stabilize the bicycle confidently. Have them move forward with short foot pushes, then lift both feet briefly and coast. Ask them to look toward the destination rather than down at the front wheel.
- Practice pushing and stopping with both feet available.
- Coast for progressively longer moments while keeping a relaxed grip.
- Steer around widely spaced markers using gentle turns.
- Repeat until the child can balance, look ahead and stop without being caught.
A parent can walk nearby and steady the child briefly at the upper body if needed. Avoid holding and steering the bicycle continuously; the rider needs to feel small balance corrections. Keep sessions short enough that fatigue or frustration does not replace control.
Add braking, then pedaling
Before increasing speed, teach the child which controls operate the brakes and confirm that their fingers can reach and use them. Practice squeezing smoothly while walking the bicycle, then while coasting. The goal is a controlled stop at a chosen marker, not an abrupt grab at the last moment.
Once balancing and braking are consistent, position one pedal for a strong first push. The child presses down, brings the other foot to its pedal, looks ahead and continues turning the pedals. Walk beside them without pulling the handlebar. Practice starting and stopping separately; these transitions often take longer than straight riding.
Compare the supplied 24- and 26-inch options
The supplied catalog choices become relevant only for a rider whose measurements and control checks point toward a 24- or 26-inch bicycle. XJD 24-Inch Green Beach Cruiser Bike with U-Brake is listed in Green / 24 Inch, Pink / 24 Inch and Pink / 26 Inch variants. Pink XJD Beach Cruiser Bike, 24"/26", U-Brake is listed in 24 Inch and 26 Inch variants. Both titles identify U-Brake models, but the catalog facts do not establish individual fit, brake reach or readiness.
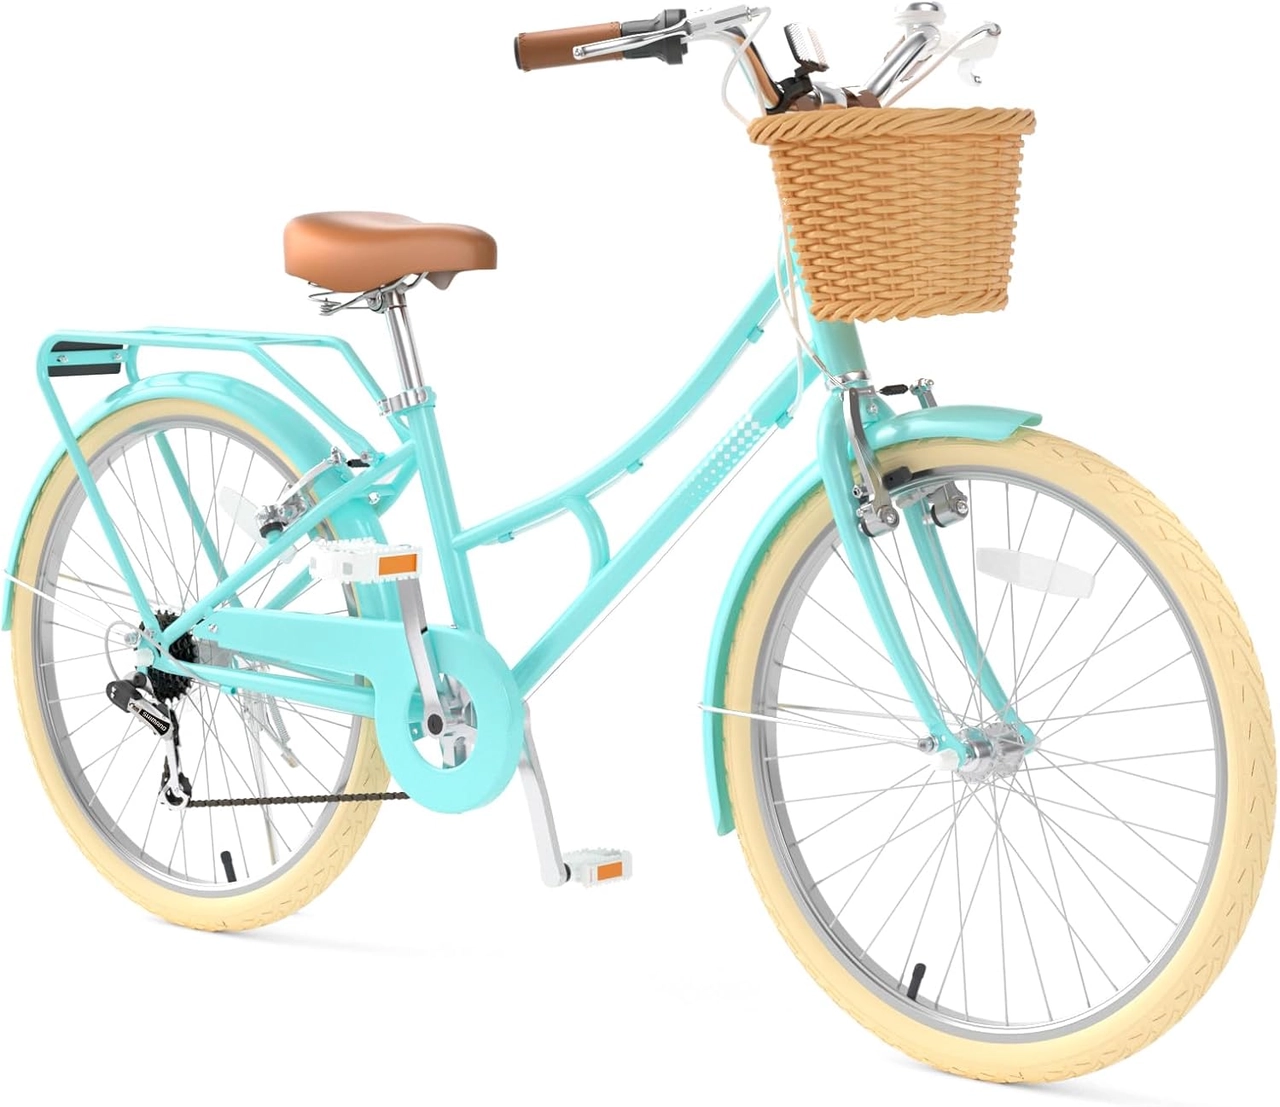 XJD 24-Inch Green Beach Cruiser Bike with U-Brake
A 24- or 26-inch U-Brake beach cruiser option to compare only when the rider’s measured height, reach, brake control and confidence support that size.
 Pink XJD Beach Cruiser Bike, 24"/26", U-Brake
Available in 24 Inch and 26 Inch with U-Brake; relevant as a fit-check comparison for appropriately sized riders, not as a substitute for smaller training bicycles.
Use the 24-inch versions as comparison points for riders around 54–64 in / 137–163 cm and generally ages 10–14. Use the 26-inch versions as comparison points for youth and adults over 60 in / 153 cm. These ranges overlap at their boundary, so compare the actual stand-over clearance, reach, brake control and confidence on each bicycle. Neither size should be treated as equivalent to a smaller training bicycle.
Know when to advance
Move from one skill to the next only when the child can repeat the current one without panic or constant physical support. They are ready for more space when they can start, travel in a straight line, make controlled turns, look around without swerving, and stop where requested.
If repeated wobbling, stretched arms, difficult brake reach or trouble touching down appears, pause and reassess fit rather than drilling the same exercise. Measure the rider again, compare the relevant wheel-size starting point, and try the bicycle in person. The next action is simple: confirm fit, practice coasting and stopping, then introduce pedaling only after those two skills are dependable.
Bikes for your next adventure
-
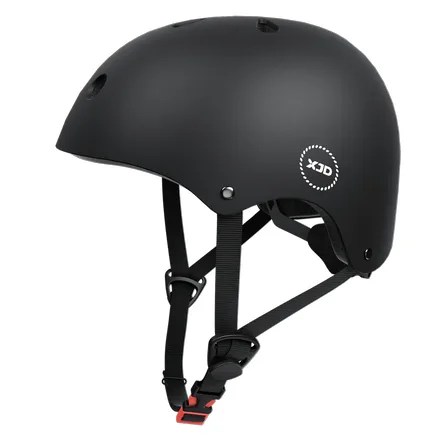
7-in-1 Kids Helmet & Protective Gear Set from XJD – Black or Blue
If you're outfitting one kid (or a couple of siblings) for biking, scootering, o…$59.99
-
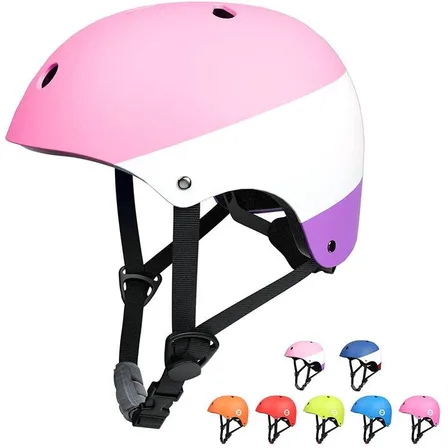
XJD Kids Bike Helmet for Boys & Girls, B White / Pink White
The XJD Kids Bike Helmet covers a wide age range — suggested for ages 2 through …$59.99
-

Blue XJD Girls Bike with Training Wheels – 12/14/16 Inch
If you're shopping for a first pedal bike for a daughter roughly 3 to 8 years ol…$149
$169