

When baby bike trailer
A baby should ride in a bike trailer only when they meet the trailer manufacturer’s minimum requirements, can maintain the required seated position, and wear a properly fitted helmet. Check the exact trailer and bicycle manuals before riding; age alone is not enough.
When is a baby ready for a bike trailer?
Start with the requirements printed in the manual for your exact trailer. Confirm the permitted passenger size, seating or support requirements, harness use, load limit, and whether the trailer is approved for cycling rather than strolling only. If any label or instruction is missing, contact the manufacturer instead of guessing.
Observe the child in the installed seat. They must be able to remain in the position required by the manual while wearing their helmet, without slumping or losing head control. If you are uncertain about developmental readiness, ask the child’s healthcare professional before taking a bicycle ride.
Do not use an infant insert, car seat, homemade support, or other accessory for cycling unless the trailer manufacturer explicitly permits that exact setup. An accessory intended for walking mode does not automatically make the trailer suitable for towing behind a bicycle.
What to measure and compare
- Child and cargo: Compare the child’s current measurements and the combined load with every limit in the trailer manual.
- Seated fit: Check the harness position, required posture, headroom, and clearance around the properly fitted helmet.
- Bicycle compatibility: Verify that the bicycle, axle or hitch arrangement, and trailer are approved to work together.
- Adult control: Consider whether the towing rider can start, steer, brake, turn, and stop smoothly with the added trailer.
- Route conditions: Choose a short, calm practice area away from traffic and avoid conditions prohibited by either manual.
For hitch installation, assembly, maintenance, load limits, compatibility, and torque settings, follow the exact product manuals or use a qualified bicycle mechanic. Those details vary, so a general procedure or invented number would be unsafe to rely on.
Prepare before the first ride
- Inspect the towing bicycle and trailer as directed by their manuals, including wheels, tires, brakes, hitch, safety retention parts, harness, and enclosure.
- Fit the child’s bicycle helmet properly. It should sit level, with its straps adjusted according to the helmet manufacturer’s instructions.
- Secure the child and any cargo exactly as the trailer instructions specify. Nothing should interfere with the wheels or shift during braking.
- Test the empty trailer first, then perform a brief controlled check with the passenger aboard. Stop if the child slumps, appears uncomfortable, or cannot maintain the required position.
- Recheck attachment and fit after the practice run before considering a longer outing.
How the supplied bicycles relate
The supplied XBikes products are not baby bike trailers and do not establish when a baby is ready to ride in one. They help only as later-stage bicycle comparisons: the catalog includes child-sized and larger wheel options that become relevant when a rider is ready to control an individual bicycle. They should not be attached to a trailer unless both exact manuals confirm compatibility.
 Pink 12/14/16/20" XJD Girls Bike with Training Wheels & Basket
A training-wheel bicycle with supplied 12, 14, 16, and 20 Inch labels. It is useful as a later independent-riding comparison, not as a baby trailer or passenger solution.
 26-Inch XJD Beach Cruiser Bike for Girls – Purple, V-Brake
A beach cruiser bicycle offered in supplied 20, 24, and 26 Inch variants. It applies to independent bicycle fit comparisons and does not determine baby trailer readiness.
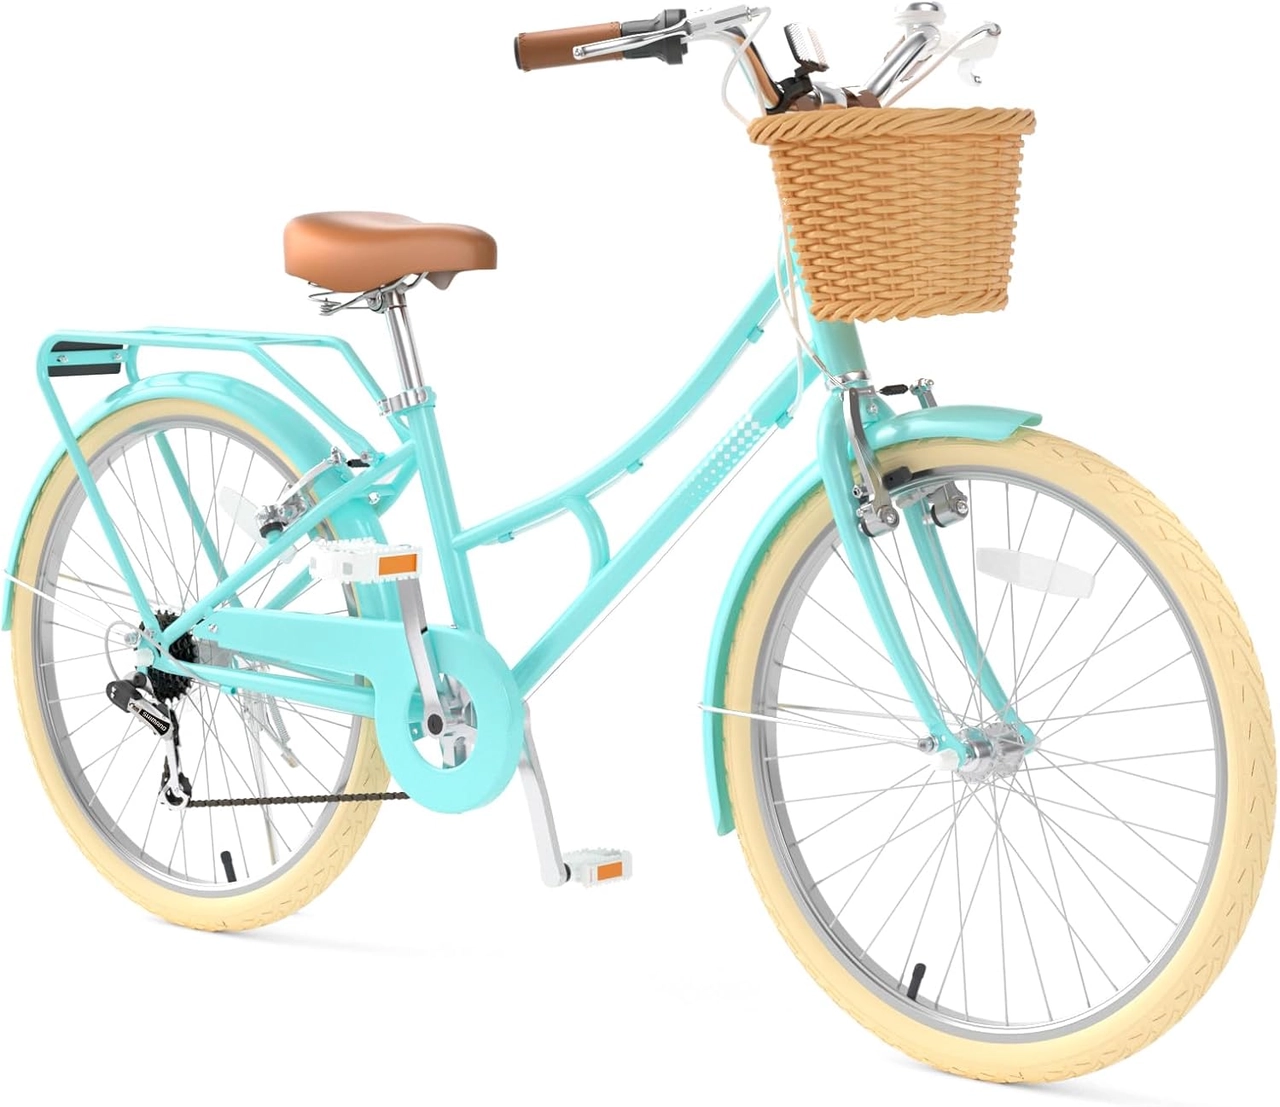 XJD 24-Inch Green Beach Cruiser Bike with U-Brake
A beach cruiser bicycle with supplied 24- and 26-inch variants. These larger wheel options are later-stage fit comparisons, not substitutes for a baby bike trailer.
The Pink 12/14/16/20" XJD Girls Bike with Training Wheels & Basket offers catalog choices labeled 12 Inch, 14 Inch, 16 Inch, and 20 Inch. Of the three supplied products, it provides the smallest wheel-size comparison points, but it remains a training-wheel bicycle rather than a trailer or baby-passenger solution.
The 26-Inch XJD Beach Cruiser Bike for Girls – Purple, V-Brake has supplied variants in 20, 24, and 26 Inch sizes and several listed colors. The XJD 24-Inch Green Beach Cruiser Bike with U-Brake has supplied 24- and 26-inch variants. These beach cruiser options concern independent riders and are not substitutes for a baby trailer.
When an individual bicycle becomes relevant
When the child is ready to ride rather than be transported, measure standing height and inseam, then assess stand-over clearance, reach, brake control, and confidence on the actual bicycle. Have the child try it; do not choose an oversized bicycle merely to allow room for growth.
| Wheel size | XBikes starting point |
|---|---|
| 12 Inch | Ages 3–4; 34–40 in / 86–102 cm |
| 14 Inch | Ages 3–6; 37–45 in / 94–114 cm |
| 16 Inch | Ages 4–7; 40–48 in / 102–122 cm |
| 20 Inch | Ages 7–12; 48–60 in / 122–152 cm |
| 24 Inch | Ages 10–14; 54–64 in / 137–163 cm |
| 26 Inch | Youth and adults over 60 in / 153 cm |
These are starting points, not proof of fit. Rider measurements and demonstrated control take priority over age. The immediate decision is simpler: use the baby trailer only after its exact requirements, the child’s seated readiness, helmet fit, hitch compatibility, and the adult’s towing control all check out.
Bikes for your next adventure
-

Kids Bike Helmet by XJD for Girls – Pink
The XJD Kids Bike Helmet in Pink is a lightweight multi-sport helmet for girls r…$59.99
$99 -
Blue XJD Kids Bike Helmet for Boys & Girls
The Blue XJD Kids Bike Helmet is a lightweight, adjustable multi-sport helmet fo…$59.99
$99 -
Green XJD Kids Bike Helmet for Boys & Girls
The Green XJD Kids Bike Helmet is a lightweight multi-sport helmet for toddlers …$59.99
$99