

When can i take my baby in a bike trailer
You can take your baby in a bike trailer only after the child meets every requirement in that trailer’s manual and can use its restraint and helmet correctly. If either condition is uncertain, wait.
There is no single age that answers this safely
The correct time cannot be determined from the baby’s birthday alone. Trailer designs, passenger supports, restraint systems and permitted uses differ. Find the manual for your exact trailer and check its minimum passenger requirements, seating instructions, load limit and helmet guidance. Do not transfer limits or instructions from another model.
Your child also needs enough physical control to remain stable in the approved seating position throughout a ride. If you are unsure about head and neck control, sitting stability, prematurity, a medical condition or whether riding is appropriate now, ask the child’s pediatrician before proceeding. An infant insert or other accessory does not override the trailer manufacturer’s requirements.
What to measure and compare
Before the first ride, record your child’s current height and weight. Compare both measurements with the exact trailer manual rather than relying on an age estimate. Then place the child in the stationary trailer and inspect the complete fit.
- Passenger fit: Confirm that the child fits the designated seat without being forced into an unstable or slumped position.
- Restraint fit: Use every required strap and adjustment exactly as the trailer manufacturer directs. The restraint should remain correctly positioned rather than crossing the neck or face.
- Helmet fit: Follow the helmet manufacturer’s sizing directions. A bicycle helmet must fit properly, sit level and have its straps adjusted according to its instructions.
- Trailer clearance: Check that the properly fitted helmet and the child’s body do not conflict with the trailer interior or prevent the required riding position.
- Total load: Include the child and everything carried when comparing the load with the manual. Use the stated limit; do not estimate one.
If any measurement or fit check falls outside the stated requirements, the next step is to wait or obtain the correct equipment—not to loosen the restraint, remove required protection or improvise padding.
Check the bicycle and trailer together
A suitable passenger fit is only one part of the decision. Confirm that the trailer is compatible with the towing bicycle and that its hitch, retention components, wheels and other parts are assembled and maintained exactly as their manuals specify. For compatibility, assembly, maintenance and torque details that are unclear or unavailable, consult the manufacturer or a qualified bicycle mechanic.
The adult rider should be able to start, steer, brake and stop confidently with the trailer attached. Before carrying the child, practice in a traffic-free area using an allowed test load and the procedure specified by the manufacturer. A trailer changes the bicycle’s length, turning path and stopping behavior, so choose an easy route and conservative conditions for the first passenger ride.
A short first-ride decision
- Verify that the child satisfies every passenger requirement in the exact trailer manual.
- Confirm stable seating, correct restraint placement and a properly fitted, level helmet.
- Inspect attachment and bicycle compatibility according to both manuals.
- Choose a short, smooth, low-complexity route away from traffic and other avoidable hazards.
- Stop if the child slumps, becomes distressed, interferes with the restraint or cannot maintain the required position.
Recheck fit before later rides because children grow and equipment can shift. Weather and exposure also matter: postpone the outing when you cannot keep the passenger appropriately protected while preserving ventilation and the equipment’s intended use.
Are the supplied kids’ bikes relevant?
The supplied catalog item is not a bike trailer and does not establish when a baby can ride as a trailer passenger. It becomes relevant later, when a child is ready to ride a bicycle and needs an individual fit check. The available 12, 14 and 16 Inch options are useful comparison points for that separate stage.

XJD Girls Bike for Kids Ages 3-8, 12/14/16 Inch with Training Wheels – Purple is listed in Training Wheel Bikes with 12 Inch, 14 Inch and 16 Inch SKU labels. Its “Ages 3-8” wording is a catalog label, not proof that a particular child fits.
| Size | XBikes starting point |
|---|---|
| 12 Inch | Ages 3–4; height 34–40 in / 86–102 cm |
| 14 Inch | Ages 3–6; height 37–45 in / 94–114 cm |
| 16 Inch | Ages 4–7; height 40–48 in / 102–122 cm |
These ranges are starting points, not substitutes for trying the bicycle. Measure the rider’s height and inseam, then check stand-over clearance, reach, brake control and current confidence. Do not buy an oversized bicycle merely for growth.
What to do now
Locate the exact trailer manual, measure your child, and perform the stationary seating, restraint and helmet checks. Ride only when every requirement is satisfied and any developmental or medical uncertainty has been resolved; otherwise, delay the trailer ride.
Bikes for your next adventure
-

Kids Bike Helmet by XJD for Girls – Pink
The XJD Kids Bike Helmet in Pink is a lightweight multi-sport helmet for girls r…$59.99
$99 -
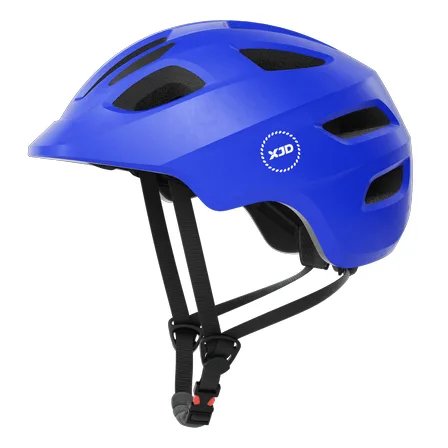
Blue XJD Kids Bike Helmet for Boys & Girls
The Blue XJD Kids Bike Helmet is a lightweight, adjustable multi-sport helmet fo…$59.99
$99 -
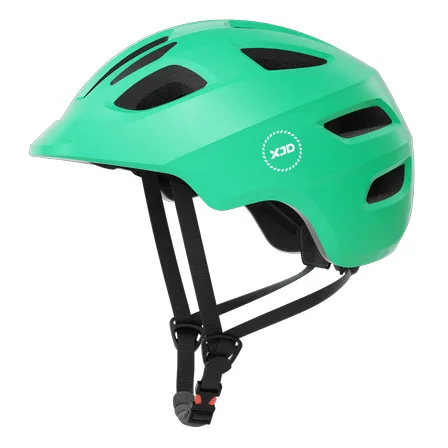
Green XJD Kids Bike Helmet for Boys & Girls
The Green XJD Kids Bike Helmet is a lightweight multi-sport helmet for toddlers …$59.99
$99