

When should a child know how to ride a bike
A child does not need to ride a bike by one fixed age. They are ready when a correctly sized bike fits, they can control it confidently, and practice feels manageable.
When should a child be able to ride?
There is no deadline that every child should meet. Age can suggest a wheel-size starting point, but it cannot show whether an individual rider can balance, steer, stop, judge space or remain calm while moving. A child who is hesitant may simply need more practice, a better-fitting bicycle or a lower-pressure setting.
Look for practical readiness: the child wants to try, follows simple instructions, keeps attention on the riding area and can reach the controls without stretching. Progress may mean balancing briefly, steering a predictable line or stopping on request before it means riding independently.
Measure first, then compare wheel sizes
Measure the child’s height without shoes. Measure inseam as well, from the floor to the crotch, because two children of equal height can have different leg lengths. XBikes uses the following starting points; they do not replace an individual fit check.
| Wheel size | Starting age | Rider height |
|---|---|---|
| 12 Inch | 3–4 | 34–40 in / 86–102 cm |
| 14 Inch | 3–6 | 37–45 in / 94–114 cm |
| 16 Inch | 4–7 | 40–48 in / 102–122 cm |
| 18 Inch | 5–9 | 43–52 in / 109–132 cm |
| 20 Inch | 7–12 | 48–60 in / 122–152 cm |
| 24 Inch | 10–14 | 54–64 in / 137–163 cm |
| 26 Inch | Youth and adults | Over 60 in / 153 cm |
Where ranges overlap, prioritize measured height, inseam, reach, brake control and present confidence—not the older-looking or larger bicycle. Do not buy an oversized bike merely to allow room for growth.
What to check during an actual fitting
Have the child try the bicycle rather than choosing from the chart alone. Check whether they can stand over it securely, mount and dismount without getting caught, and hold the handlebar with relaxed arms. Their position should let them look ahead and turn the handlebar without losing control.
Next, ask them to operate the brakes while maintaining a secure grip. They should reach the controls comfortably and understand how to stop. If they must stretch, twist their hands awkwardly or cannot apply the brakes reliably, the fit or setup is not ready for riding.
Assembly, adjustments, maintenance, compatibility and torque requirements should follow the exact product manual. If anything is unclear, use a qualified bicycle mechanic.
How the supplied XBikes options relate
The catalog options help compare a beginner-oriented training-wheel range with larger 20-, 24- and 26-inch choices. They are useful only when their listed wheel sizes match the child’s measurements and the child passes the hands-on control checks.
 Pink 12/14/16/20" XJD Girls Bike with Training Wheels & Basket
A Training Wheel Bikes option with 12, 14, 16 and 20 Inch labels, making it relevant for comparing several XBikes height-based starting ranges after an individual fit check.
 26-Inch XJD Beach Cruiser Bike for Girls – Purple, V-Brake
A Beach Cruiser Bikes listing with 20, 24 and 26 Inch choices in specified colors. It is relevant only when the selected SKU matches measured height, reach, brake control and confidence.
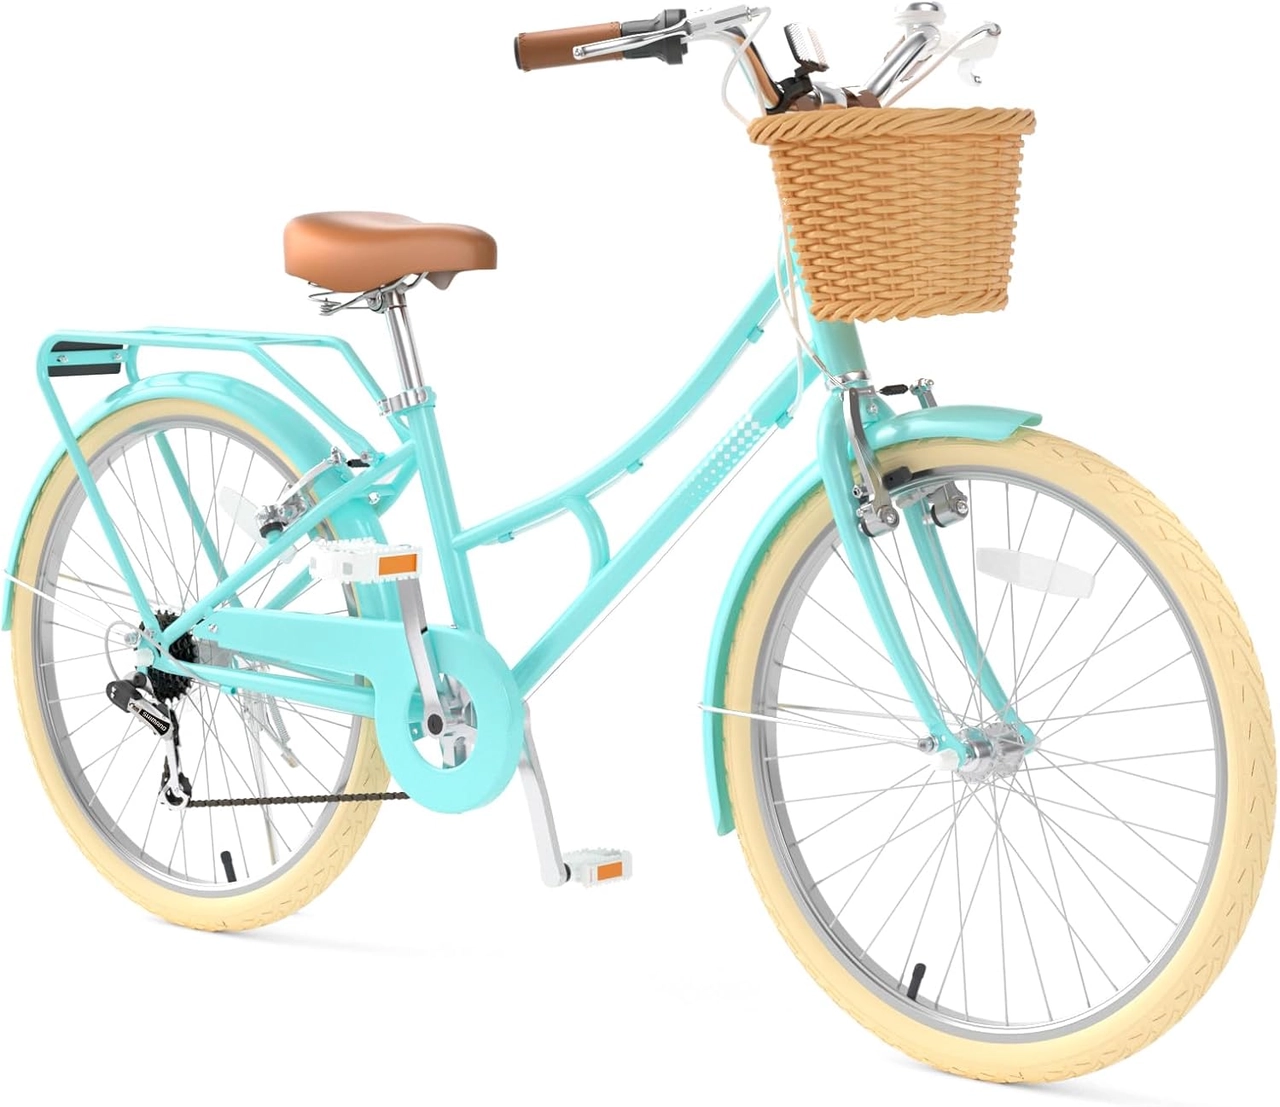 XJD 24-Inch Green Beach Cruiser Bike with U-Brake
A Beach Cruiser Bikes option offering 24 Inch and 26 Inch SKU labels in green or pink. These larger sizes are relevant to riders meeting the supplied height starting points and hands-on fit checks.
The Pink 12/14/16/20" XJD Girls Bike with Training Wheels & Basket is listed in Training Wheel Bikes and offers 12, 14, 16 and 20 Inch SKU labels. That span overlaps several XBikes starting ranges, so select among them by measured fit rather than by assuming every version suits a beginning rider.
The 26-Inch XJD Beach Cruiser Bike for Girls – Purple, V-Brake is a Beach Cruiser Bikes listing with 20, 24 and 26 Inch SKU labels in specified colors. Those sizes begin at 48 in / 122 cm for 20 Inch, 54 in / 137 cm for 24 Inch, and over 60 in / 153 cm for 26 Inch. The title’s “26-Inch” wording does not override the actual SKU choice or fit check.
The XJD 24-Inch Green Beach Cruiser Bike with U-Brake is also listed under Beach Cruiser Bikes, with Green / 24 Inch, Pink / 24 Inch and Pink / 26 Inch labels. Its available sizes are relevant to taller older children or youth meeting the corresponding height starting points, not automatically to a child who is just learning.
Practice without turning age into pressure
Choose a flat, open area away from traffic and obstacles. Keep sessions short enough that the child remains attentive. Work in a simple order: mounting and dismounting, controlled starts, looking ahead while steering, then deliberate stops. Move to independent riding only when these actions are repeatable and calm.
A properly fitting bicycle helmet is required for each session. It should fit correctly, sit level and have its straps used according to the helmet manufacturer’s instructions. Replace guesswork with the manufacturer’s fitting directions.
What to do next
- Record the child’s height and inseam.
- Use the XBikes ranges to identify a starting wheel size.
- Have the child try that size and check stand-over clearance, reach, brake use and confidence.
- Reject an oversized option even if it promises longer use.
- Practise starting, steering and stopping before expecting independent riding.
The right time is therefore not a birthday: it is the point when your child wants to learn, fits the bicycle now and can control it consistently. Measure today, test the fit, and either begin calm practice or wait without treating the delay as failure.
Bikes for your next adventure
-

Kids Bike Helmet by XJD for Boys & Girls – Black, Blue, Green, Pink, Purple
The XJD Kids Bike Helmet covers a wide 2-to-8-year age range thanks to two head-…$59.99
-

Kids Bike Helmet by XJD for Girls – Pink
The XJD Kids Bike Helmet in Pink is a lightweight multi-sport helmet for girls r…$59.99
$99 -

XJD Kids Bike for Girls – Pink, 12/14/16/20 Inch with Training Wheels
The XJD Kids Bike for Girls in Pink is a training-wheel bike built to carry your…$139
$159