

Which baby bike seat is best
The best baby bike seat is the one approved by its manufacturer for your child’s measurements, compatible with your exact bicycle, and correctly fitted without affecting steering, braking or pedalling.
Start with the child, not the seat position
Measure your child’s current weight and height, then compare both with the minimum and maximum limits in the seat manual. Also check every developmental or posture requirement stated by the manufacturer. “Baby seat” is a broad shopping term, so the product label alone cannot establish that a particular child is ready for it.
Check how the harness sits, whether the foot restraints contain the child’s feet as intended, and whether the seat provides the support required by its manual. A seat that your child has outgrown is not made suitable by loosening restraints or changing its mounting position.
Compare front, rear-rack and frame-mounted seats
The best mounting type depends on the bicycle and the seat maker’s compatibility rules. A front-mounted seat changes the space around the handlebar and rider. A rear seat may attach to a compatible rack or directly to the frame, depending on its design. These systems are not interchangeable.
- Front clearance: Confirm that the rider can steer fully, mount and dismount, pedal normally, and operate every control.
- Frame mounting: Identify the frame shape, tube dimensions and cable locations, then compare them with the seat manual.
- Rack mounting: Identify the exact rack and bicycle, then verify the seat’s required rack type and load limits. A rack’s presence alone does not prove compatibility.
- Brake access: Make sure the rider can comfortably reach and apply both brakes after installation.
Measure the bicycle before buying
Record the bicycle’s make, model, wheel size and frame size. Measure only the points requested by the child-seat manufacturer, such as relevant tube dimensions or rack geometry. Inspect the proposed mounting area for accessories, cables or unusual frame shapes that could interfere.
Do not guess about fasteners, adapters, torque, assembly or maximum loads. Follow the exact bicycle, rack and seat manuals. If the manuals do not clearly confirm the combination—or if any part of the installation is uncertain—have a qualified bicycle mechanic check it before carrying a child.
How the supplied XBikes option helps
The catalog includes the XJD Pink Beach Cruiser for Girls – Rear Rack & V-Brake in 20 Inch, 24 Inch and 26 Inch labels. It is useful as a bicycle-size and rear-rack comparison point, but the supplied facts do not establish compatibility with any baby seat or provide a rack load limit.

Accordingly, this bicycle should not be treated as a baby-seat recommendation. Its rear rack is relevant only as a feature to investigate: obtain the exact rack and bicycle documentation, then compare it with the intended seat’s mounting requirements. Do not assume that “rear rack” means a rack-mounted child seat will fit.
Check whether the adult bicycle fits its rider
A child seat adds a passenger and changes how the bicycle feels, so the adult rider must already have confident control of the bicycle. The supplied XJD model’s available labels can be screened using XBikes starting points: 20 Inch corresponds to rider height 48–60 in / 122–152 cm and ages 7–12; 24 Inch to 54–64 in / 137–163 cm and ages 10–14; and 26 Inch to youth and adults over 60 in / 153 cm.
These are starting points, not proof of fit. Prioritize measured height, inseam, reach, brake control and current confidence over age. Have the rider try the bicycle, check stand-over and control, and never select an oversized bicycle merely for future growth.
Complete a before-ride check
- Confirm that the child remains within every limit and requirement in the seat manual.
- Confirm written compatibility among the exact seat, bicycle, mounting system and rack, where applicable.
- Install and inspect the seat exactly as its manufacturer directs; use a qualified mechanic when anything is unclear.
- Check steering, pedalling, balance and access to both brakes without the child aboard.
- Fit the child’s bicycle helmet properly. It should sit level, with its straps adjusted according to the helmet manufacturer’s instructions.
- Recheck the harness, foot restraints and mounting before each ride, following the manuals.
Your best next step is to measure the child, identify the exact bicycle and mounting points, and choose only a seat whose manual explicitly accepts that complete combination.
Bikes for your next adventure
-
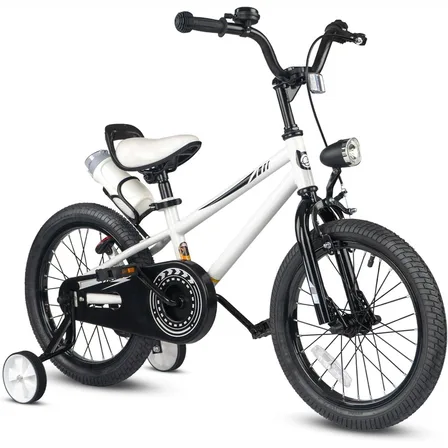
XJD Kids' Training Wheel Bike for Boys & Girls, 12/14/16 Inch – White
The XJD kids' training wheel bike in White is made for riders ages 3–8 (roughly …$169
$199 -

Kids Bike Helmet by XJD for Boys & Girls – Black, Blue, Green, Pink, Purple
The XJD Kids Bike Helmet covers a wide 2-to-8-year age range thanks to two head-…$59.99
-
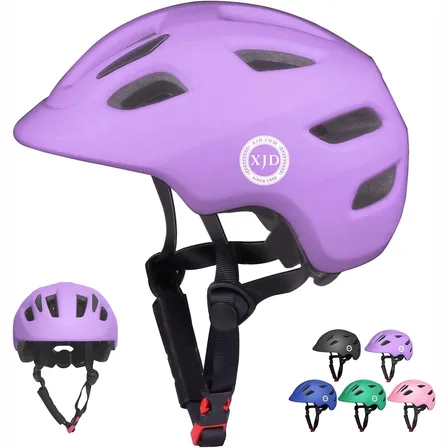
Light Purple XJD Toddler Bike Helmet, Adjustable, Size XS (46–51 cm)
This Light Purple XJD toddler bike helmet is made for the smallest riders — the …$20.39