

Which child seat for bike
Choose a child bike seat only after matching the seat to your child, bicycle, mounting points and intended route. Check both manuals before buying; appearance alone cannot confirm compatibility.
Start with the child and the seat manual
First record your child’s current measurements and abilities. Measure height and weight, then check whether the child can sit steadily and maintain the posture required by the seat manufacturer. Compare those facts with the manufacturer’s stated minimum and maximum limits. Do not estimate, round up for growth or use age as the deciding factor.
Confirm that the harness, foot supports and any retention features can be adjusted to the child now. The seat should hold the child as its instructions describe without loose straps, cramped positioning or feet reaching moving bicycle parts. If any required measurement or developmental condition is unclear, ask the seat manufacturer or a qualified bicycle mechanic before use.
Choose the mounting position
Child seats commonly differ by where and how they mount. A front-mounted design places the child ahead of the adult rider, while a rear-mounted design places the child behind. Some rear seats attach to a suitable rack; others use a frame-based mounting system. These types are not automatically interchangeable.
- Front-mounted seat: check whether it leaves enough room for steering, pedalling, mounting and dismounting without striking the seat or child.
- Rear frame-mounted seat: verify that the bicycle has the exact frame location, shape and clearance required by the seat instructions.
- Rack-mounted seat: confirm that both the rack and bicycle are approved for that seat and its full occupied load.
Never infer compatibility from wheel diameter alone. Frame geometry, cable routing, steering clearance, rack approval and the bicycle manufacturer’s restrictions can all change the answer.
Inspect the bicycle before comparing seats
Identify the bicycle’s exact model and read its manual. Look specifically for statements about child carriers, passenger loads, racks and approved mounting areas. Then inspect the real bicycle for attachment points, available clearance and anything that could interfere with the mount.
Also consider how the added passenger changes balance. The adult rider must still be able to hold the bicycle upright, start, stop, steer and put a foot down with control. If the bicycle feels unstable during an unloaded handling check, do not add a child and hope it improves.
Use the exact seat and bicycle manuals for assembly, maintenance, load limits, compatibility and torque. Because those details are not supplied here, no universal number or fitting procedure would be reliable. A qualified bicycle mechanic should inspect the proposed combination when either manual is incomplete or the mounting area is uncertain.
What the supplied XBikes products can tell you
The two catalog options are complete beach cruiser bicycles, not identified child seats. They help answer the title only by showing why a bicycle’s wheel label and brake listing cannot prove that a passenger seat will fit. Their manuals and mounting details would still need checking.
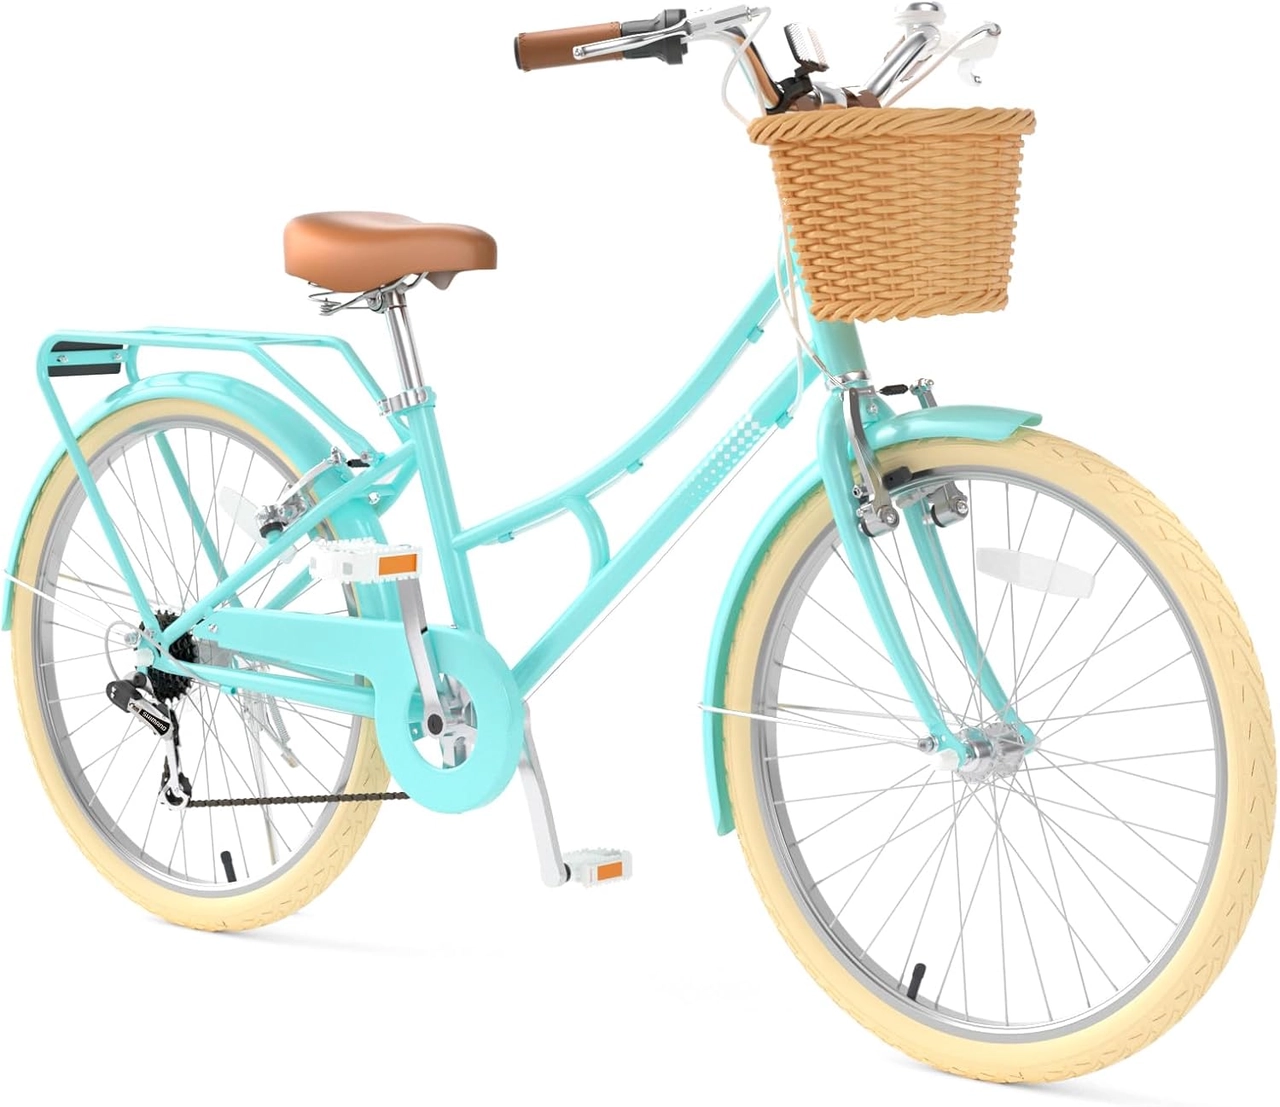 XJD 24-Inch Green Beach Cruiser Bike with U-Brake
A complete beach cruiser bicycle offered in Green / 24 Inch, Pink / 24 Inch and Pink / 26 Inch labels; supplied facts do not establish child-seat mounting compatibility or passenger capacity.
 Pink XJD Beach Cruiser Bike, 24"/26", U-Brake
A complete beach cruiser bicycle offered in 24 Inch and 26 Inch options. Its listed wheel sizes and U-brake do not confirm rack provision, frame-mount suitability or child-seat compatibility.
The XJD 24-Inch Green Beach Cruiser Bike with U-Brake is listed in Green / 24 Inch, Pink / 24 Inch and Pink / 26 Inch SKU labels. The Pink XJD Beach Cruiser Bike, 24"/26", U-Brake is listed in 24 Inch and 26 Inch options. Those facts permit a comparison of listed wheel-size choices and color labels only; they do not establish rack provision, passenger capacity, frame-mount suitability or child-seat compatibility.
Accordingly, neither supplied product can be recommended as a host bicycle for a child seat from the available facts. They become relevant only after the exact bicycle manual and exact seat manual approve the same mounting method and load.
Decide whether the child needs a seat or a bicycle
If “child seat” actually means choosing a bicycle size for a child who will ride independently, use measured fit rather than treating these passenger-seat instructions as sizing advice. The supplied XBikes starting points place 24 Inch at ages 10–14 and rider height 54–64 in / 137–163 cm, while 26 Inch is for youth and adults over 60 in / 153 cm. These ranges are starting points, not proof of fit.
Have the child try the bicycle. Check stand-over clearance, reach, brake control and present confidence, and do not buy an oversized bicycle merely for future growth. The two catalog products are relevant to this separate 24- or 26-inch comparison, but neither size should be chosen from age or title wording alone.
Complete the safety check before the first ride
- Match the child’s current measurements and abilities to the seat manufacturer’s requirements.
- Obtain explicit compatibility from both the bicycle manual and seat manual.
- Have uncertain mounting, assembly or torque checked by a qualified bicycle mechanic.
- Practise mounting, starting, braking and dismounting without the child before an occupied ride.
- Fit a bicycle helmet properly so it sits level, with straps adjusted according to its manufacturer’s instructions.
Your next decision is simple: buy the child seat only when one specific model is approved for your measured child and exact bicycle. If that two-way match cannot be documented, choose a different seat or bicycle rather than improvising a mount.
Bikes for your next adventure
-
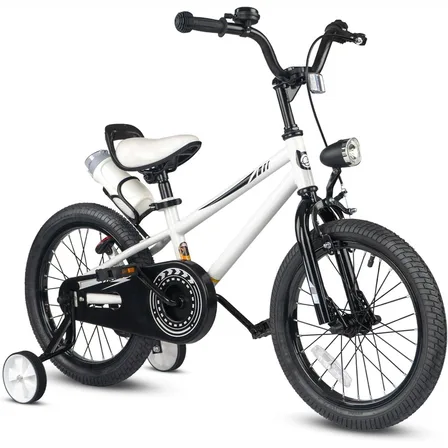
XJD Kids' Training Wheel Bike for Boys & Girls, 12/14/16 Inch – White
The XJD kids' training wheel bike in White is made for riders ages 3–8 (roughly …$169
$199 -

Blue XJD Girls Bike with Training Wheels – 12/14/16 Inch
If you're shopping for a first pedal bike for a daughter roughly 3 to 8 years ol…$149
$169 -
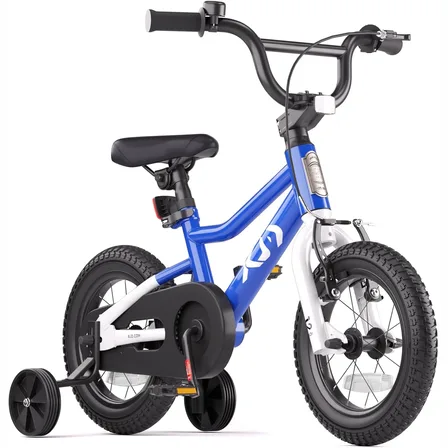
XJD Boys & Girls BMX Bike with Training Wheels, 12/14/16" – Blue
The XJD Boys & Girls BMX Bike in Blue is a first pedal bike for kids roughly age…$99.99
$119.99