

Why does kid bicycles have string on handlebar
A “string” on a kid’s bicycle handlebar may be a decorative streamer, a control cable, or leftover packaging. Identify it before riding; never cut it merely because it looks unnecessary.
First, identify what the “string” actually does
Look at both ends without pulling, cutting or untying anything. Decorative streamers usually emerge from the hollow ends of the grips and hang freely. They do not connect the handlebar to another bicycle part.
A brake or gear cable runs from a handlebar control toward the frame, wheel or brake mechanism. Its outer housing may resemble a thick cord. It must remain connected and should bend smoothly when the handlebar turns.
A thin tie attached only to cardboard, a tag or protective wrapping may be packaging. Remove it only after checking the exact bicycle’s assembly instructions. If the strand enters a component, limits steering, looks frayed, or cannot be confidently identified, stop using the bicycle and ask a qualified bicycle mechanic to inspect it.
Check whether it creates a riding hazard
With the bicycle stationary, turn the handlebar fully left and right. The strand should not tighten, catch on a lever, cross the rider’s hands, touch a wheel, or prevent normal steering. Check that the child can grip both sides naturally and operate every brake control they are expected to use.
If it is a decorative streamer, inspect where it hangs during steering. Remove or shorten it only as permitted by the product manual if it could reach a moving part. For cable routing, attachment, compatibility or adjustment procedures not stated in the manual, use a qualified bicycle mechanic rather than guessing.
Measure fit before blaming the handlebar
A child may describe difficult reach or an awkwardly routed cable as a problem with the “string.” Measure the rider’s standing height and inseam, then have the child try the bicycle. Check stand-over clearance, comfortable reach, steering control and brake reach. Do not choose an oversized bicycle merely to allow room for growth.
| Wheel size | Starting age | Rider height |
|---|---|---|
| 12 Inch | 3–4 | 34–40 in / 86–102 cm |
| 14 Inch | 3–6 | 37–45 in / 94–114 cm |
| 16 Inch | 4–7 | 40–48 in / 102–122 cm |
| 18 Inch | 5–9 | 43–52 in / 109–132 cm |
| 20 Inch | 7–12 | 48–60 in / 122–152 cm |
| 24 Inch | 10–14 | 54–64 in / 137–163 cm |
| 26 Inch | Youth and adults | Over 60 in / 153 cm |
These are starting points, not a substitute for an individual fit check. Give measured height, inseam, reach, brake control and current confidence priority over age.
How the supplied bicycles are relevant
The catalog does not state whether either supplied bicycle includes decorative handlebar strings, so these products cannot confirm what the strand is. They are useful comparison options when the real issue is choosing a training-wheel bicycle in a size the child can control.
 XJD Kids Bike for Girls – Pink, 12/14/16/20 Inch with Training Wheels
A Training Wheel Bikes option with 12 Inch, 14 Inch, 16 Inch and 20 Inch SKU labels, useful for comparing listed wheel sizes after measuring the rider and checking individual fit.
 XJD Pink Girls' Bike – Kids 12/14/16 Inch Training Wheel Bicycle
A Training Wheel Bikes option offered with 12 Inch, 14 Inch and 16 Inch SKU labels; relevant when comparing size starting points, though its catalog facts do not identify any handlebar string.
XJD Kids Bike for Girls – Pink, 12/14/16/20 Inch with Training Wheels is listed in the Training Wheel Bikes category with 12 Inch, 14 Inch, 16 Inch and 20 Inch SKU labels. It offers the broader supplied size comparison, but the label alone does not establish fit.
XJD Pink Girls' Bike – Kids 12/14/16 Inch Training Wheel Bicycle is also listed in the Training Wheel Bikes category. Its available SKU labels are 12 Inch, 14 Inch and 16 Inch. Compare the child’s measurements and hands-on control at the relevant size; wording in a product title is not fit evidence.
Neither catalog record supplies cable routing, assembly, compatibility, load limits, torque settings or maintenance procedures. For those details, follow the manual for the exact product or consult a qualified bicycle mechanic.
What to do before the next ride
- Trace the strand from end to end and decide whether it is decoration, packaging or a functional cable.
- Do not ride if it interferes with hands, steering, brakes or a wheel, or if its purpose remains uncertain.
- Measure the child’s height and inseam, then verify stand-over, reach, brake operation and confident control on the actual bicycle.
- Fit a bicycle helmet so it sits level, with its straps adjusted according to the helmet manufacturer’s instructions.
The immediate decision is simple: leave a functional cable alone, remove packaging only as instructed, and keep decorative strings only when they cannot contact controls or moving parts. If you cannot identify the “string,” have the bicycle checked before the child rides.
Bikes for your next adventure
-

Kids Bike Helmet by XJD for Boys & Girls – Black, Blue, Green, Pink, Purple
The XJD Kids Bike Helmet covers a wide 2-to-8-year age range thanks to two head-…$59.99
-
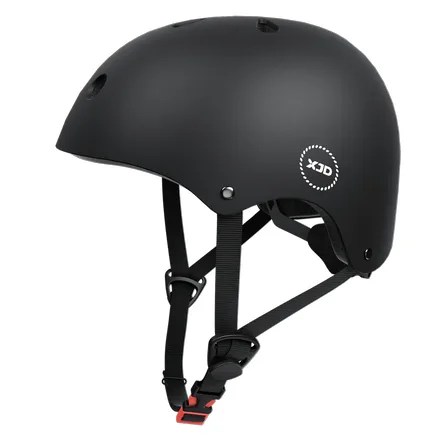
7-in-1 Kids Helmet & Protective Gear Set from XJD – Black or Blue
If you're outfitting one kid (or a couple of siblings) for biking, scootering, o…$59.99
-
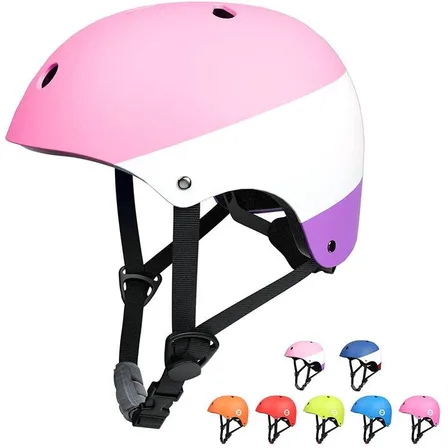
XJD Kids Bike Helmet for Boys & Girls, B White / Pink White
The XJD Kids Bike Helmet covers a wide age range — suggested for ages 2 through …$59.99