

Why do girl bike frames look different than boys
Girl bike frames often look different because many use a lower or sloping top tube, making it easier to step through and stand over. It is a design choice, not a rule about who can ride the bike.
Why the frame shape changed
The traditional difference comes from older clothing conventions: a lower top tube made mounting easier while wearing a skirt or dress. That shape became associated with girls’ and women’s bicycles, while a higher, straighter top tube was marketed to boys and men.
Today, those labels are mostly about styling and frame layout. A girl can ride a high-top-tube frame, and a boy can ride a step-through or low-top-tube frame. The useful question is whether the individual child can mount, stop, steer and operate the brakes comfortably.
What the shape changes for a child
A lower top tube can provide more clearance when the rider stands over the frame. That may help a child who is learning, has limited confidence or finds it awkward to swing a leg over the saddle. A higher top tube is not automatically stronger, faster or more suitable for boys; those conclusions cannot be drawn from appearance alone.
Frame labels also do not establish fit. Two bicycles with the same wheel size can have different saddle positions, top-tube clearance and reach. Have the child try the actual bicycle rather than choosing solely from a “girls” or “boys” description.
Measure and compare before choosing
- Measure standing height: Have the child stand upright without shoes against a wall. Use the measurement to identify a starting wheel size.
- Measure inseam: Measure from the floor to the crotch while the child stands naturally. Compare it with the bicycle’s stand-over clearance during an actual fit check.
- Check stand-over: With the child straddling the frame and both feet on the ground, confirm that the top tube does not prevent a stable stance.
- Check reach: The child should reach the handlebar without stretching, locking the elbows or leaning excessively.
- Check controls: Confirm that the child can steer and operate the brakes with control. Follow the exact product manual for adjustment instructions, or ask a qualified bicycle mechanic.
- Watch a start and stop: The rider should be able to mount, begin riding, stop and dismount without the frame shape getting in the way.
Do not buy an oversized bicycle merely to allow room for growth. Age is only a starting point; measured height, inseam, reach, brake control and current confidence should decide the fit.
Wheel-size starting points
| Wheel size | Starting age | Rider height |
|---|---|---|
| 12 Inch | 3–4 | 34–40 in / 86–102 cm |
| 14 Inch | 3–6 | 37–45 in / 94–114 cm |
| 16 Inch | 4–7 | 40–48 in / 102–122 cm |
| 18 Inch | 5–9 | 43–52 in / 109–132 cm |
| 20 Inch | 7–12 | 48–60 in / 122–152 cm |
| 24 Inch | 10–14 | 54–64 in / 137–163 cm |
| 26 Inch | Youth and adults | Over 60 in / 153 cm |
Overlapping ranges are intentional: wheel size alone cannot confirm fit. If a child falls between sizes, compare both bicycles in person and favor confident control over extra growing room.
How the supplied bikes relate
The catalog options are useful because both are explicitly described for boys and girls, illustrating that frame styling or a gender label need not decide who rides. They also provide 12, 14 and 16 Inch choices for comparing the relevant starting ranges.
 XJD Kids' Training Wheel Bike for Boys & Girls, 12/14/16 Inch – White
A boys-and-girls Training Wheel Bike offered in 12, 14 and 16 Inch labels, making it relevant for comparing size options without treating gender wording as proof of fit.
 XJD Boys & Girls BMX Bike with Training Wheels, 12/14/16" – Blue
A boys-and-girls Kids’ BMX Bike with training wheels in 12, 14 and 16 Inch labels. Use it as a comparison option only after checking the child’s measurements and control.
XJD Kids' Training Wheel Bike for Boys & Girls, 12/14/16 Inch – White is categorized as a Training Wheel Bike and is available in 12 Inch, 14 Inch and 16 Inch labels. XJD Boys & Girls BMX Bike with Training Wheels, 12/14/16" – Blue is categorized as a Kids’ BMX Bike and offers those same three size labels.
Use the measured height ranges to identify which available label to examine, then perform the individual checks above. The catalog facts do not provide frame geometry, stand-over height, reach, brake type, materials or load limits, so neither title proves that a particular child will fit. Consult the exact product manual or a qualified bicycle mechanic for assembly, maintenance, compatibility and adjustment details not supplied here.
Make the gender-neutral fit decision
Let the child choose a color or style they enjoy only after fit is established. Between a “girl” frame and a “boy” frame, select the one the child can straddle, reach, control and stop most confidently. Add a properly fitting bicycle helmet that sits level, with its straps used according to the helmet manufacturer’s instructions. The next step is simple: measure the rider, shortlist the matching wheel sizes, and have the child try each frame shape before choosing.
Bikes for your next adventure
-
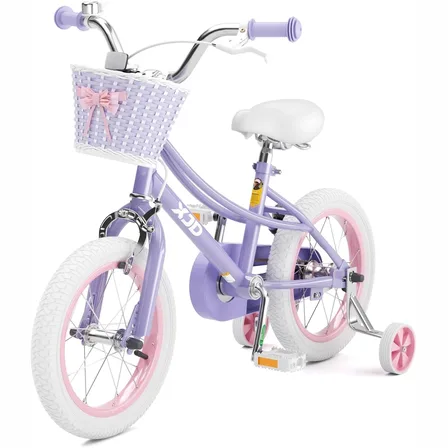
Girls' Training Wheel Bike by XJD with Basket – Purple
If you're shopping for a first bike for a girl roughly 3 to 12 years old (91–152…$75.99
-
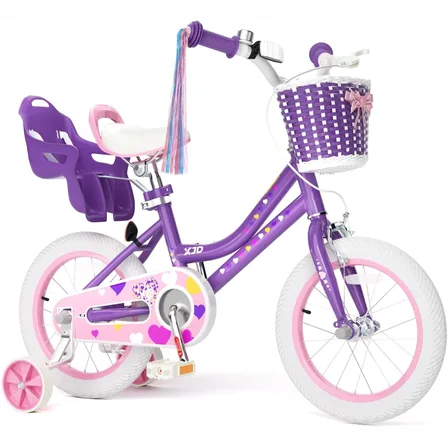
XJD Light Purple Girls Bike with Basket, Training Wheels, 12/14/16/20 Inch
The XJD Girls Bike with Basket in Light Purple is a single-speed training-wheel …$99.99
$119.99 -
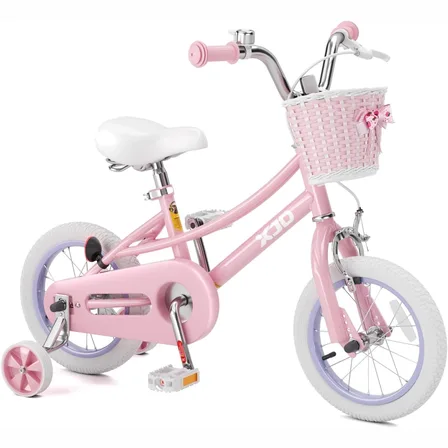
Pink 12/14/16/20" XJD Girls Bike with Training Wheels & Basket
The Pink XJD Girls Bike with Training Wheels & Basket is a first-bike pick f…$65.99
$75.99